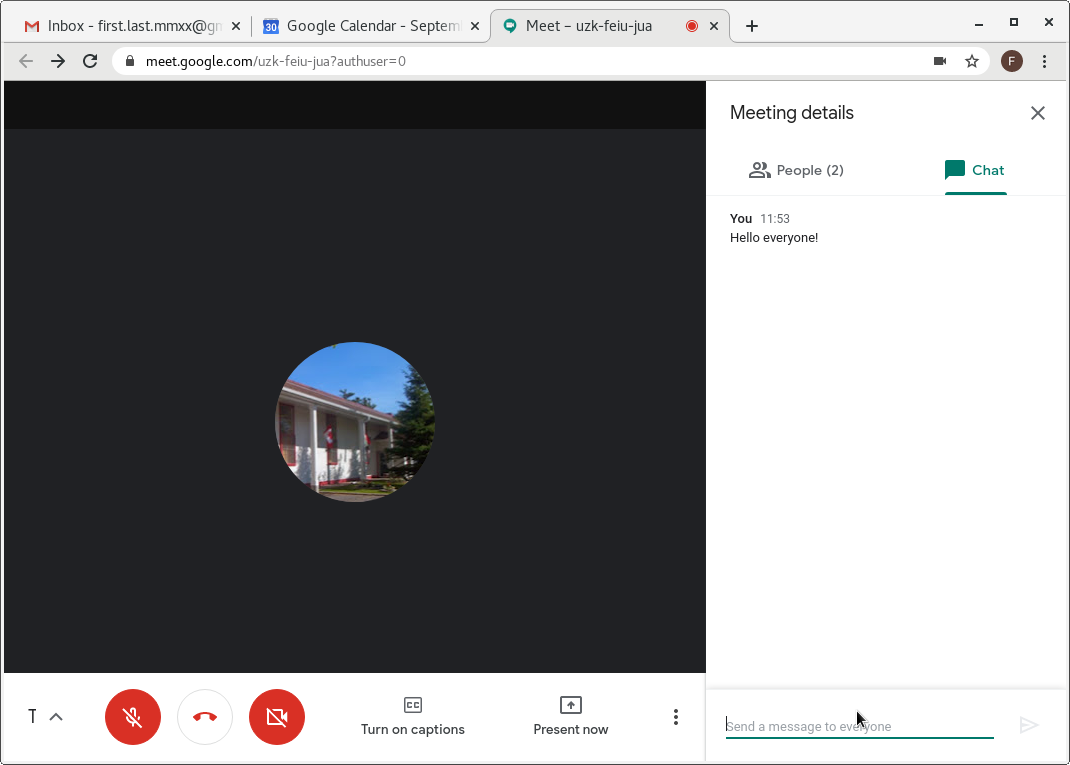
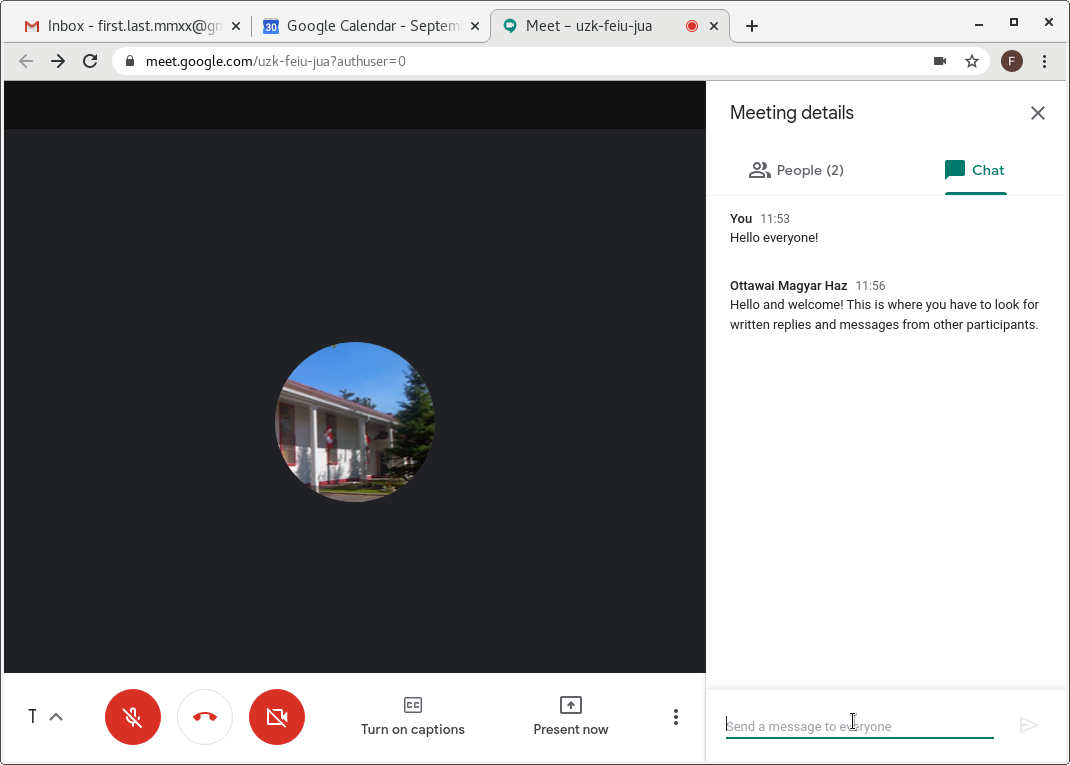
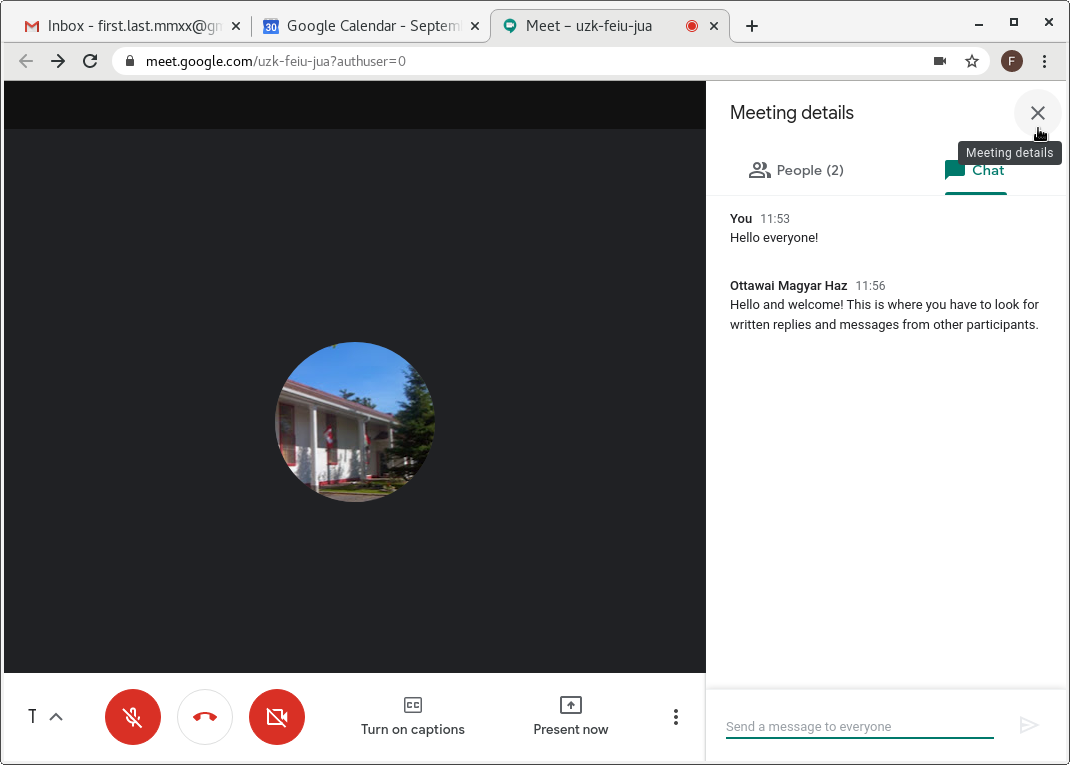
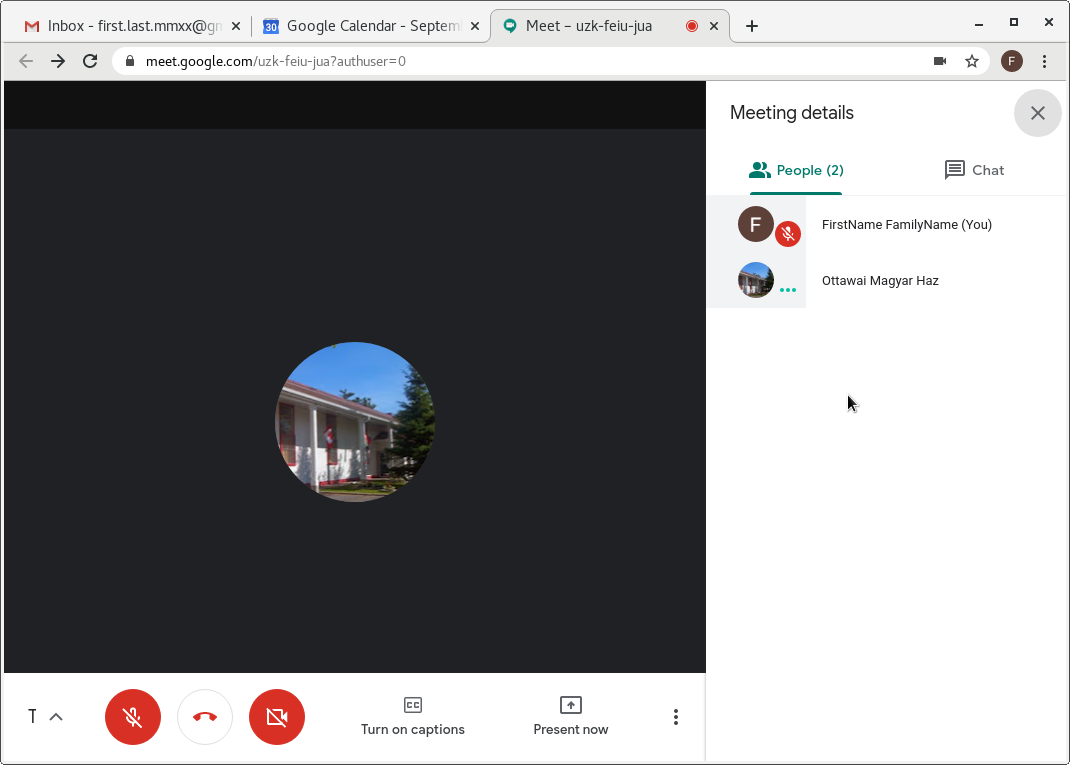
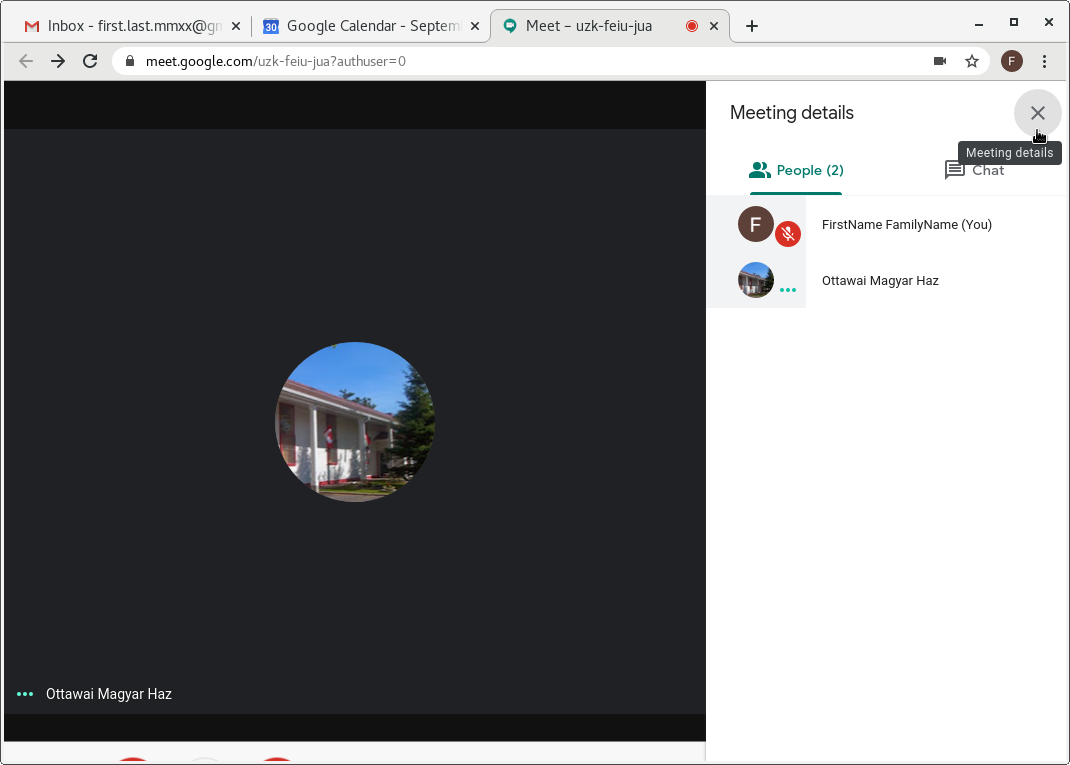
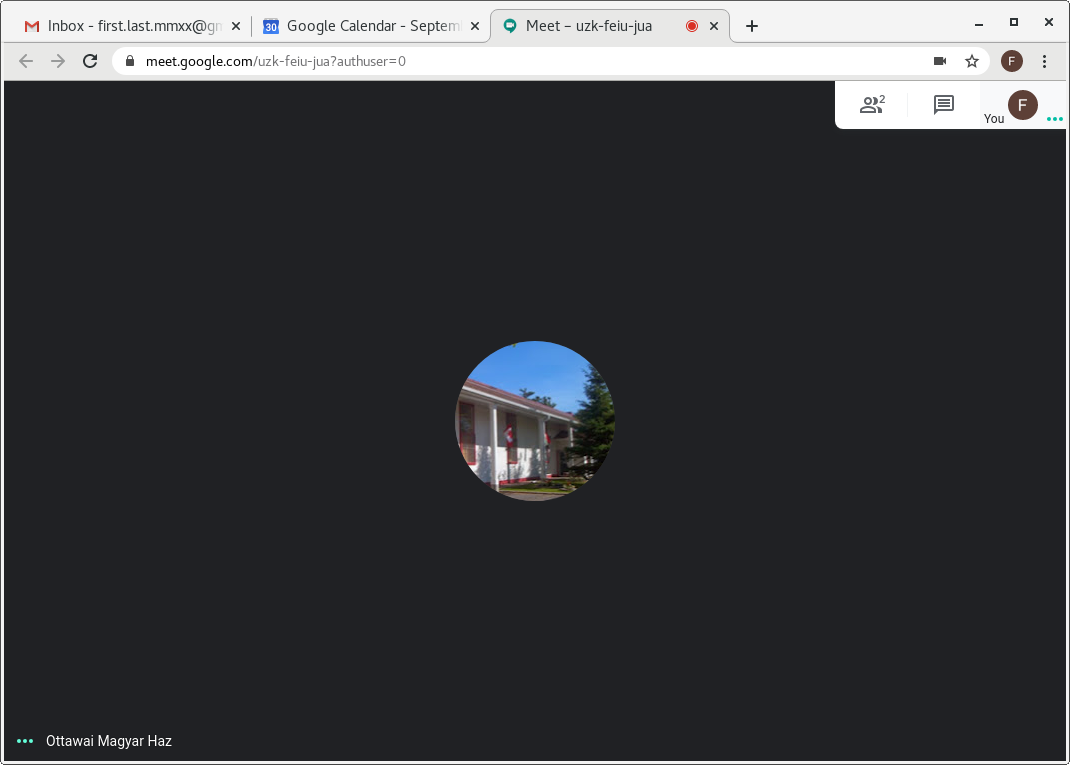
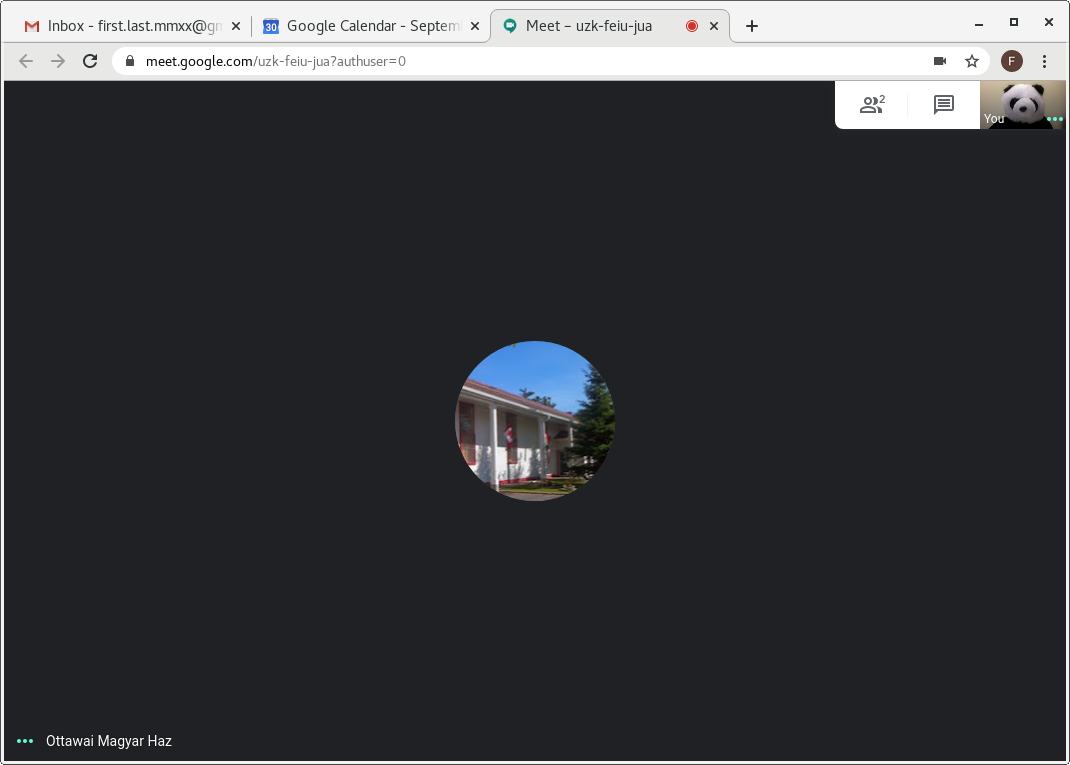
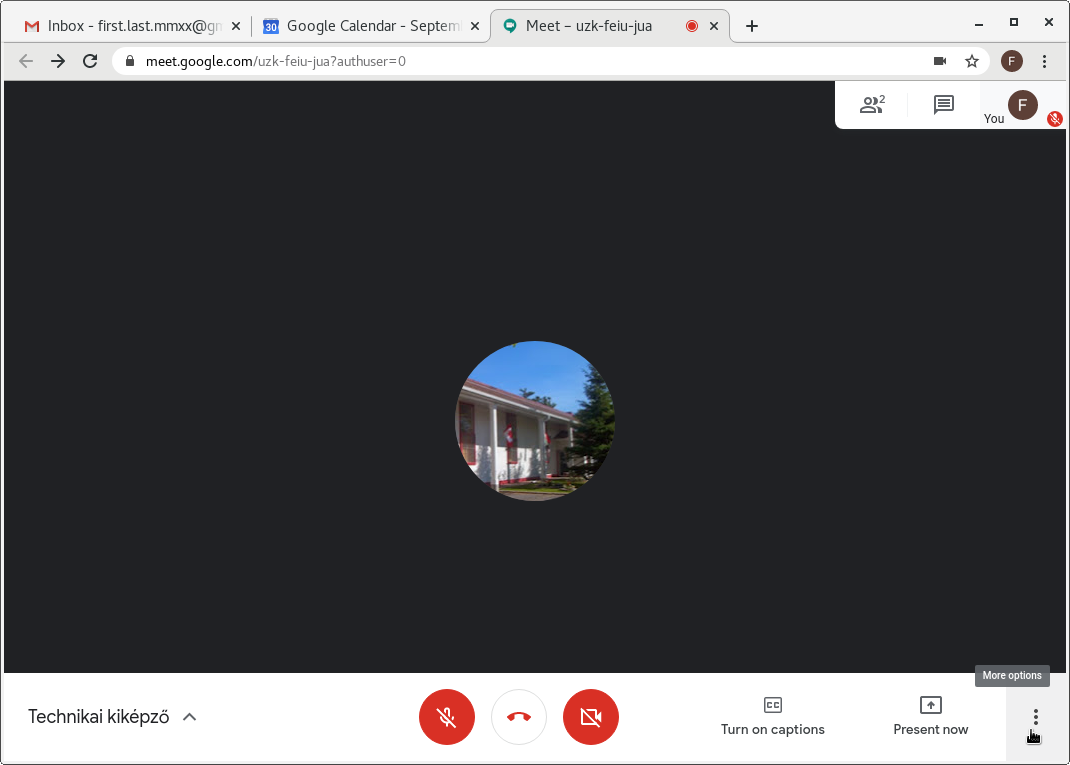
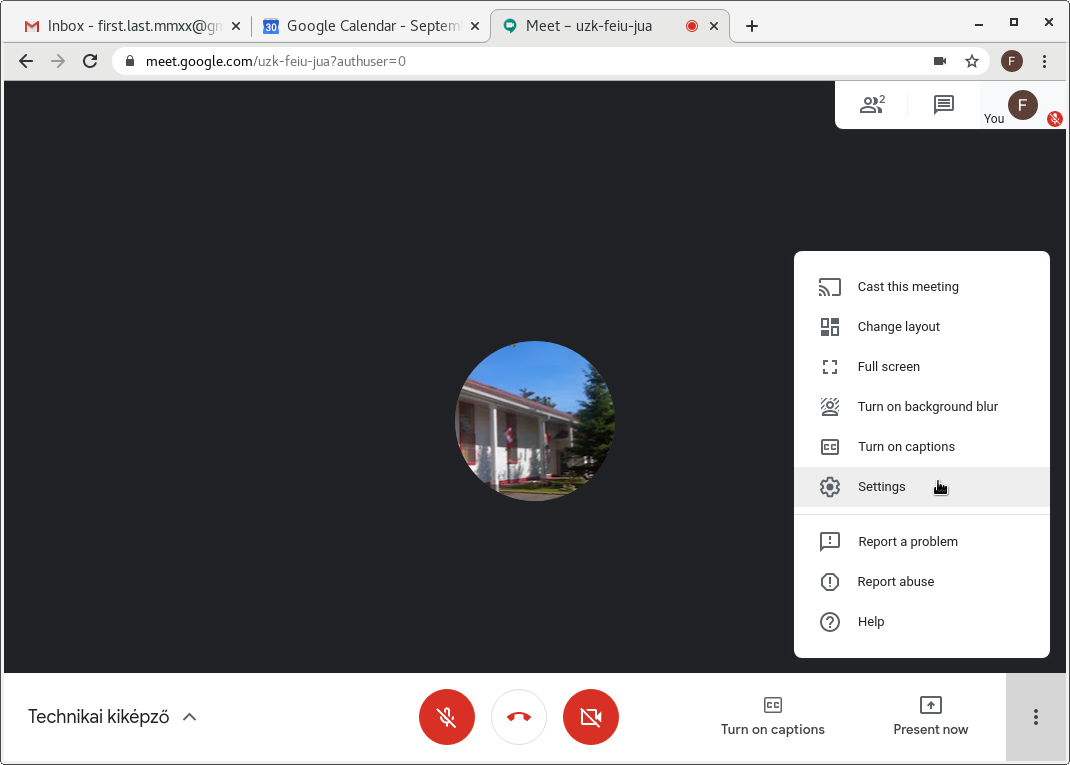
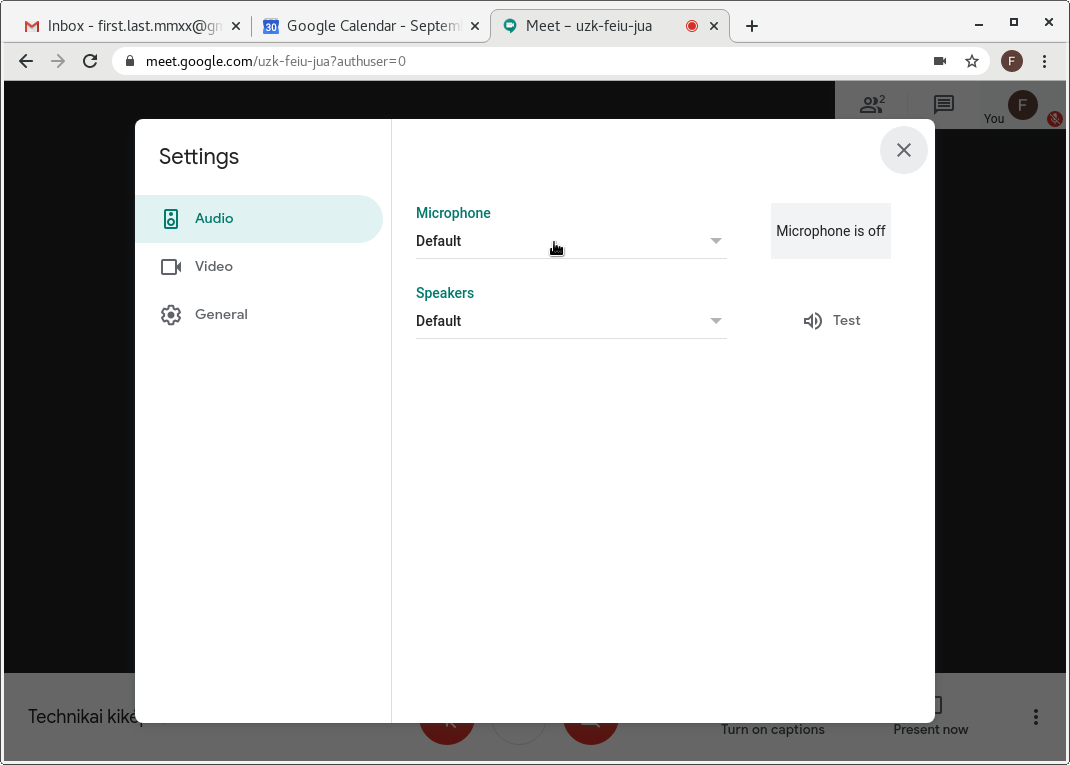
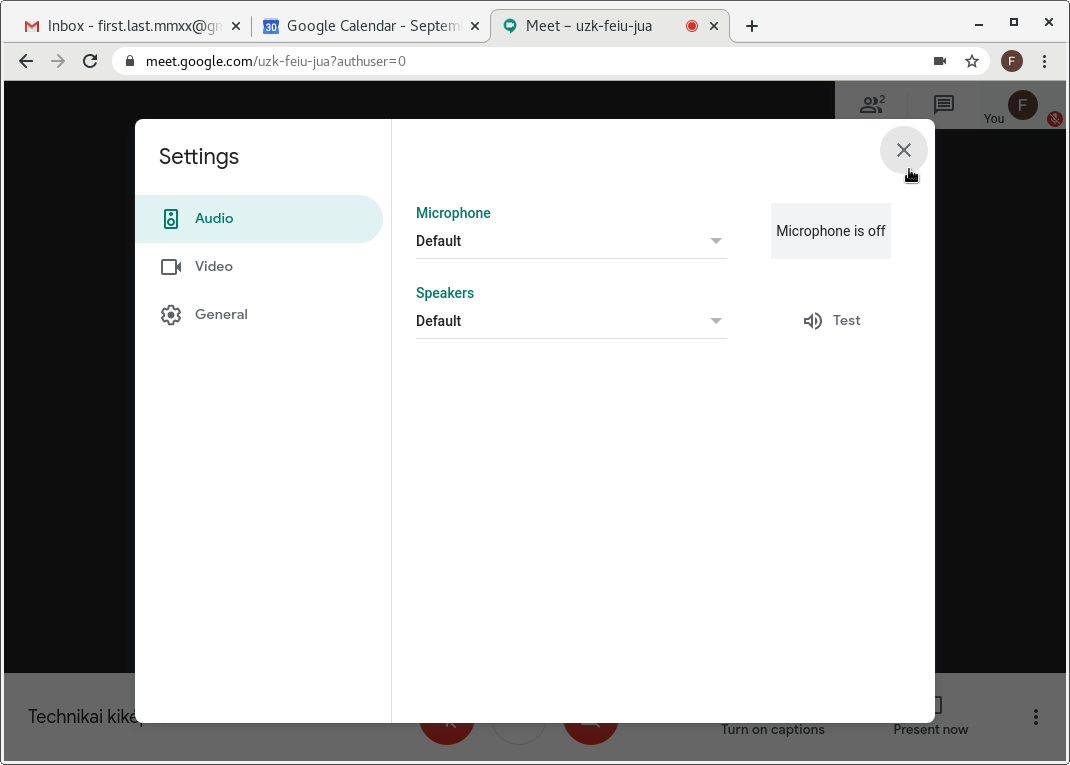
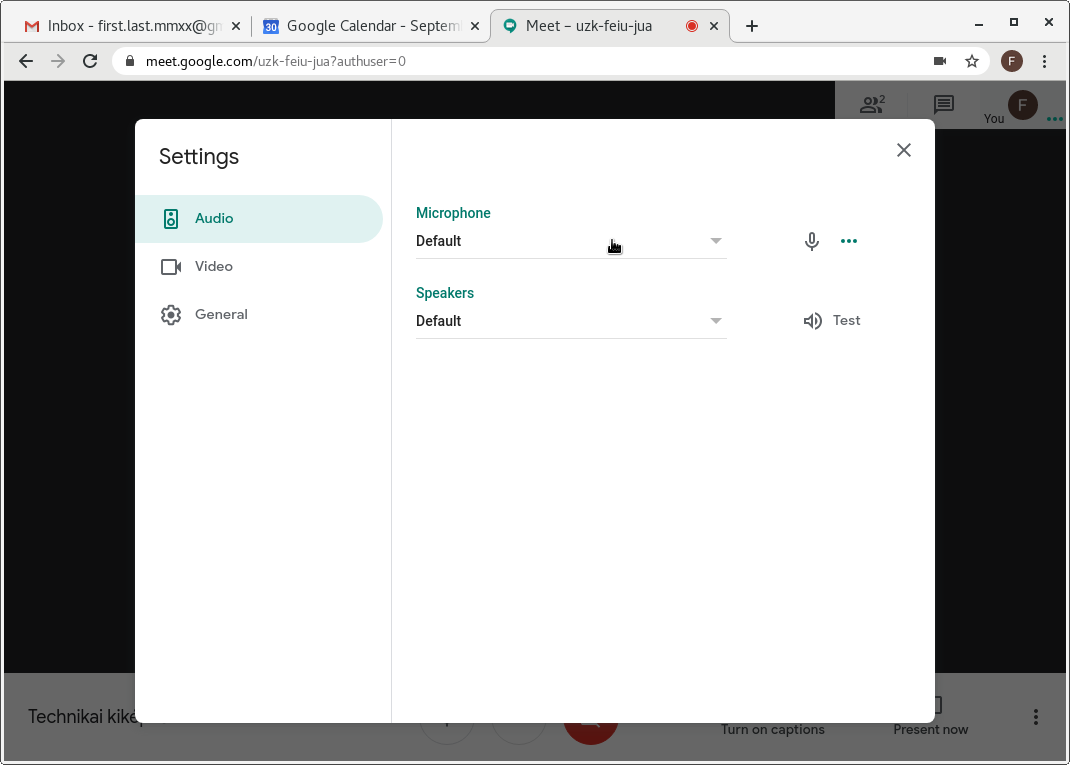
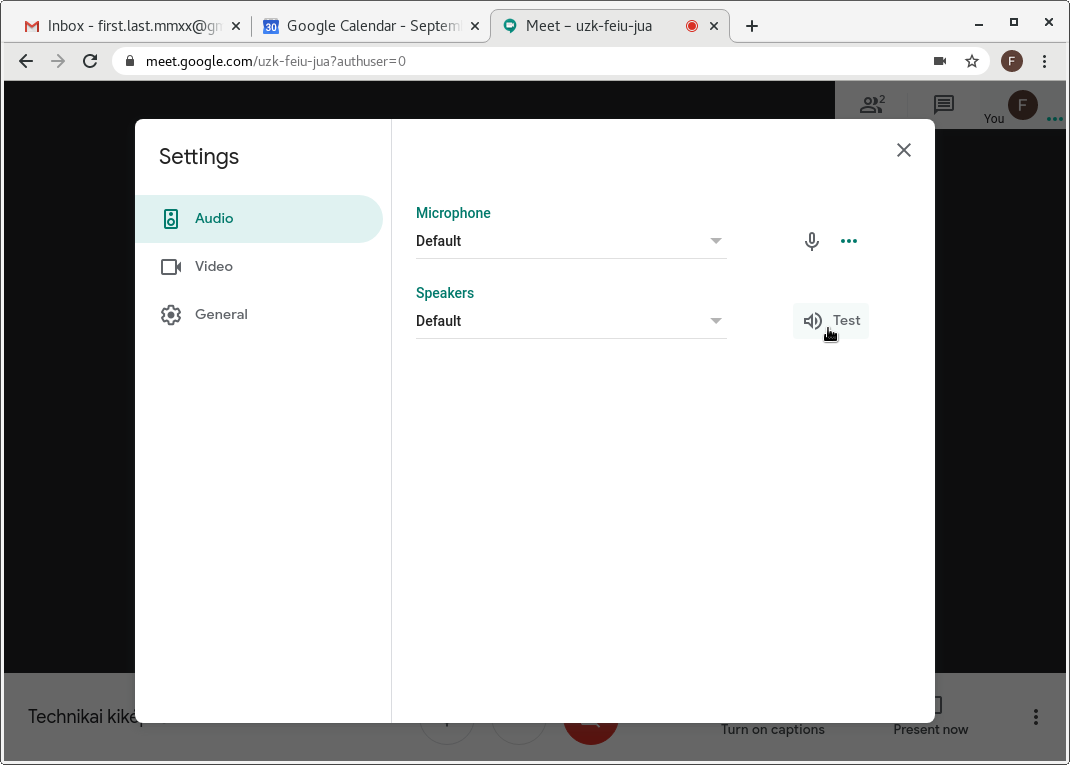
Using Google Meet
This page intends to guide you to learn how to use the Google Meet interface during meeting sessions.
This page is still under development.
- Step:
- Step:
- Step:

- Step:
- Step:

- Step:
- Step:
- Step:
- Step:

- Step:

- Step:
- Step:
- Step:
- Step:
- Step:

- Step:
- Step:
- Step:

- Step:
- Step:
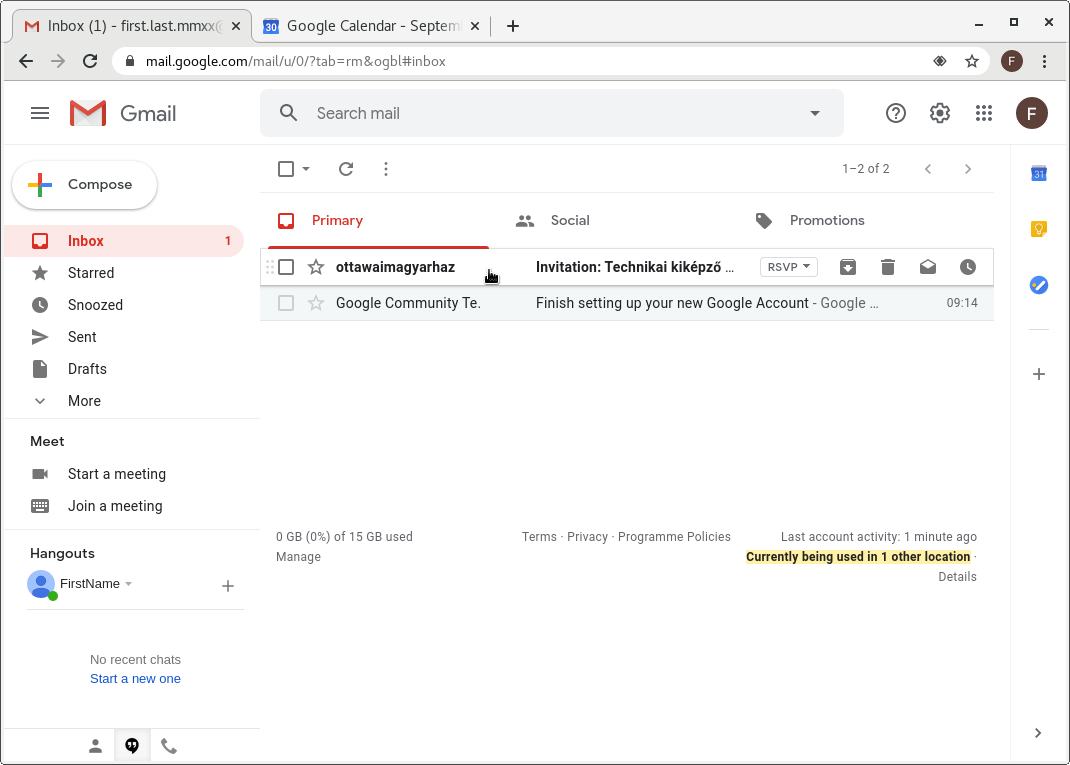
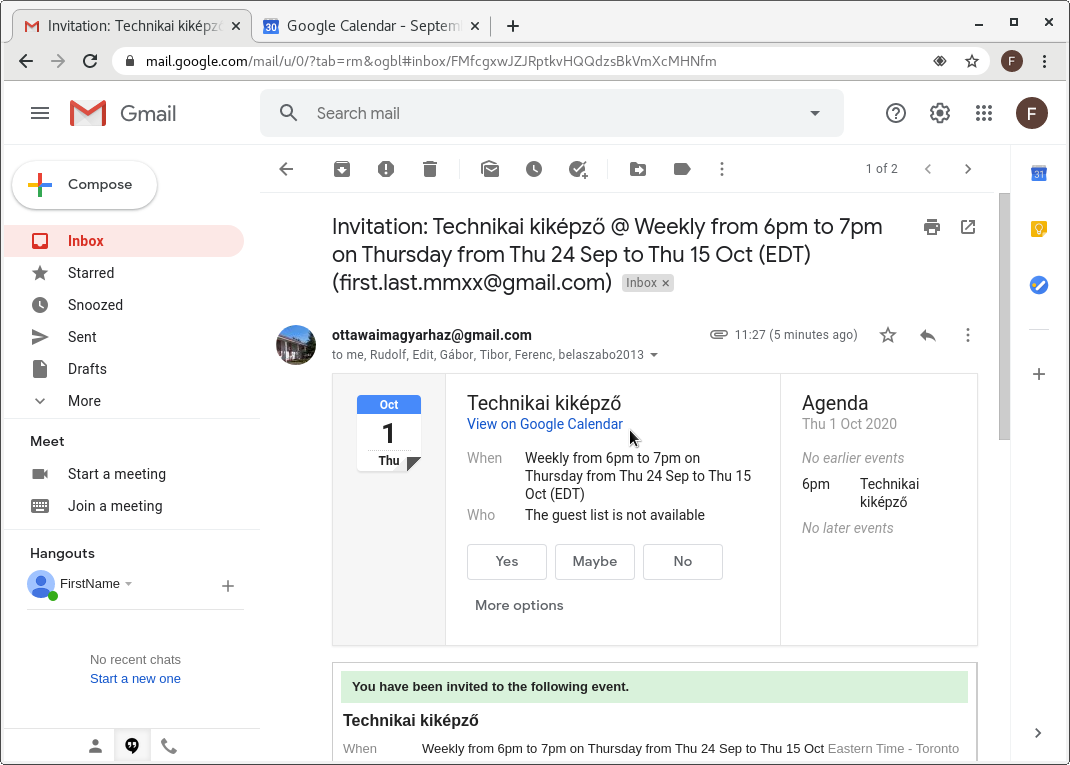
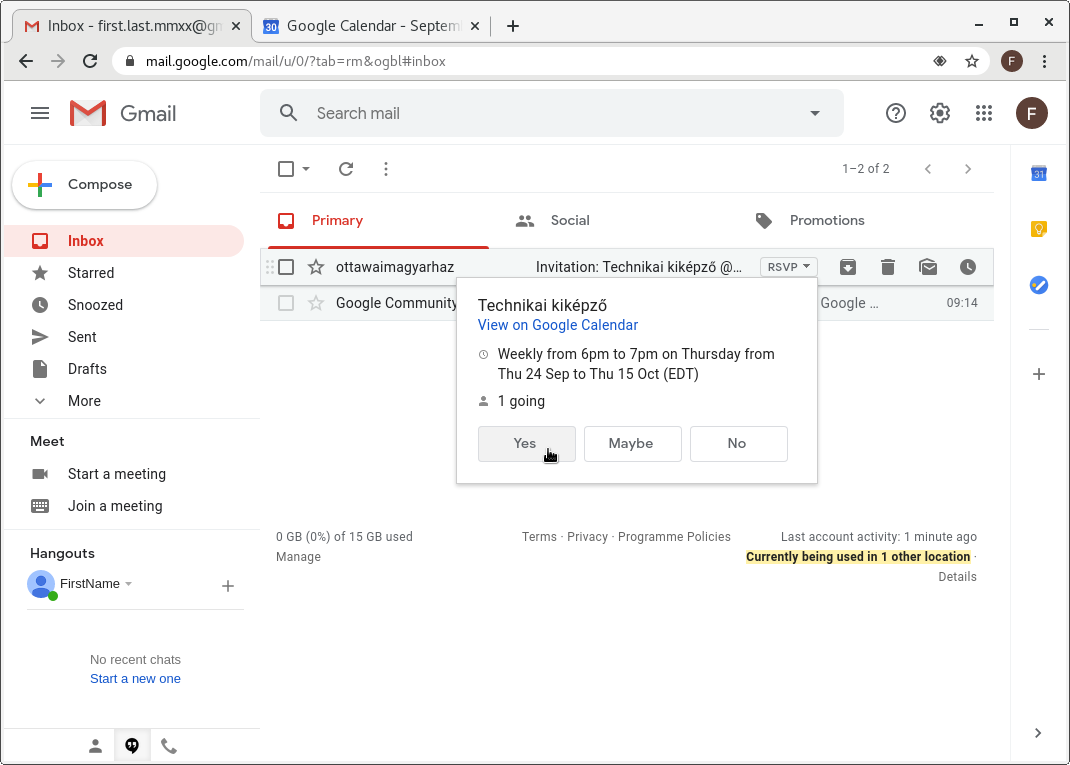
Joining a Google Meet Session
This page intends to guide you to accept and mark received Google Meet invitations into your calendar.
This page is still under development.
- Step:

- Step:
- Step:
- Step:
- Step:
- Step:
- Step:
- Step:
- Step:
- Step:
- Step:
- Step:
- Step:
- Step:
- Step:
- Step:
- Step:
- Step:

- Step:

- Step:

- Step:
- Step:
- Step:

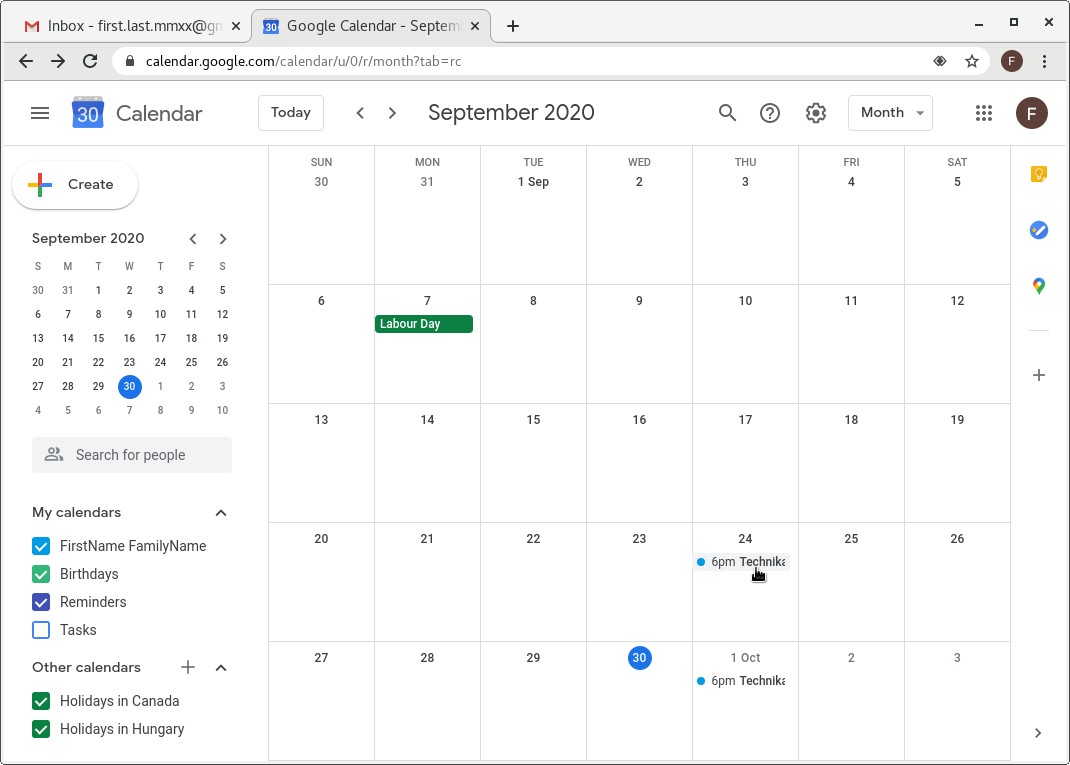
Accepting Google Meet Invitations and Marking them in Your Calendar
This page intends to guide you to accept and mark received Google Meet invitations into your calendar.
This page is still under development.
- Step:
- Step:
- Step:
- Step:

- Step:
- Step:
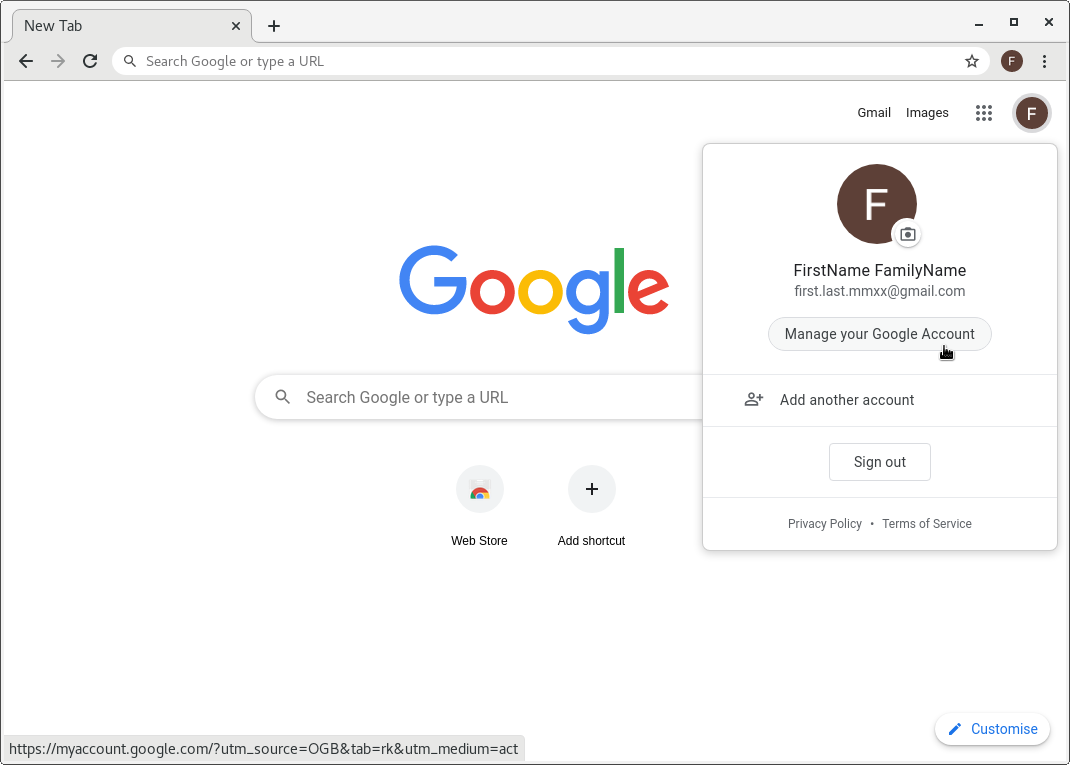
The Chrome Browser, Gmail and Calendar Interaction
This page intends to guide you to log in to your Gmail account using a regular browser window, and to make some personalized, yet important settings.
This page is still under development.
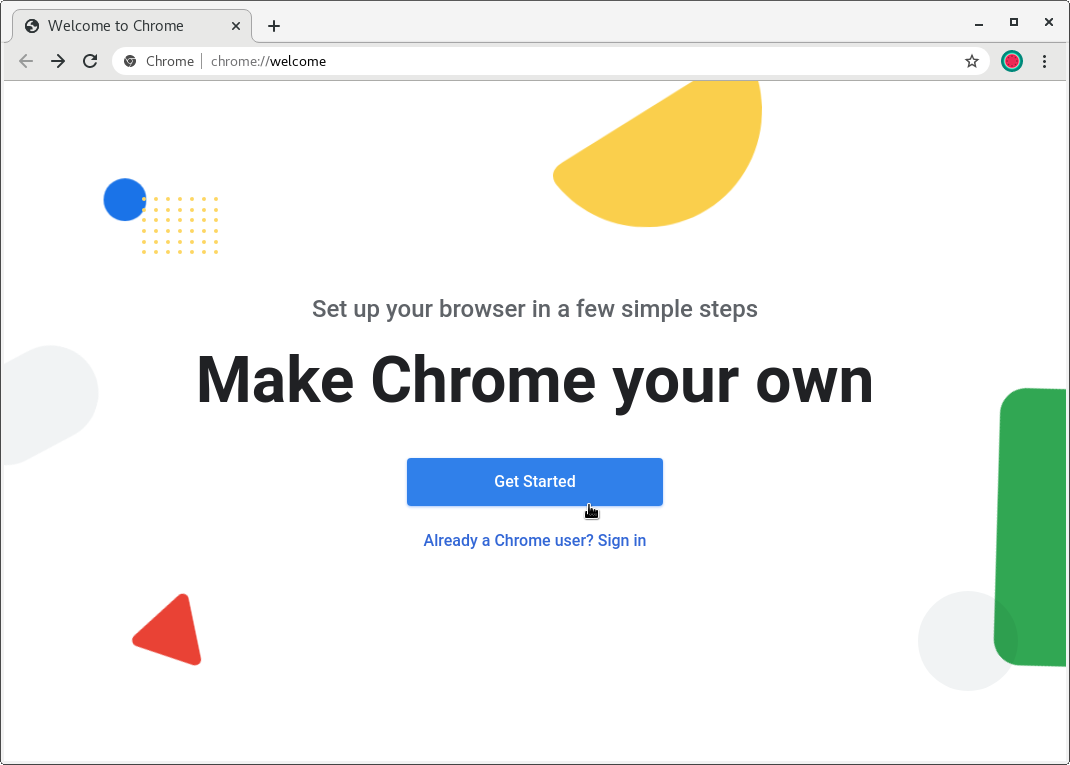
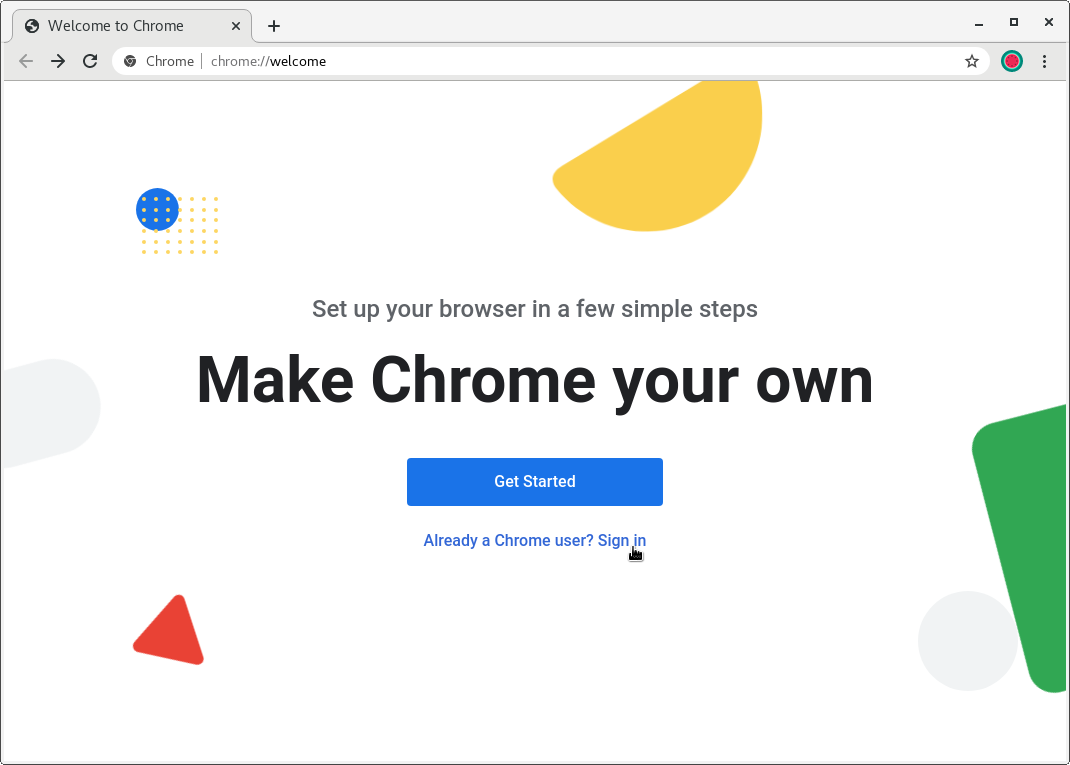
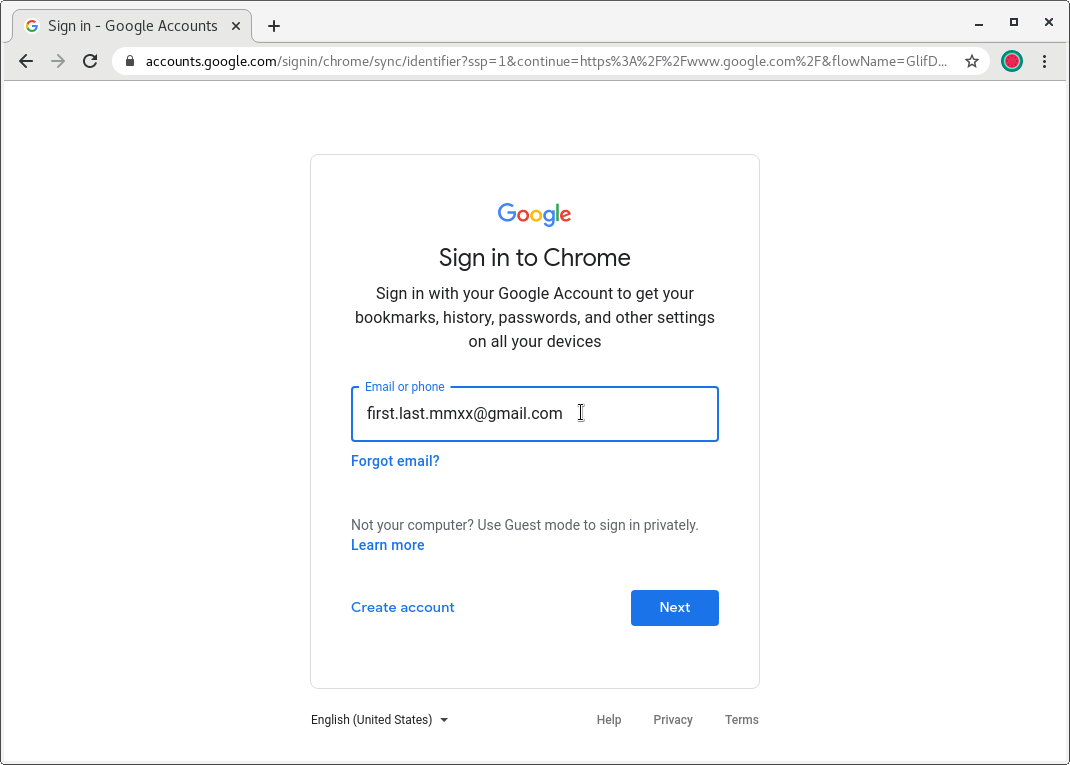
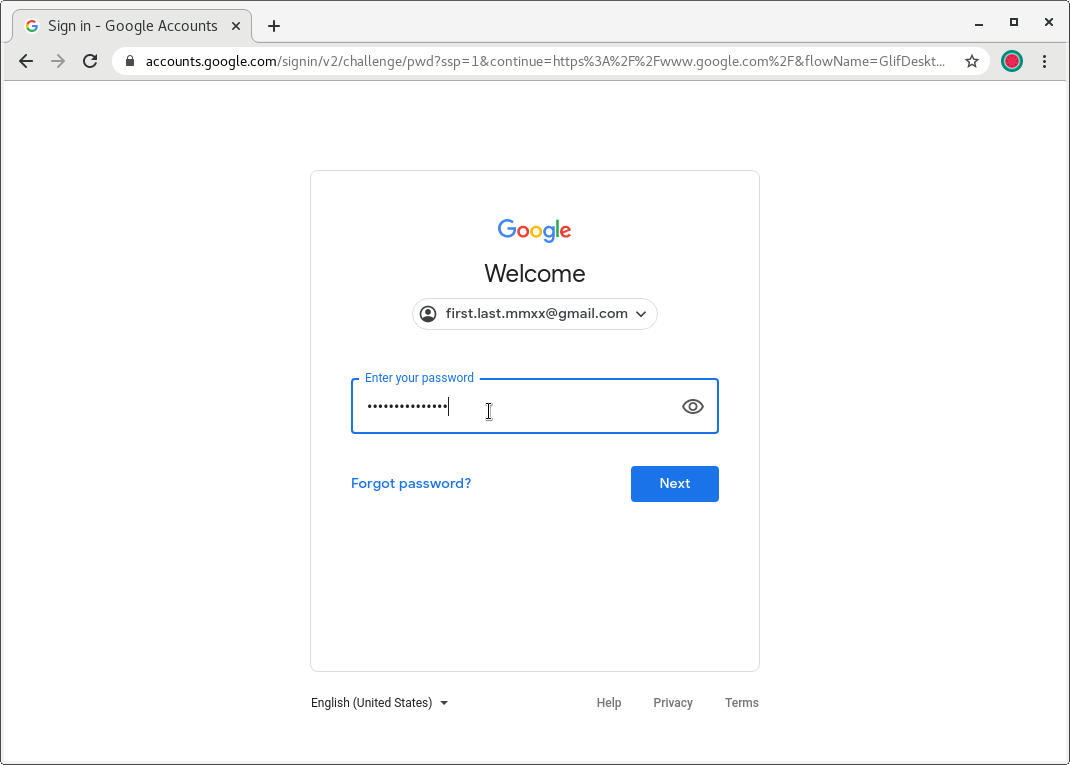
- Step: Open a regular Chrome browser window. You can opt to click on “Get Started” or …
- Step: … “Sign in”
- Step:
- Step:
- Step:
- Step:
- Step:
- Step:
- Step:
- Step:
- Step:
- Step:
- Step:
- Step:
- Step:
- Step:
- Step:
- Step:
- Step:
- Step:
- Step:
- Step:
- Step:
- Step:
- Step:
- Step:
- Step:
- Step:
- Step:
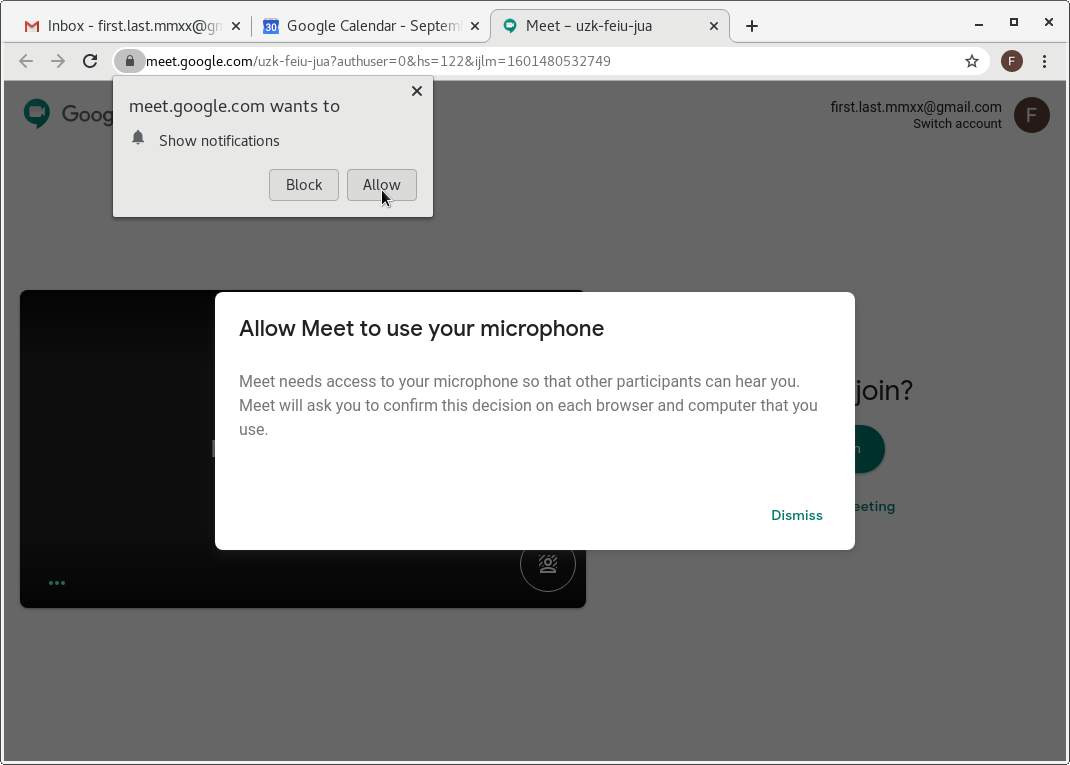
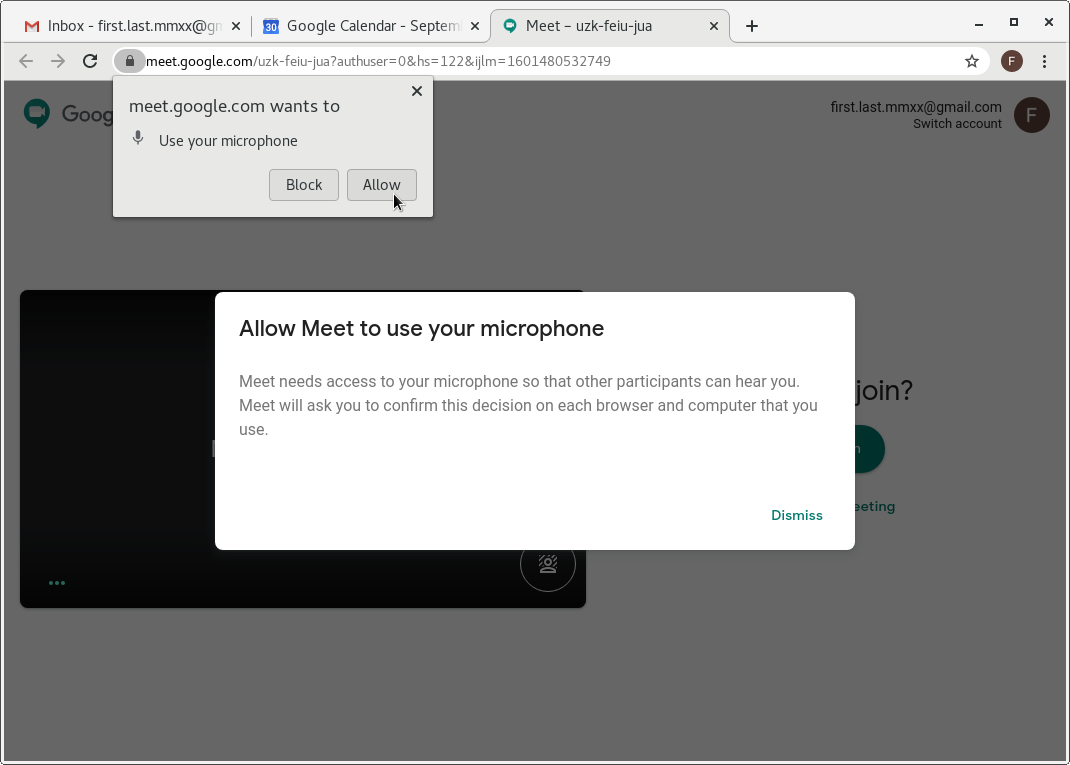
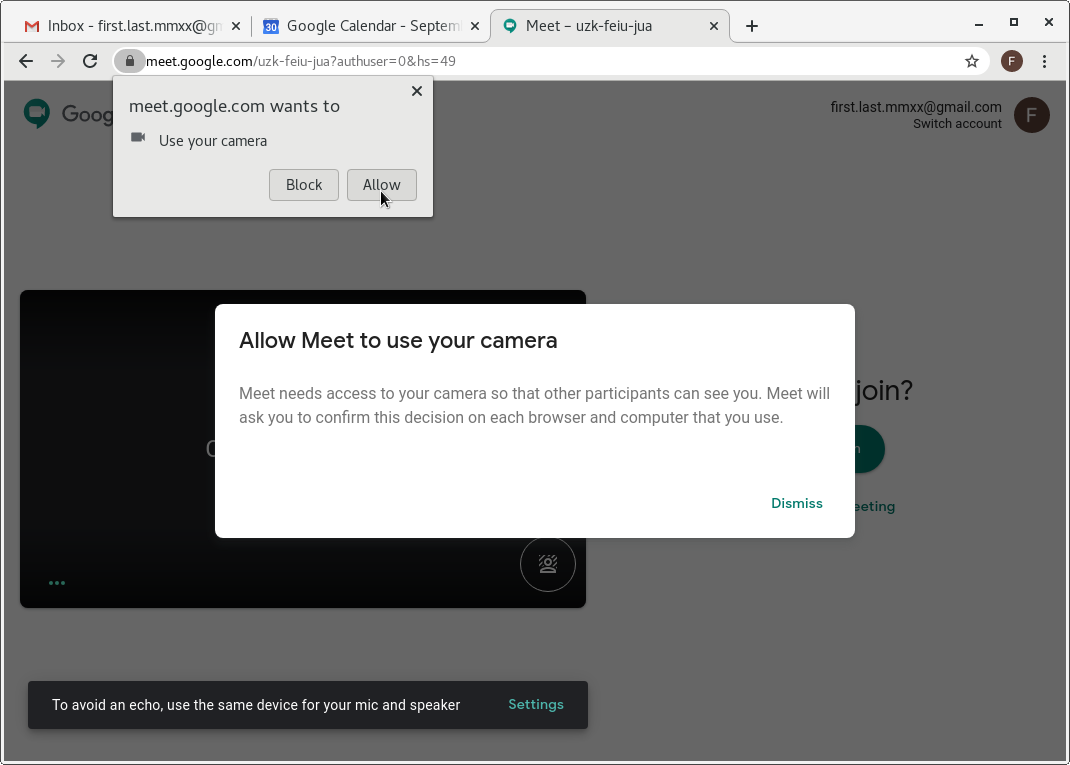
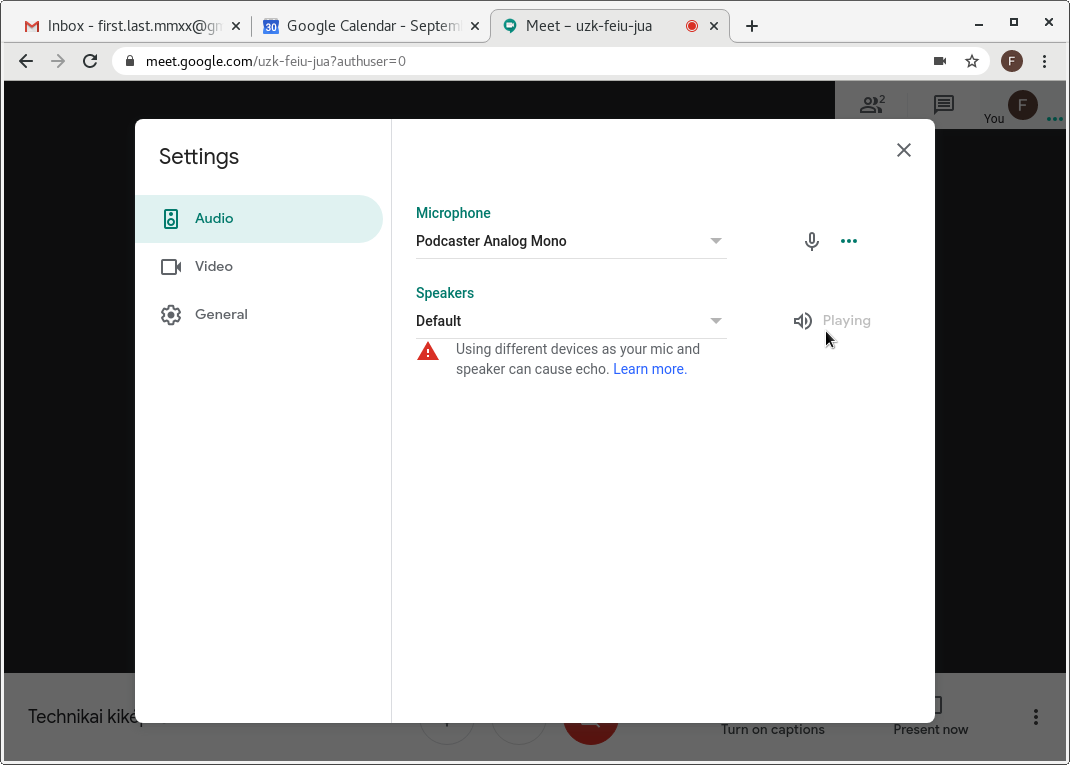
Enabling Web Site Messaging and Microphone and Camera Usage
This page is providing guidance to make the proper settings for Google Meet and calendar communication sessions. The settings discussed herein are accessible at any time.
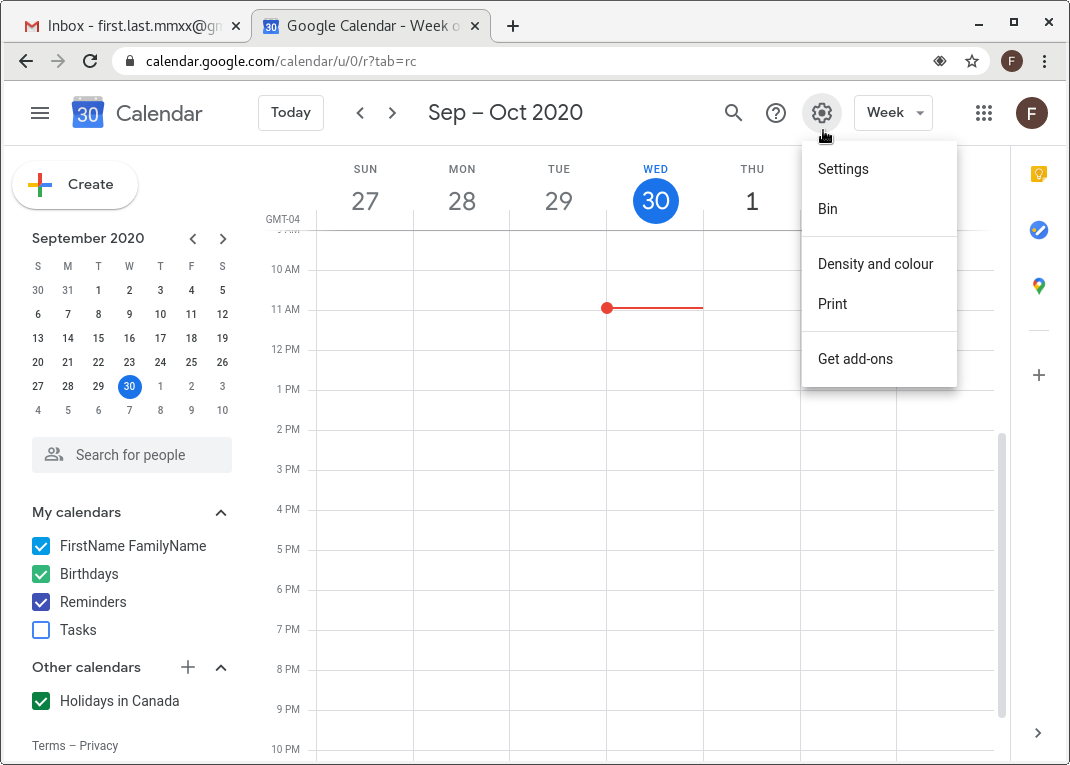
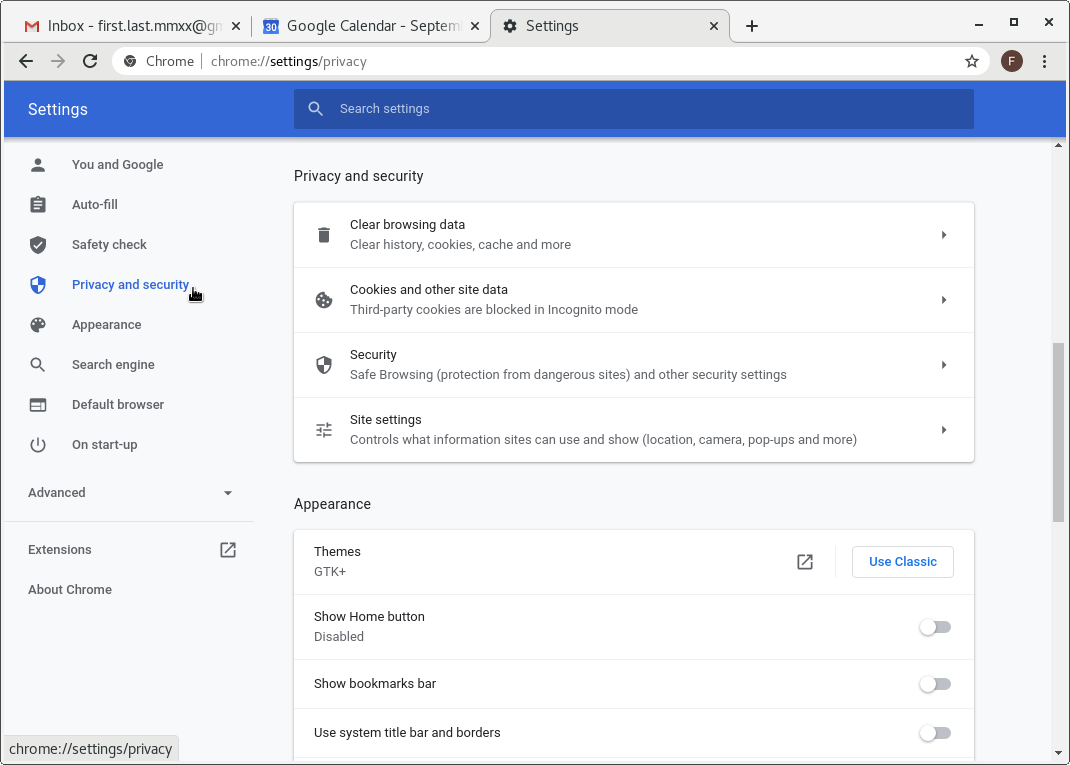
- Step: Security settings related to certain notifications and to the usage of the microphone and camera devices are accessible from the chrome settings. Use the icon with three vertical dots in the upper right corner of your window to access it.
- Step: Look for the “Privacy and security” menu iten in the right column. Left click on it once.
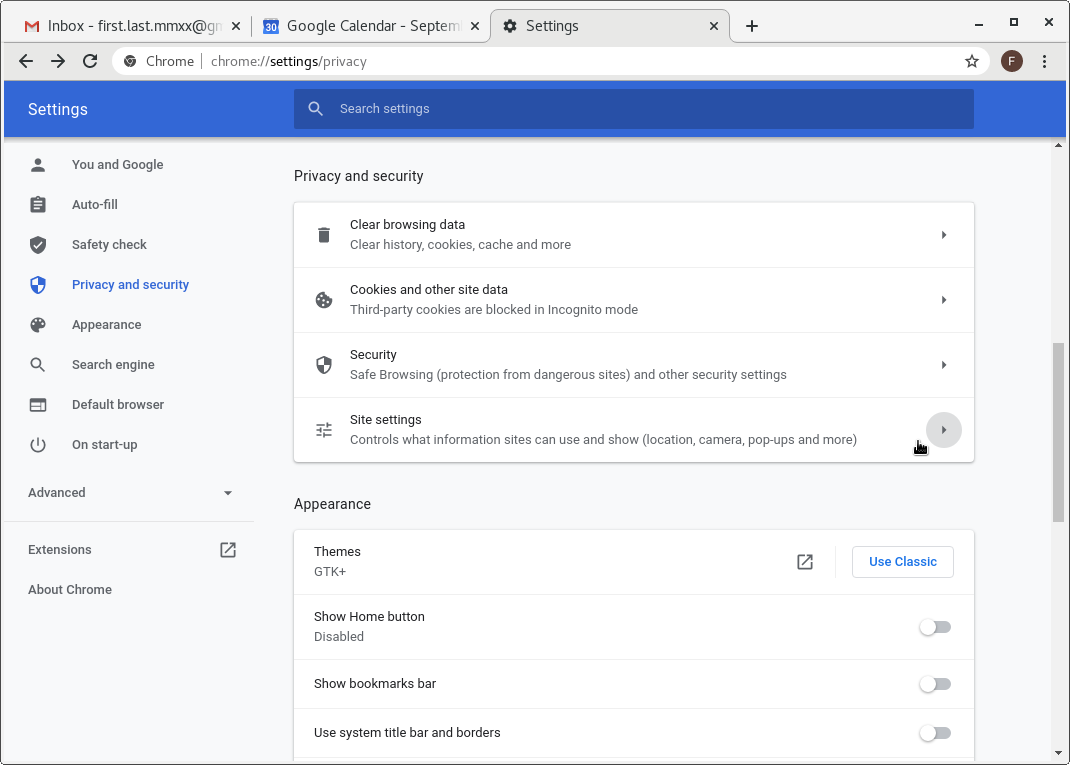
- Step: Browse further to the “Site settings” by left-clicking once on the menu icon.
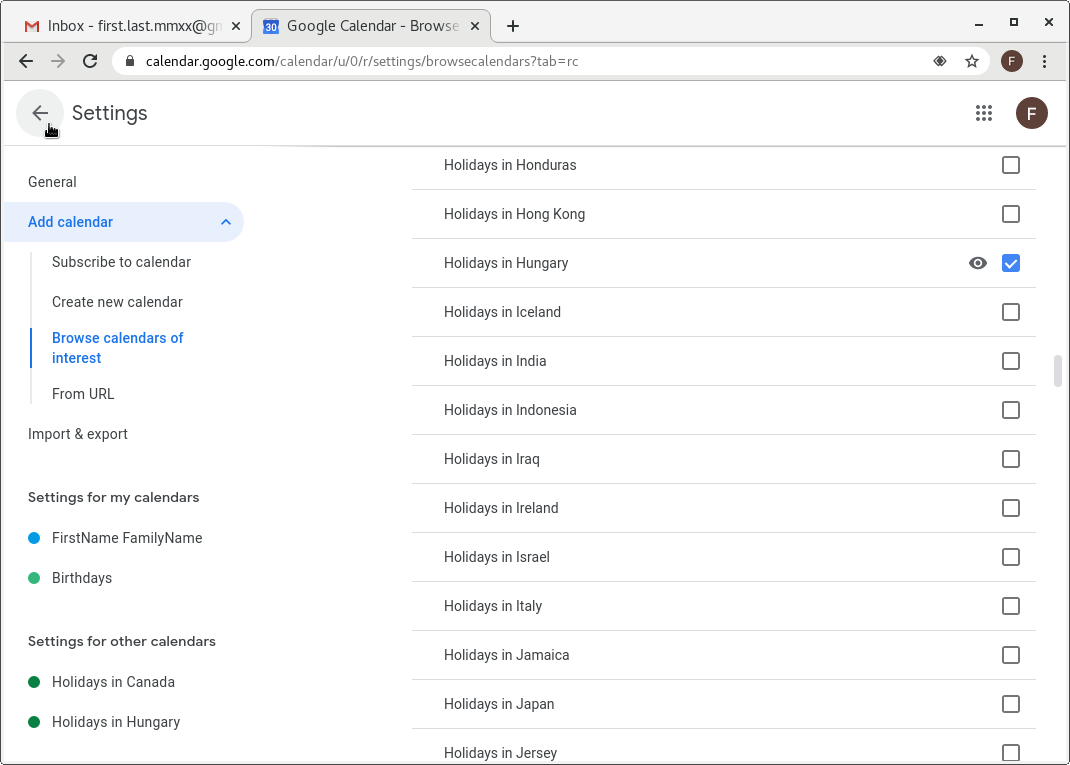
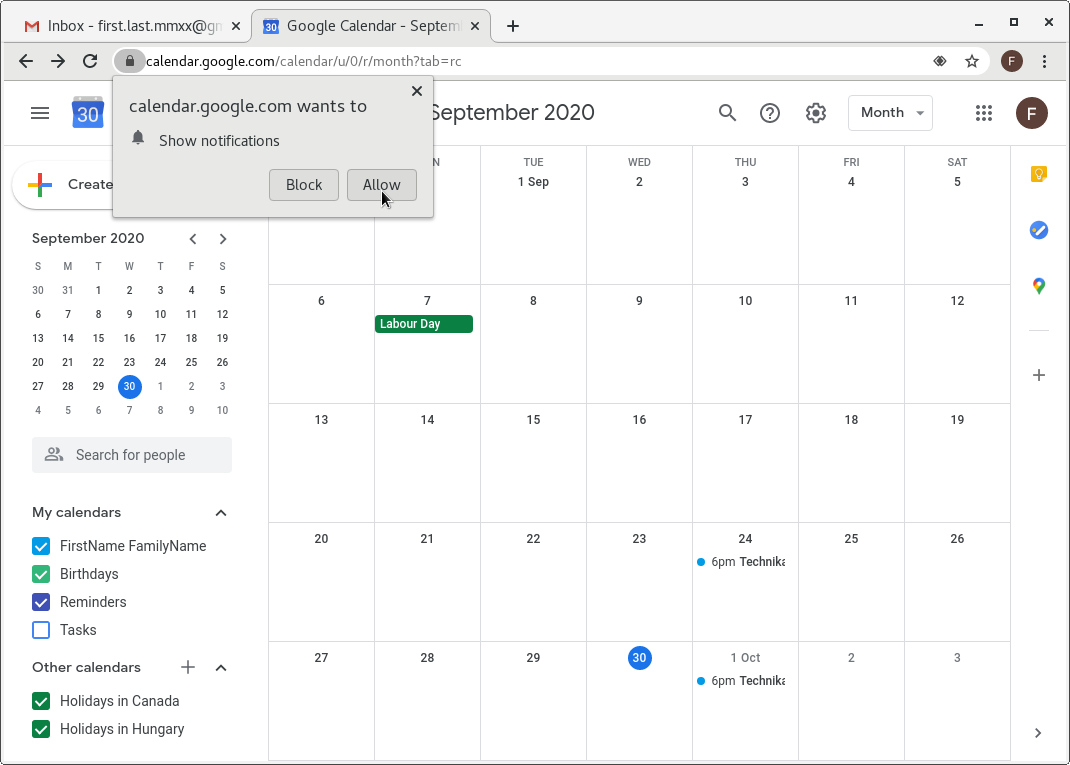
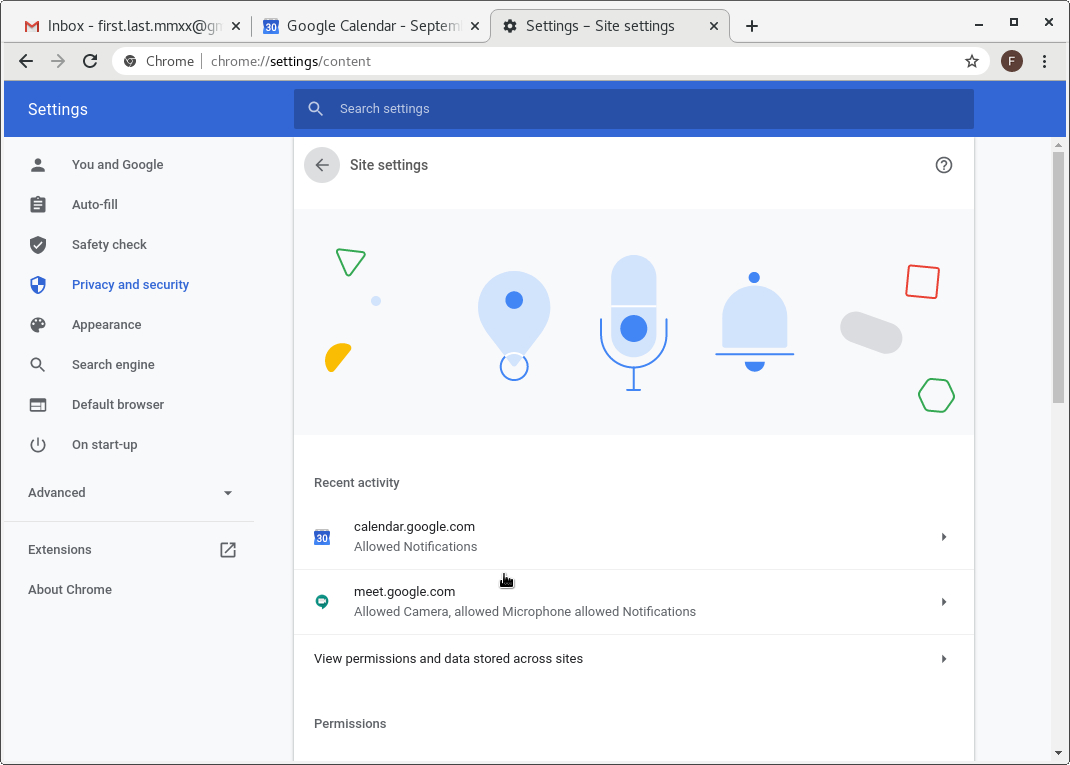
- Step: To enable notifications from Google Calendar and Google Meet, the indicated sites must be set to “Allowed”. Left-click the triangular icons to set or change these settings.
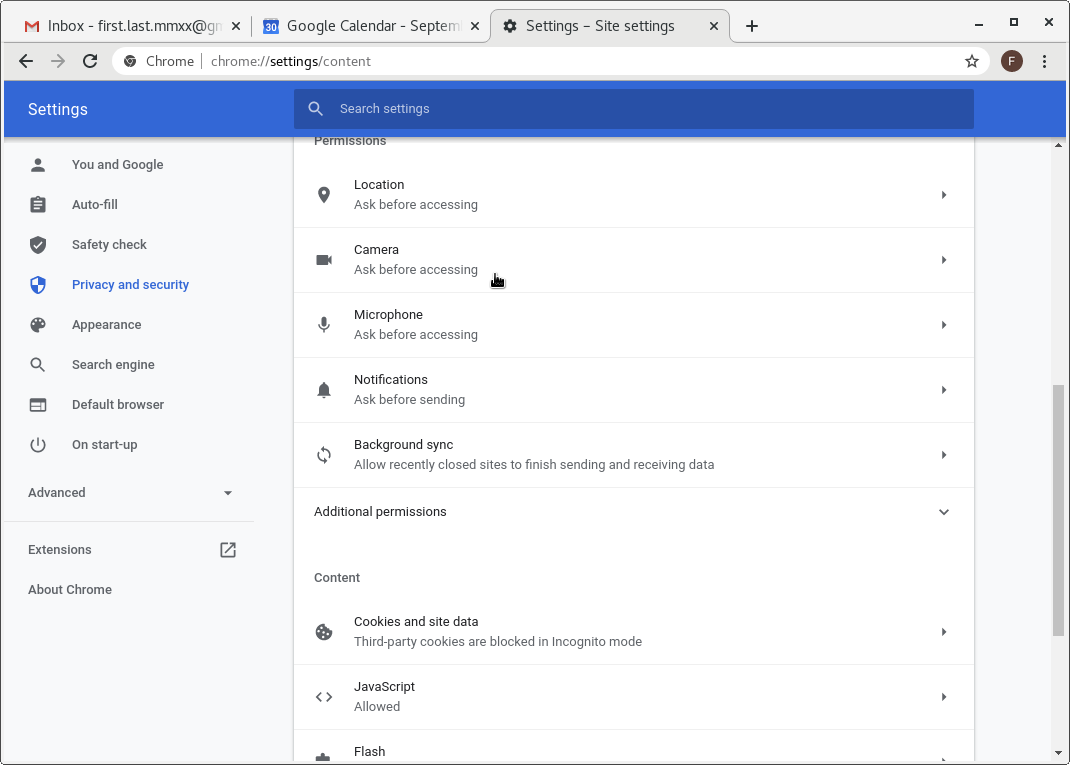
- Step: The idea is the same for the microphone and camera usage as for the notifications described previously.
How to Create a Gmail Account
In addition to the help available on the official Google website, this page is meant to aid users to create a legitimate GMail account for themselves. The help herein is for private accounts, not businesses.
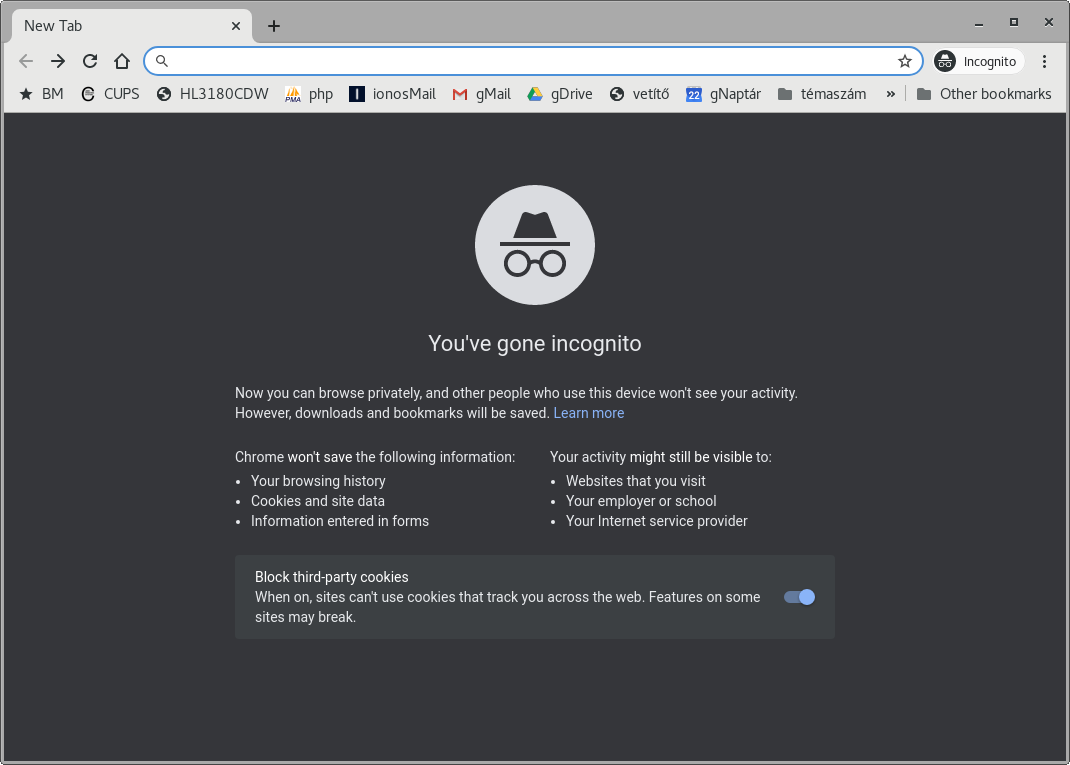
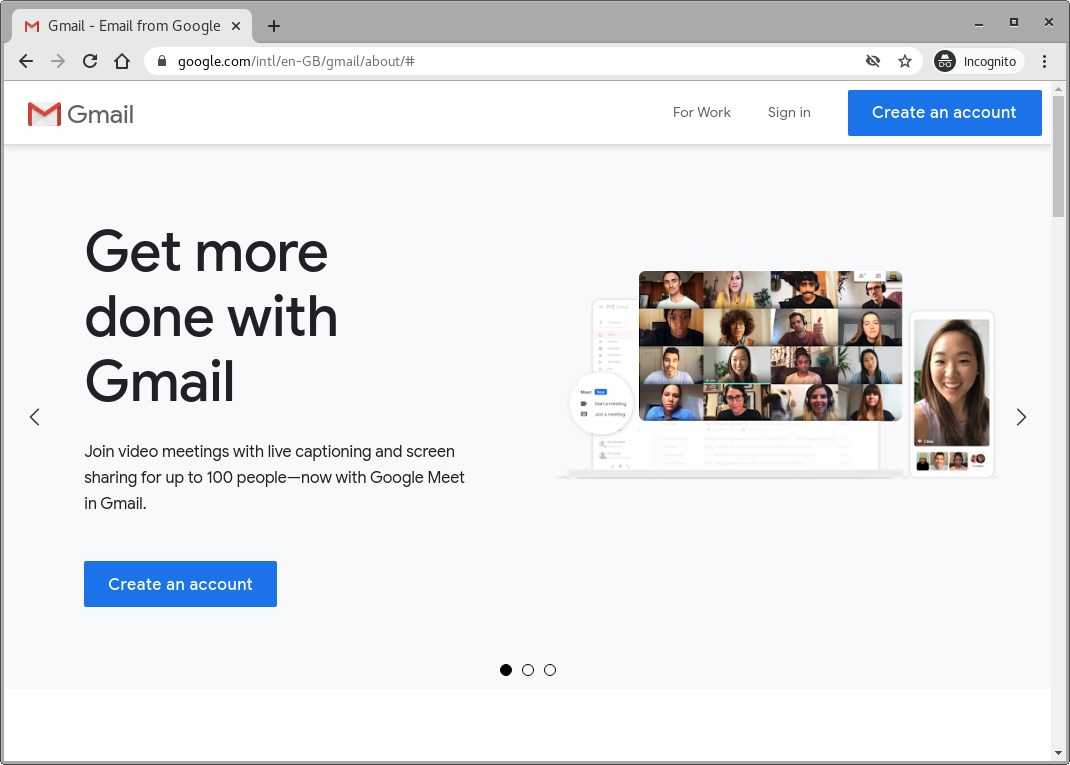
- Step: Launch a web browser of your choice. We recommend Google Chrome as it is best integrated with Google services. To make sure no local settings or browsing history on your computer affect the following process, the best is to launch it in “incognito mode”.
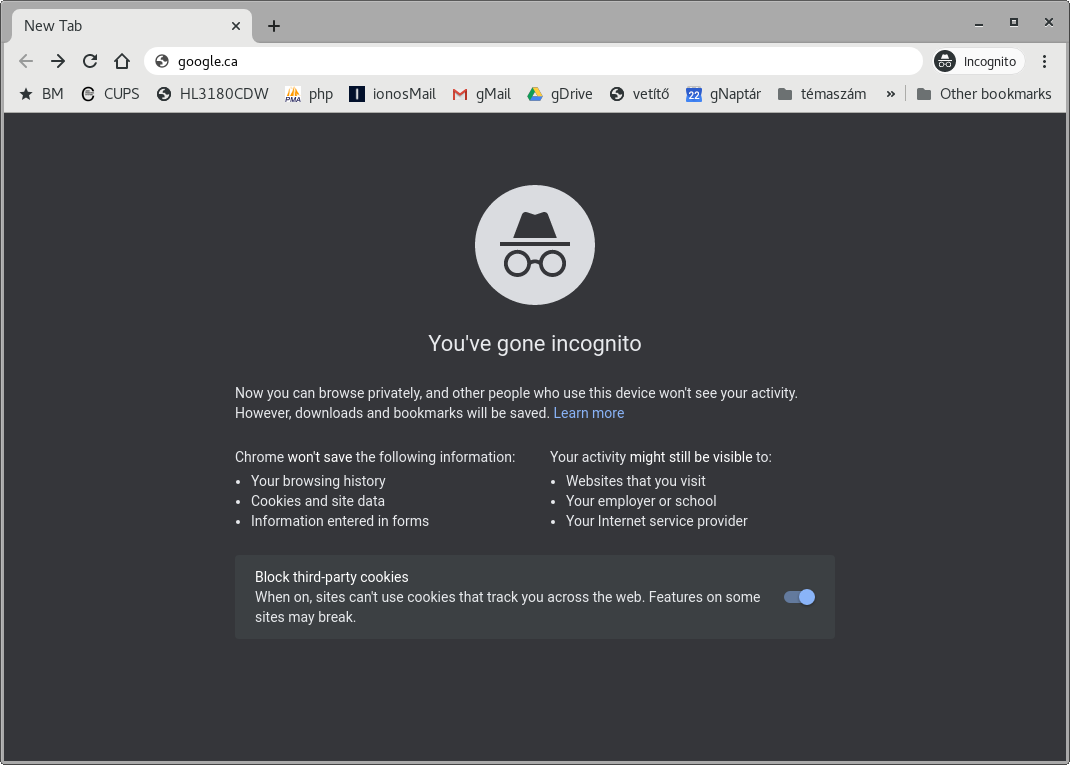
- Step: Start by typing in the Google web address. Since these help files are intended for primary use in Canada, the local .CA domain is suggested. The global .COM works as well.
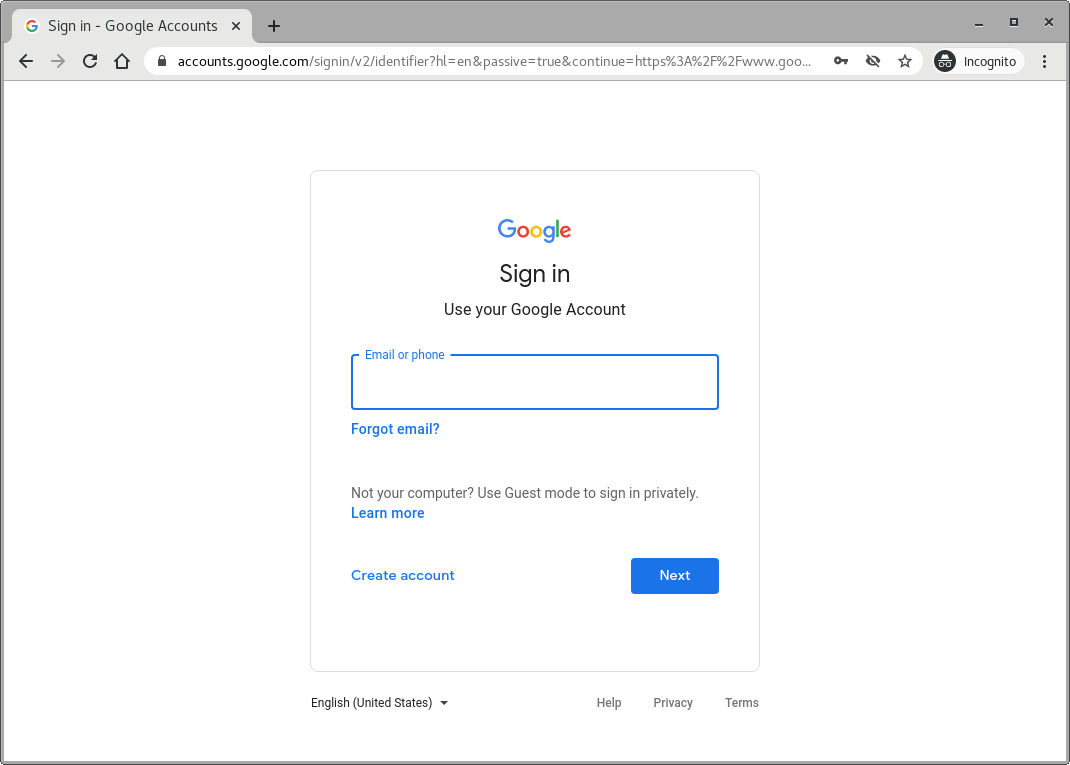
- Step: You can opt to click on the word “Gmail” (Variant A) close to the upper-right corner or click on the blue “Sign in” button (Variant B) along the same line.

- Step: Variant A: You got here by clicking on the word “Gmail” earlier. Now single left-click the wording “Create account”.
- Step: Variant A continued: Select “For myself” from the two-item shortlist popping up.
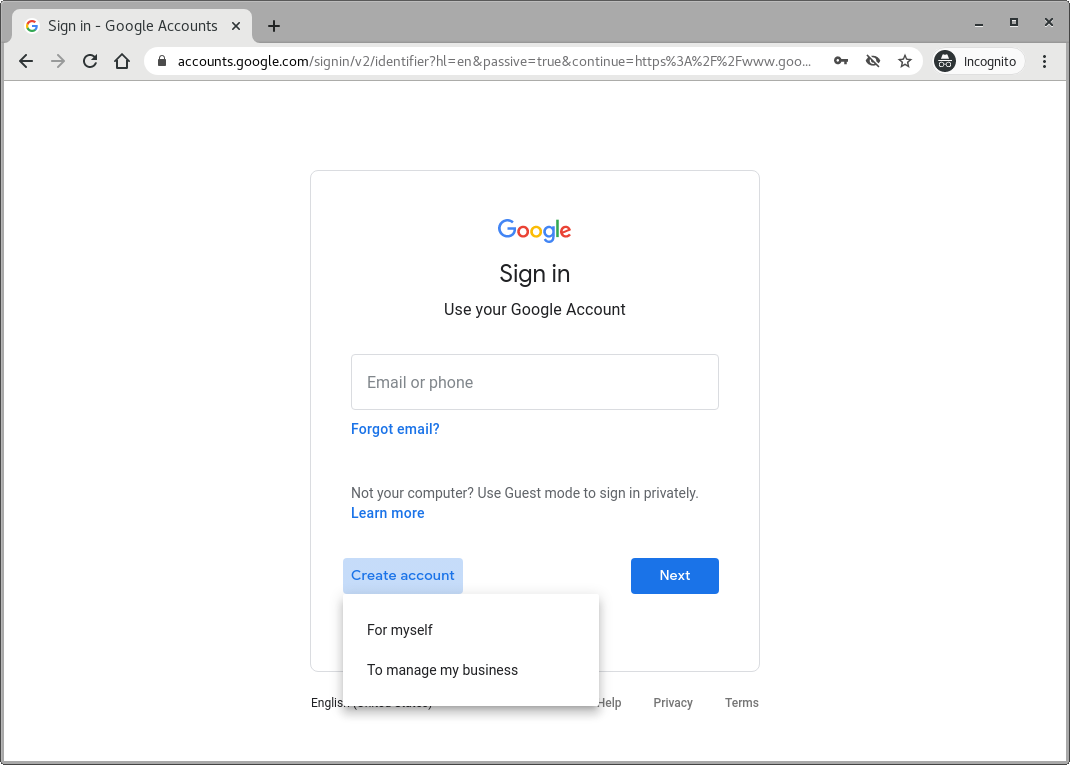
- Step: Variant B: You got here by clicking on the “Sign in” button. Now single left-click on the blue “Create account” wording.
- Step: Both variants lead to this page. Fill in the boxes with your personal data.
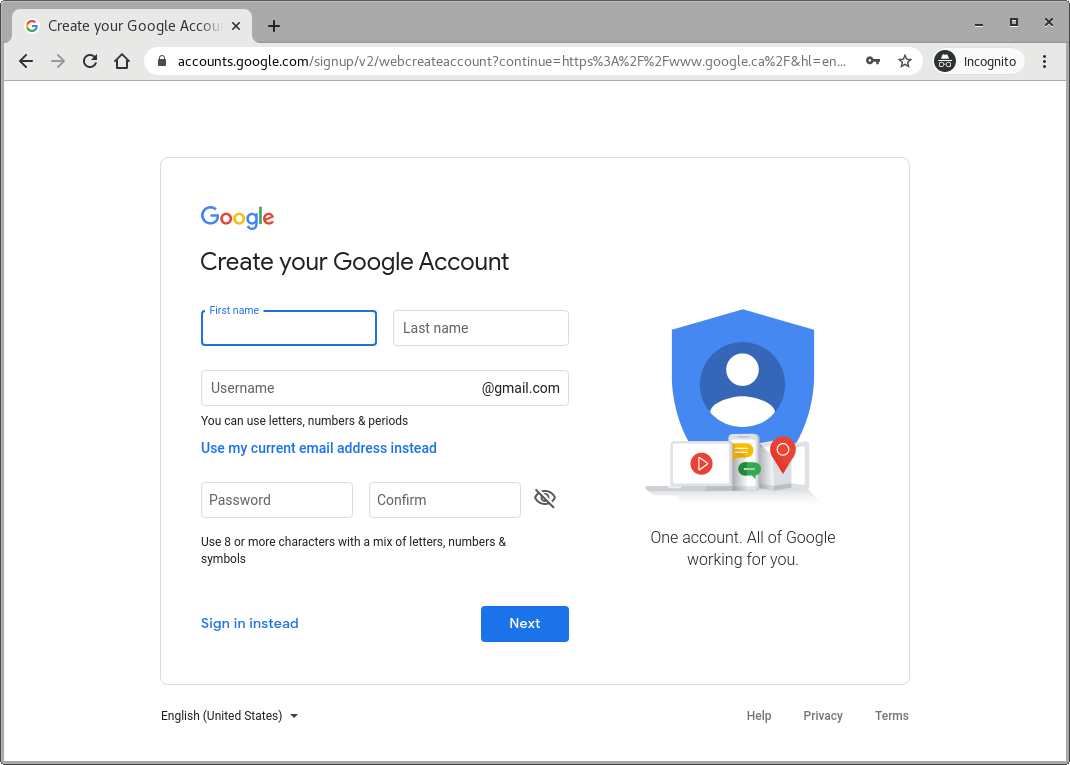
- Step: All lower and upper case accented characters are acceptable in both name fields, so if your name has such letters, you do not have to strip them off. Those accents are part of who you are, and show where your roots are. Also the “first name” is “keresztnév”.

- Step: You will notice that as soon as you start typing in your surname (or family name), the form generates usernames for you automatically. For sake of completeness, the “last name” is “családnév” or “vezetéknév”.

- Step: The automatically generated username is hardly ever what we wish to set, so feel free to change it to something more original, characteristic to you and, most importantly, something that you will always remember. Do not try to use accented characters in this field.

- Step: If you hit a nerve of the underlying mechanism, you will get an error message written in red. Do not panic, do not shut down or refresh your browser or tab, just go back to the field and type in a different username.
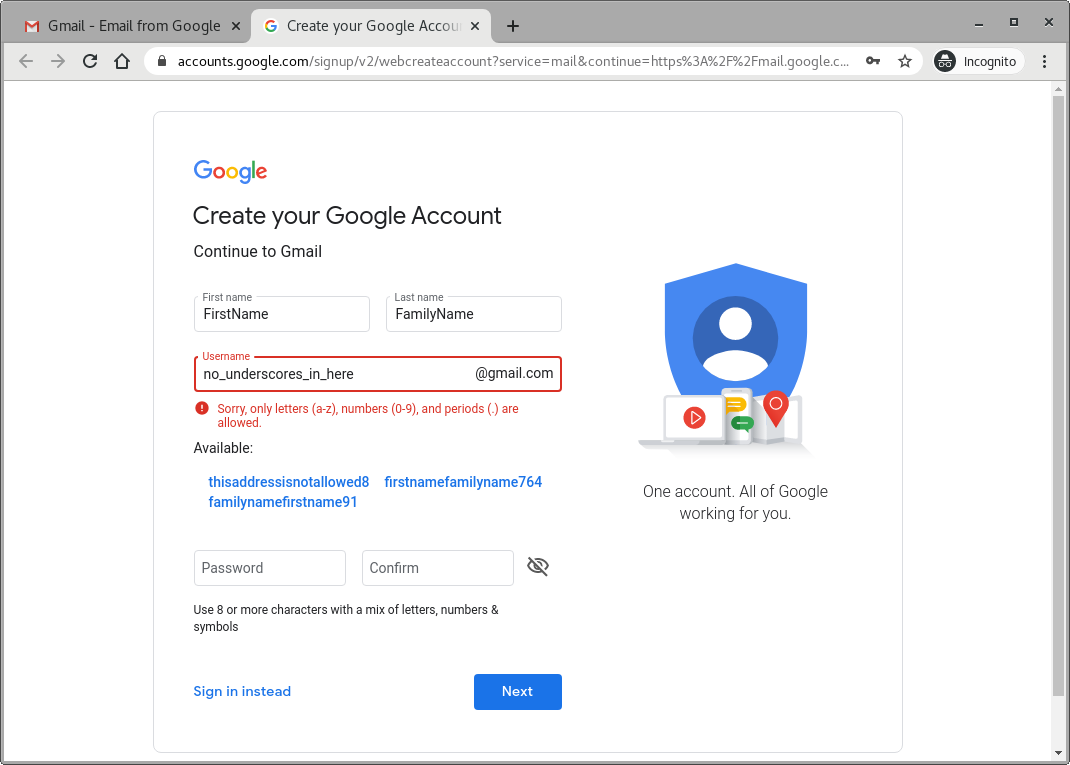
- Step: You might come across peculiar cases that do not make complete sense to you. Once again, do not shut down your browser or tab, just go back to the field and type in again a different username.

- Step: If someone else on Earth has already registered the same username you intend to use, you will have to choose a different one. This is a first-come-first-serve system.
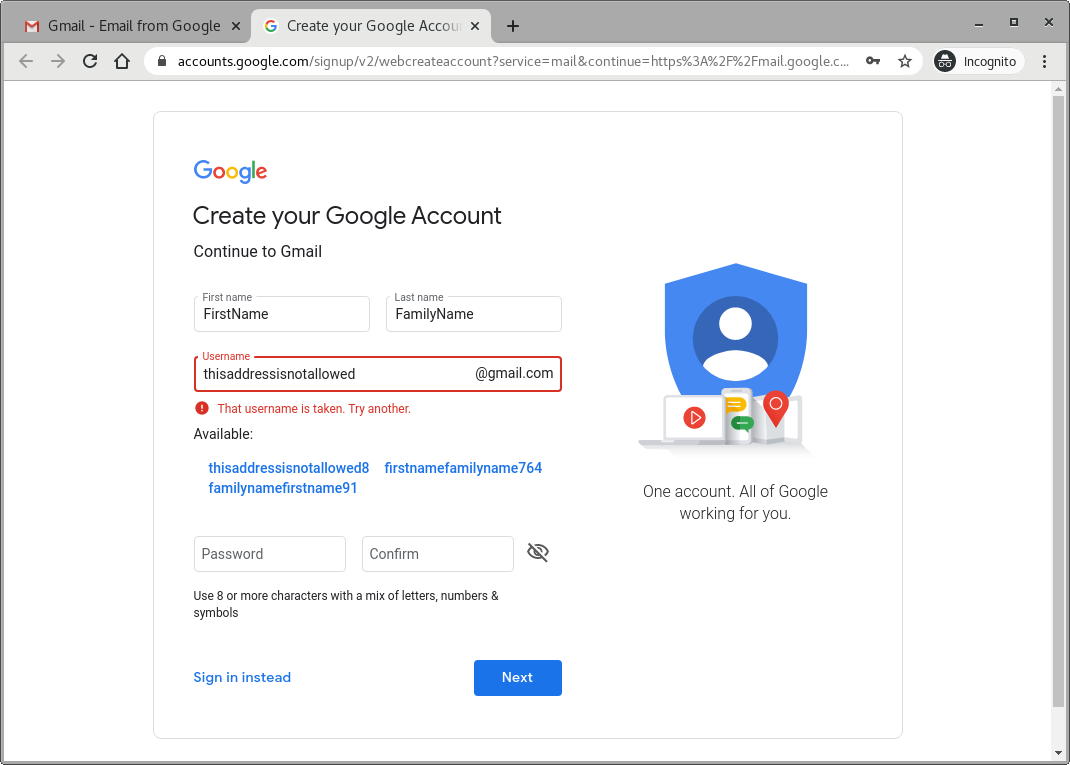
- Step: There is nothing wrong with being open and transparent in choosing your username. The key to security is in the handling of your passwords, not the construction of the email address. Here is an example of a full name and year of registration using Latin numerals (just for fun).

- Step: By clicking on the eye icon you can turn on the visualization of your password characters. The passwords are case sensitive. Do not use accented characters.
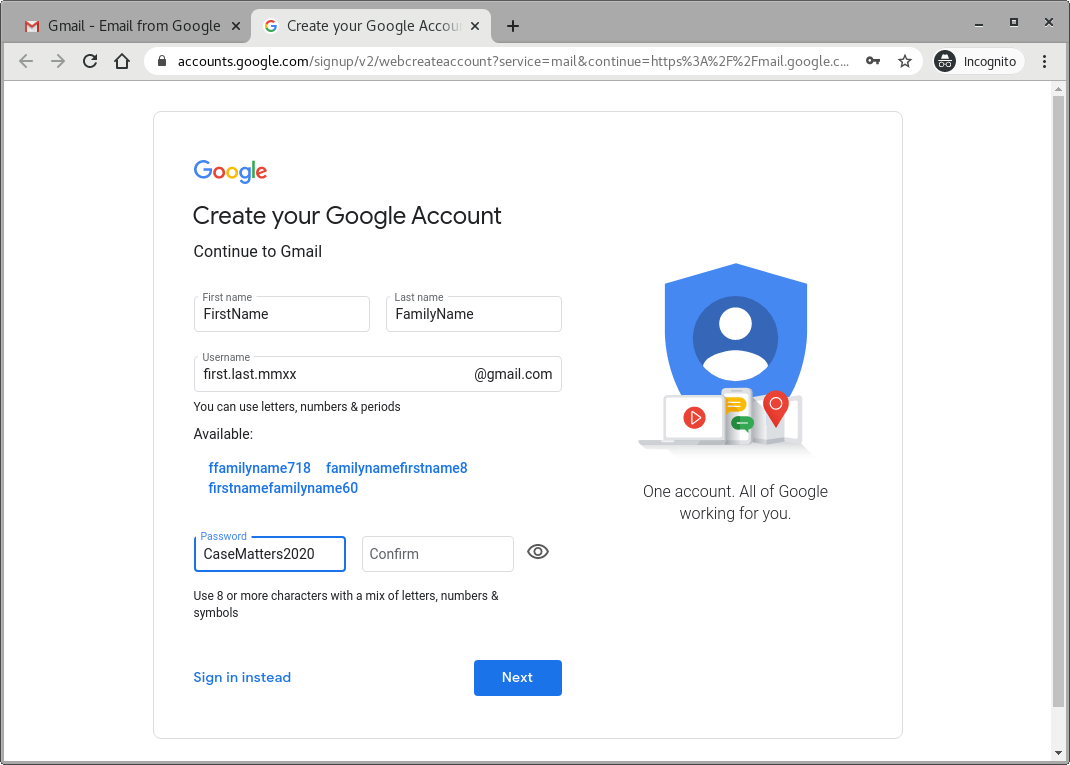
- Step: Make sure you type the same password in both of these fields correctly, otherwise you will not be able to proceed to the next step. If you miss, do not panic, do not shut down or refresh your browser or tab, just go back to both fields and pay more attention while typing. Also, make note of the state of the CAPS on your keyboard. It is not a good idea to type into password fields with the CAPS on.

- Step: If you click on the eye icon, your password will become hidden and shown in form of bullets. This is the state in which one should use these fields normally.

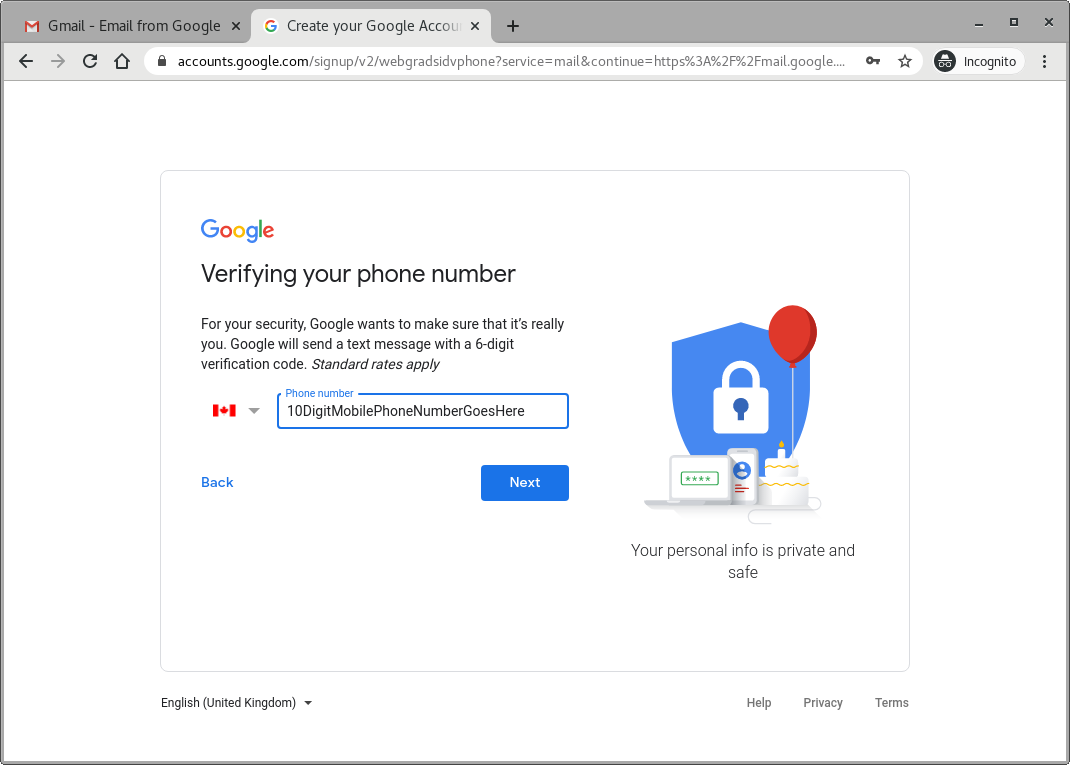
- Step: Google will ask you for your phone number so that they can make sure you are a real person. The best is to use a mobile phone number here. If you do not have one, a landline is also fine.
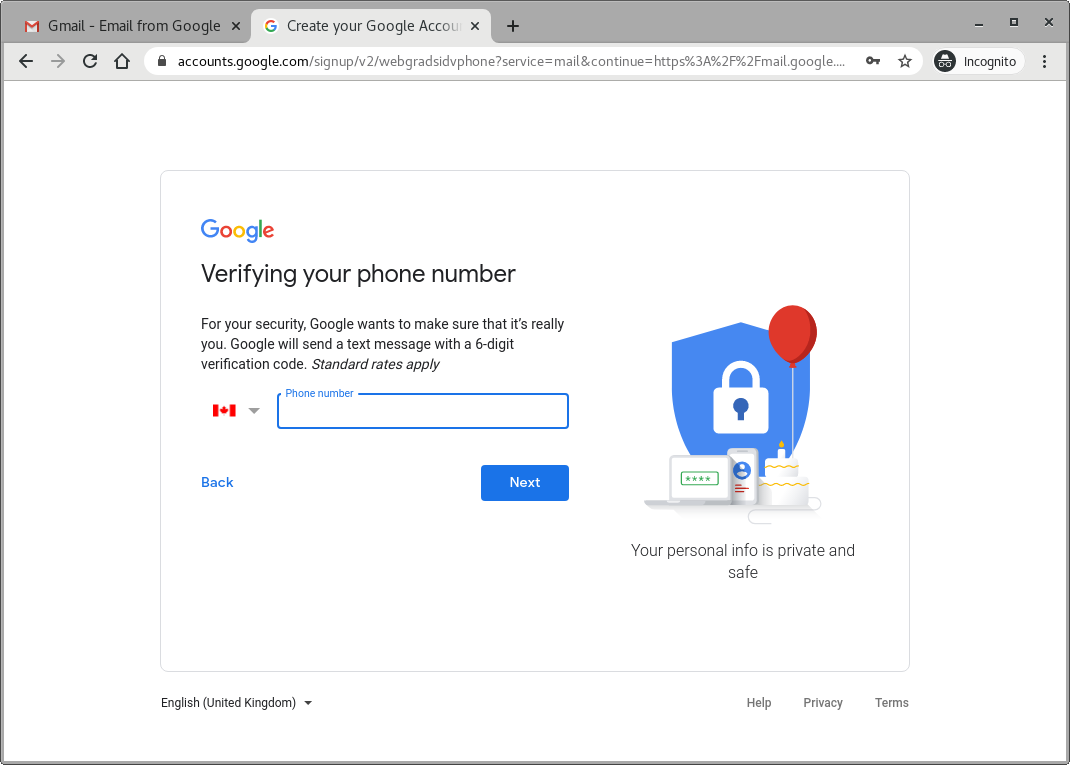
- Step: The phone number must contain both the area code and the number. Do not use spaces or dashes, only numbers.
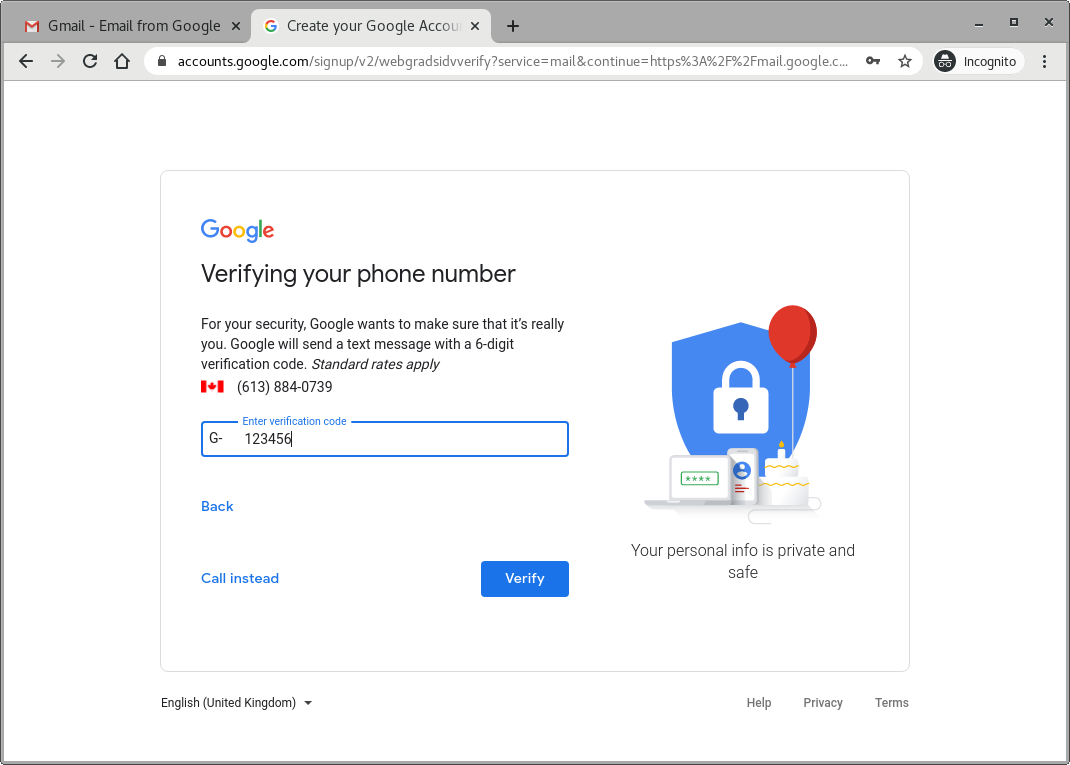
- Step: Google will send you a verification code very quickly. You will receive this as a text message if you used a mobile number in the previous step. The received code will look like “G-123456”. Only the numeric value will have to be entered here, “G-” is not needed. If the phone number you specified previously belongs to a landline, you can single left-click on the “Call instead” link. You will receive a phone call from Google servers very quickly. Listen carefully and write down the digits you are told, you will need to type them into the “verification code” field.

- Step: As just noted, only the numeric value of the code is to be entered here. Then single left-click on “Verify”.
- Step: There are a couple of more personal data to be entered here to complete your profile. The phone number will be pre-filled, but you can change it if you have to for some reason.
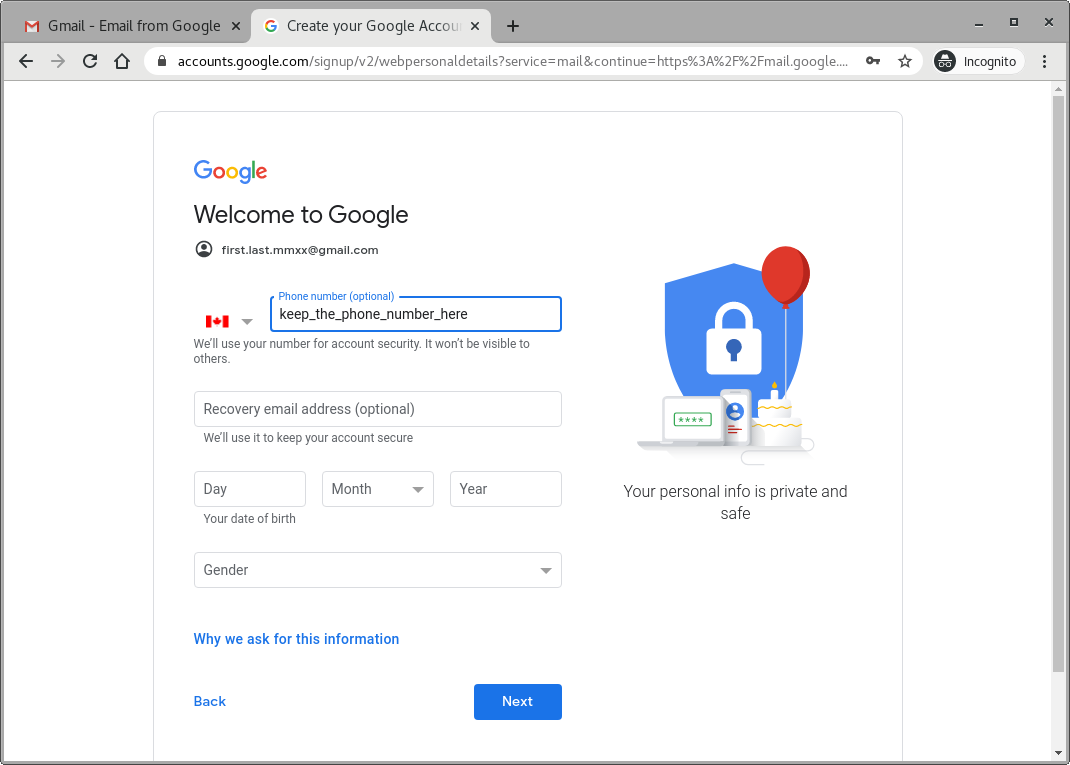
- Step: If you have already another E-mail address, it is wise to use it here. You will be able to regain access to this Google account in case you lose your password.
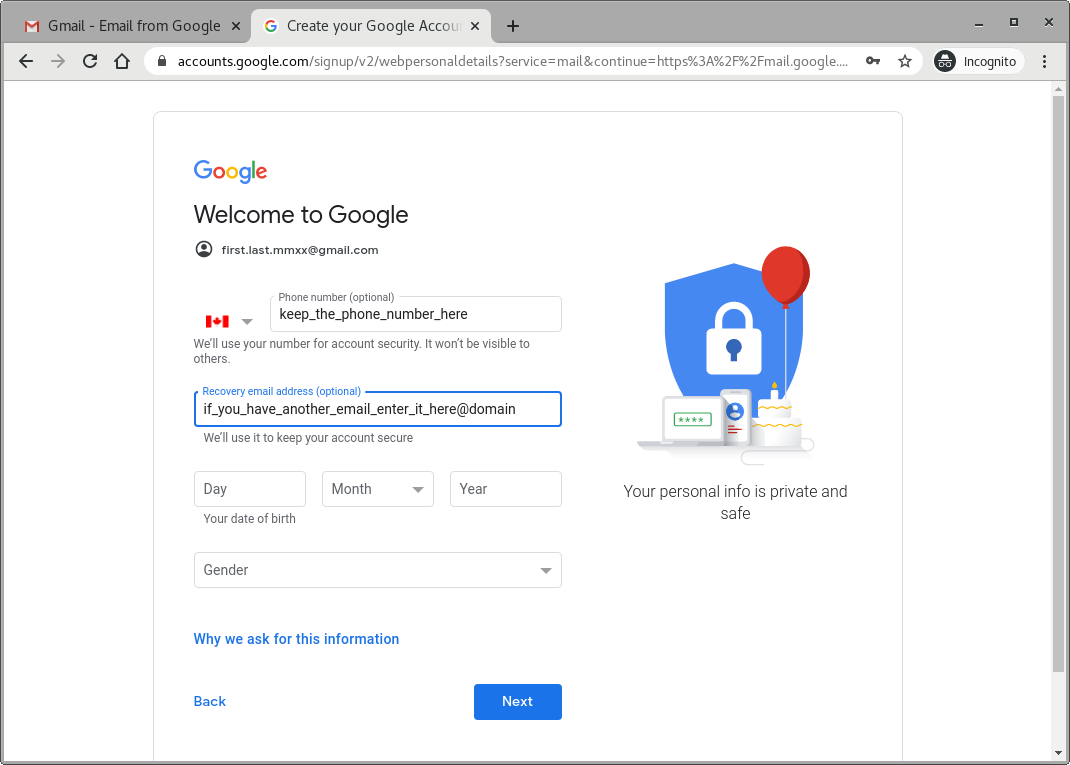
- Step: Personal data. Once all filled, click on “Next”.

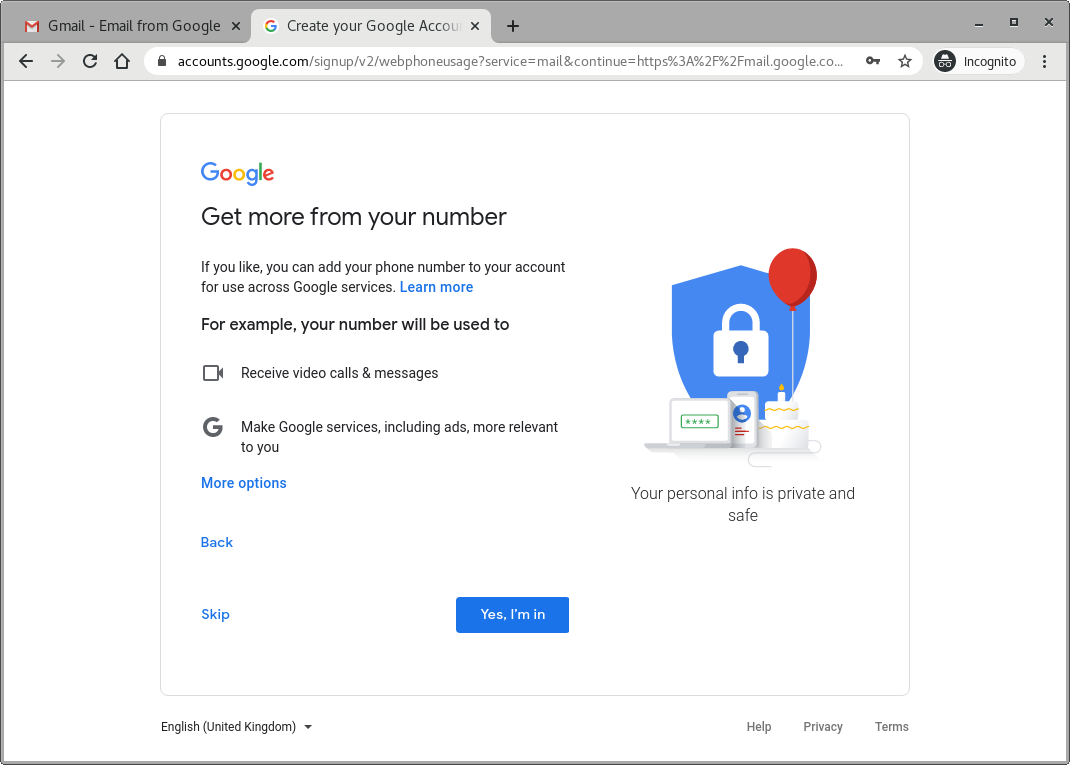
- Step: Being patient pays off later. Do not shy away from clicking on “More options” to set more parameters up properly right from starters. “Skip” leaves things unset, while “Yes, I’m in” might set too many things that you do not necessarily want. We recommend “More options”.
- Step: If you took our advice in the previous step, this is the screen you must be looking at. You have three choices. The first is the minimalist solution,…
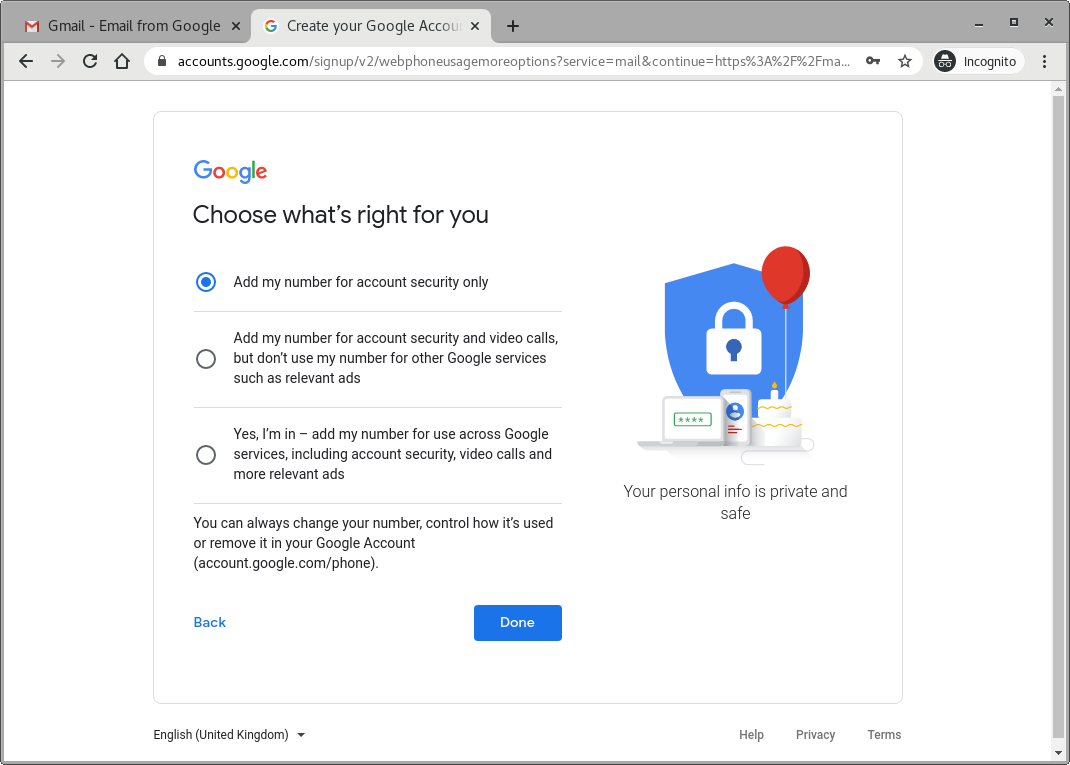
- Step: …the second is a bit more permissive and very useful, while…

- Step: …the last is the all-inclusive option. We suggest the middle one.

- Step: SKIP

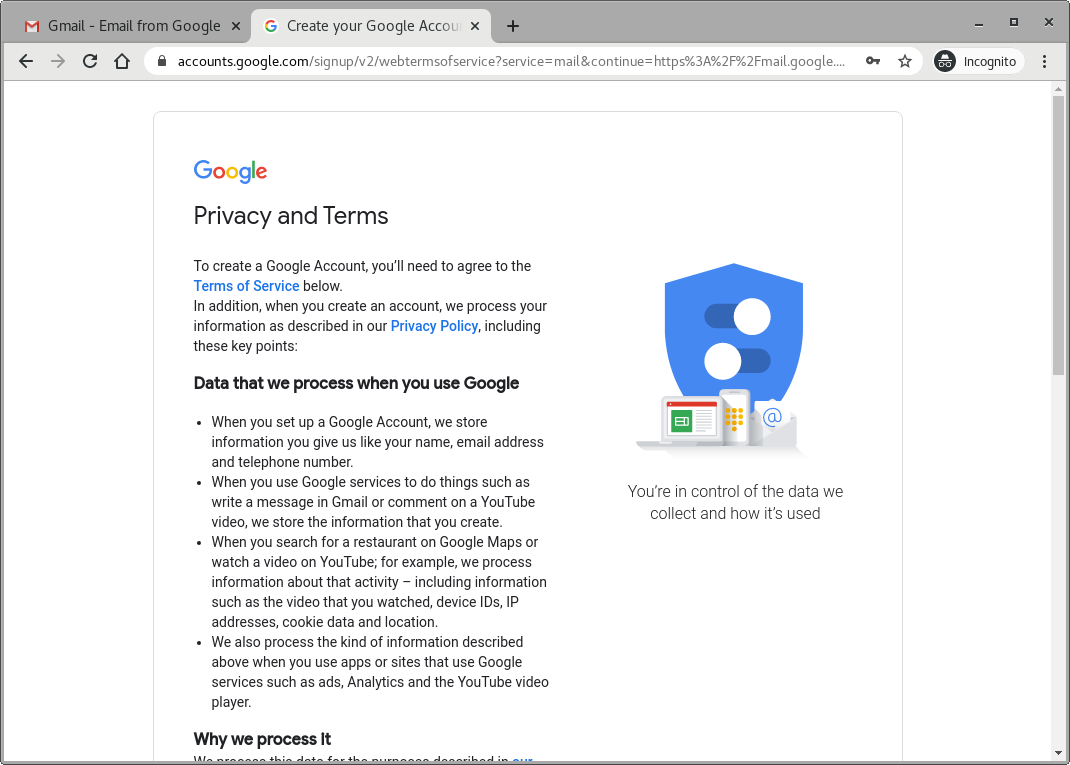
- Step: Google Privacy and Terms must be agreed to in order to use their services. You will have to scroll down.
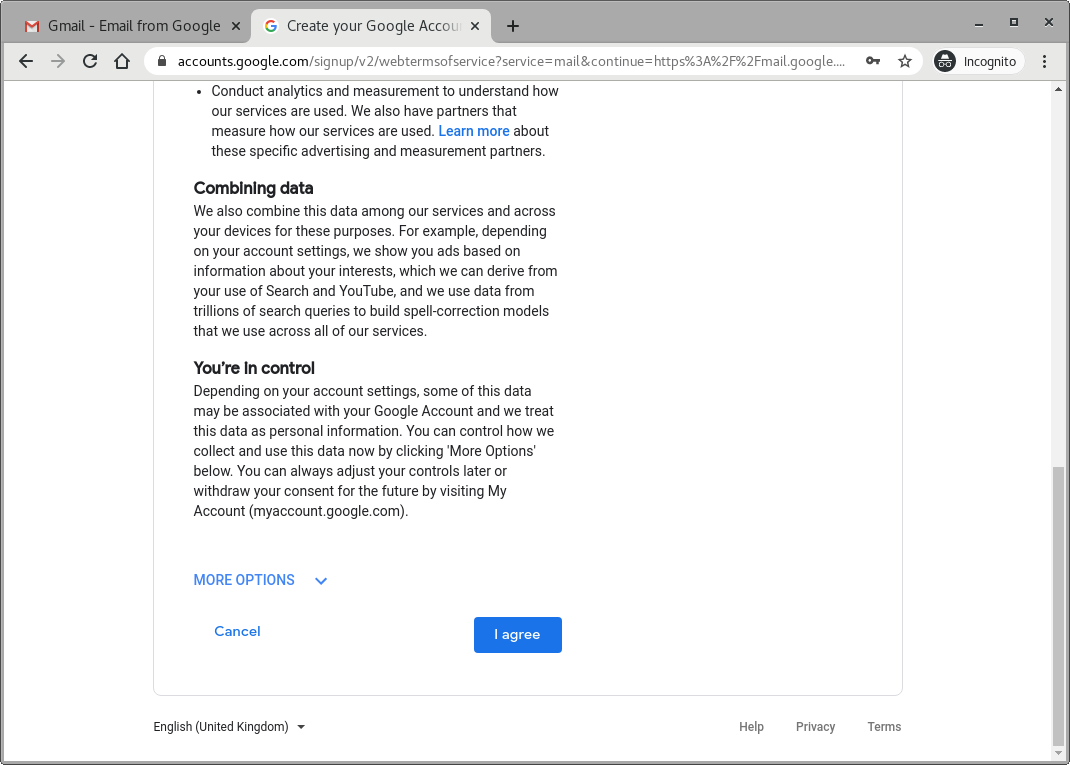
- Step: Once again, it is best to view what “More options” are about before agreeing.
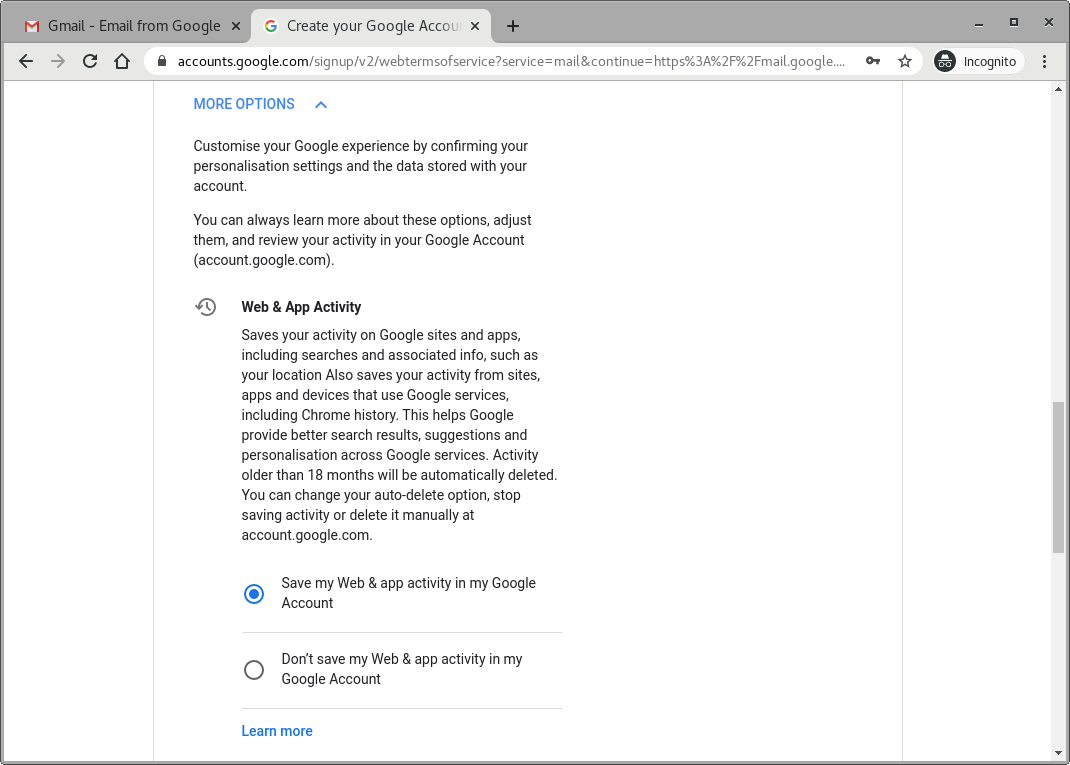
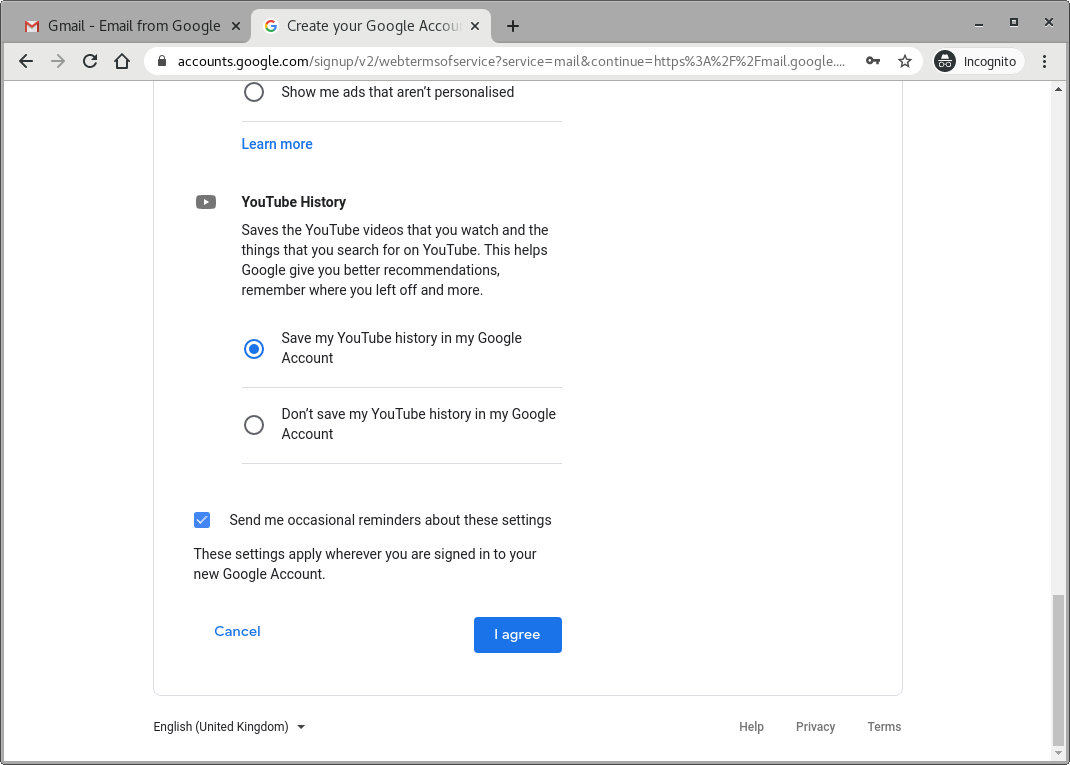
- Step: The first screen of options. While these settings can be very useful, wishing for more privacy might require flipping this switch to “Don’t…”
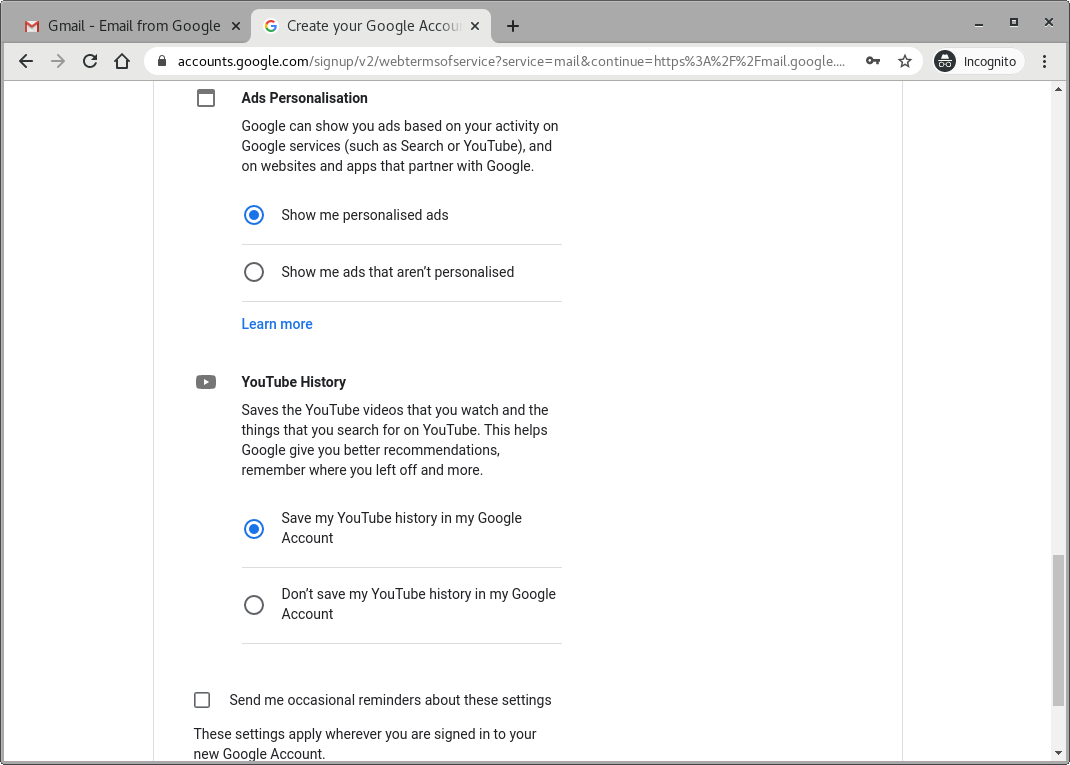
- Step: The second screen of options. Set these according to your own personal preference.
- Step: The bottom section of the screen: it is a good idea to be reminded of these settings from time-to-time, so check out the “Send me…” button if you will. Then single left-click on “I agree”. Clicking on “Cancel” will undo all the entries you made so far, and no account will be created for you.
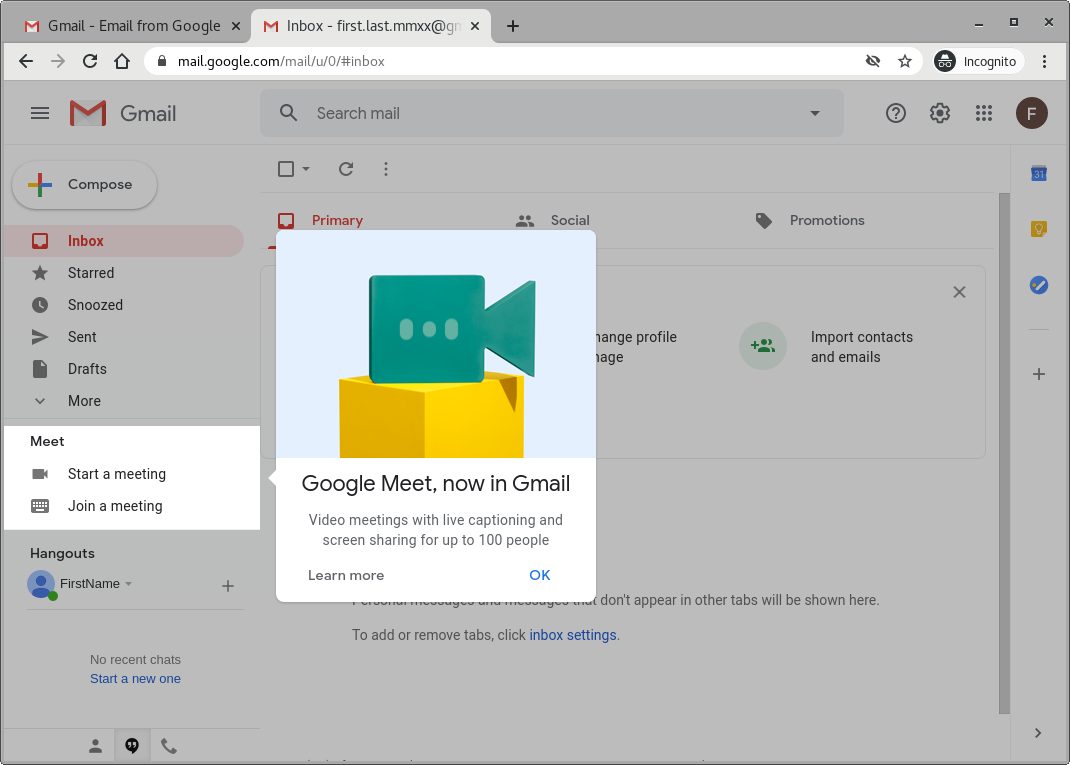
- Step: This is what a successfull setup leads to: the very first look at your Gmail inbox. Click on the “OK” button of the notification once you read the message.
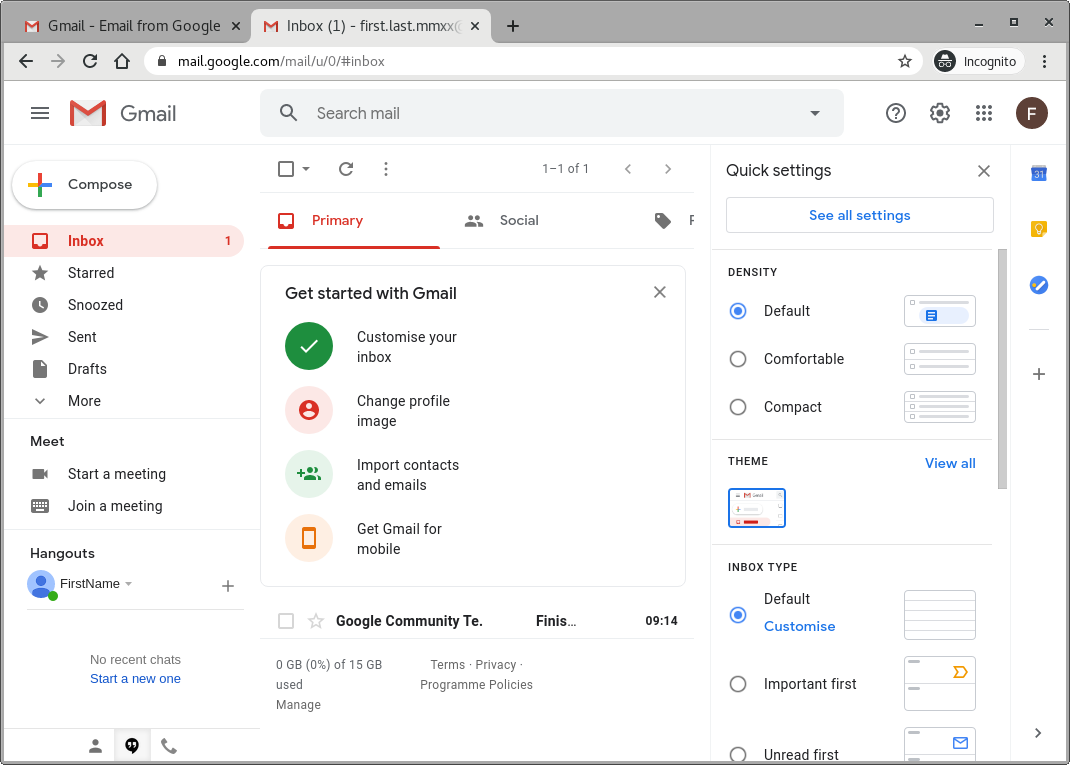
- Step: Just in case you did not have enough settings to go through, here are some more to do. These are not mandatory, and you can close the “Get started with Gmail” panel by its grey “×” icon in its upper right corner.

- Step: Clicking on “Customize your inbox” earlier brings you to a screen where you can set the look-and-feel of your inbox. You can come back to this at any time.
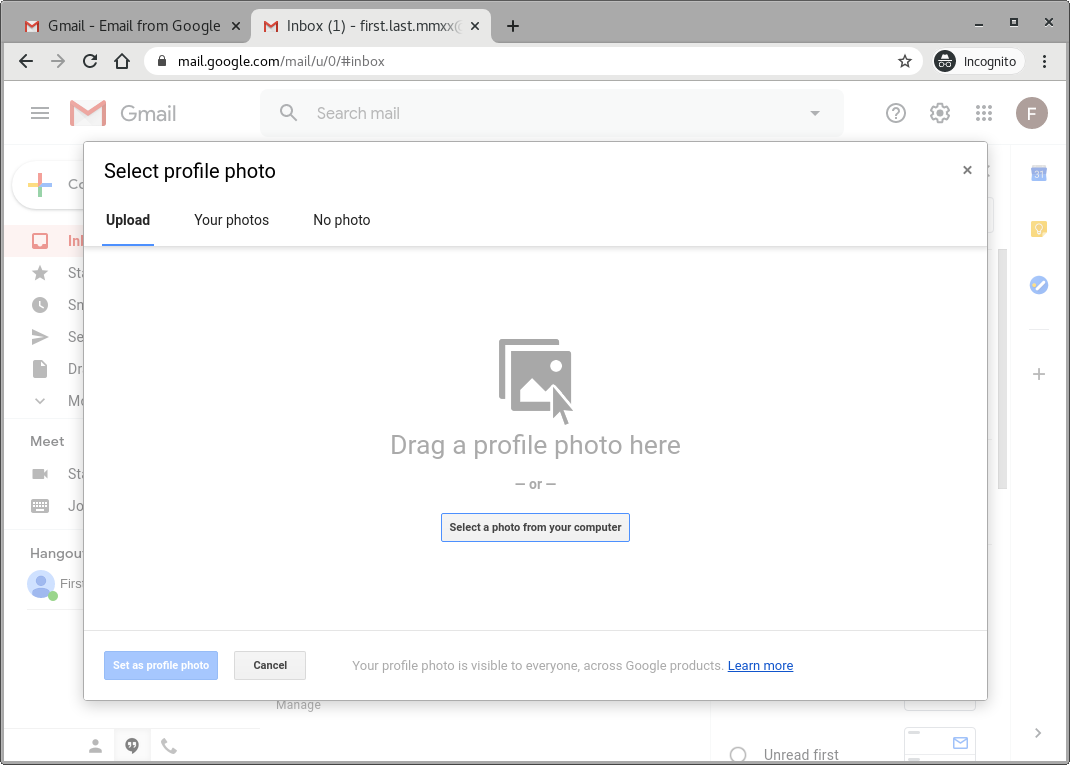
- Step: If you would like to have a tiny photo of you displayed by the side of your messages you send, load one up here.
- Step: When you are done with making adjustments, you can close the “Quick settings” panel by its grey “×” icon in its upper right corner.
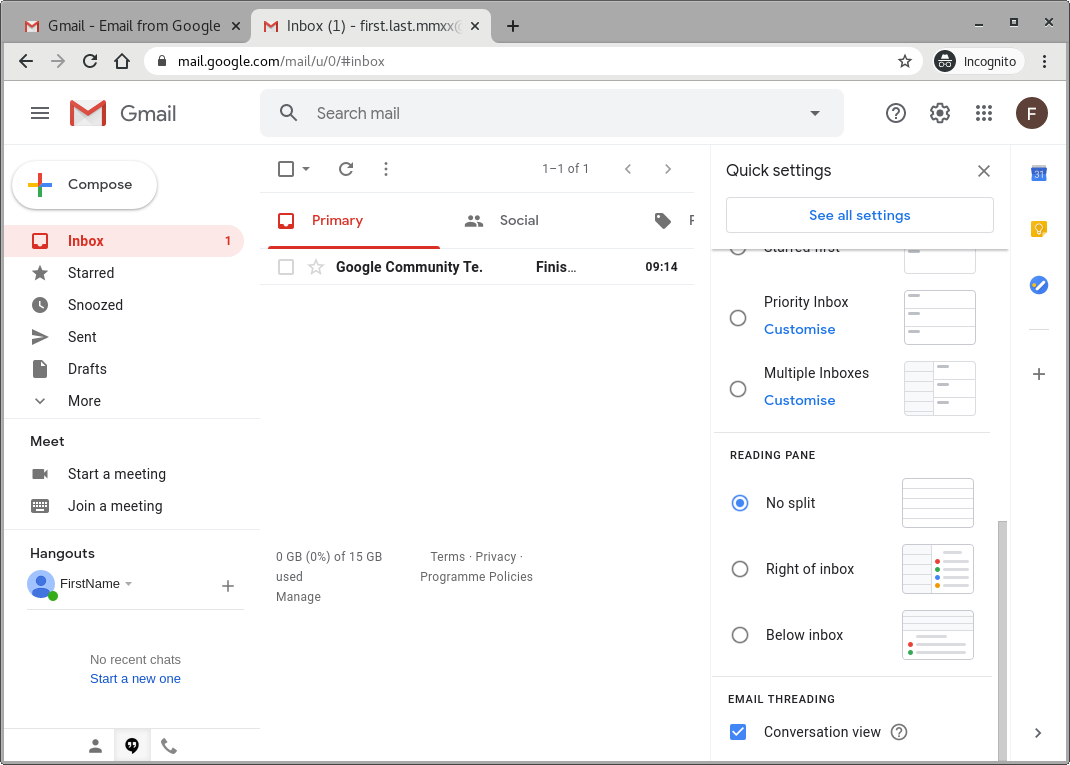
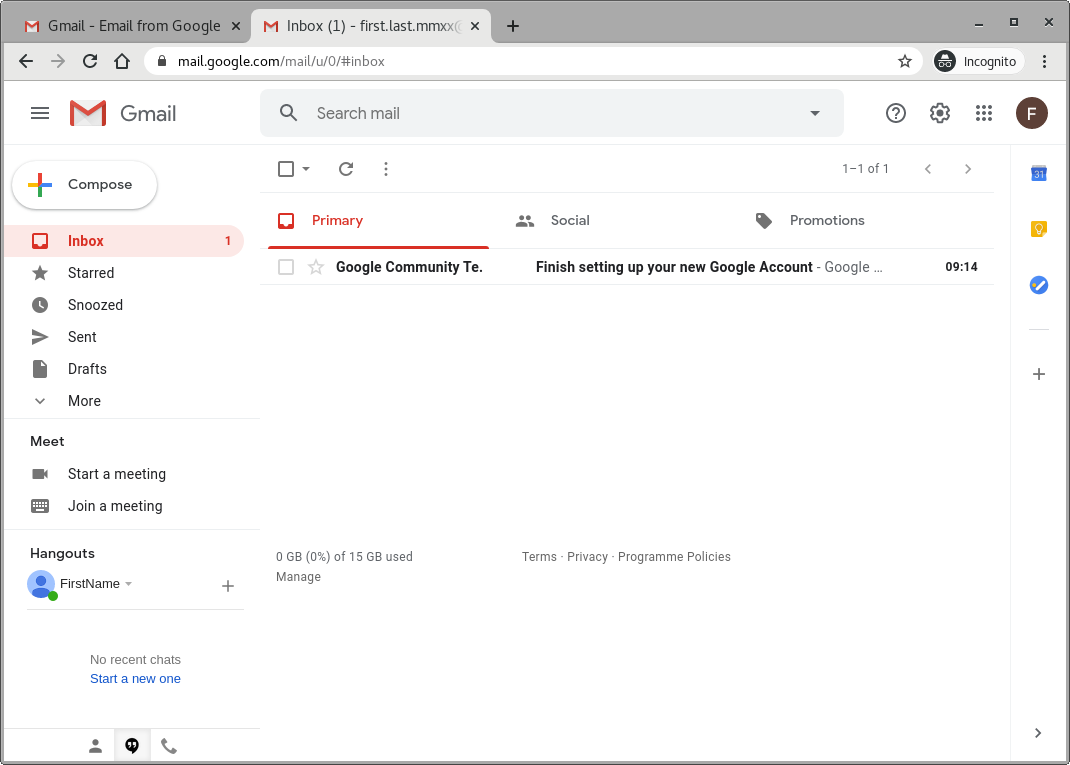
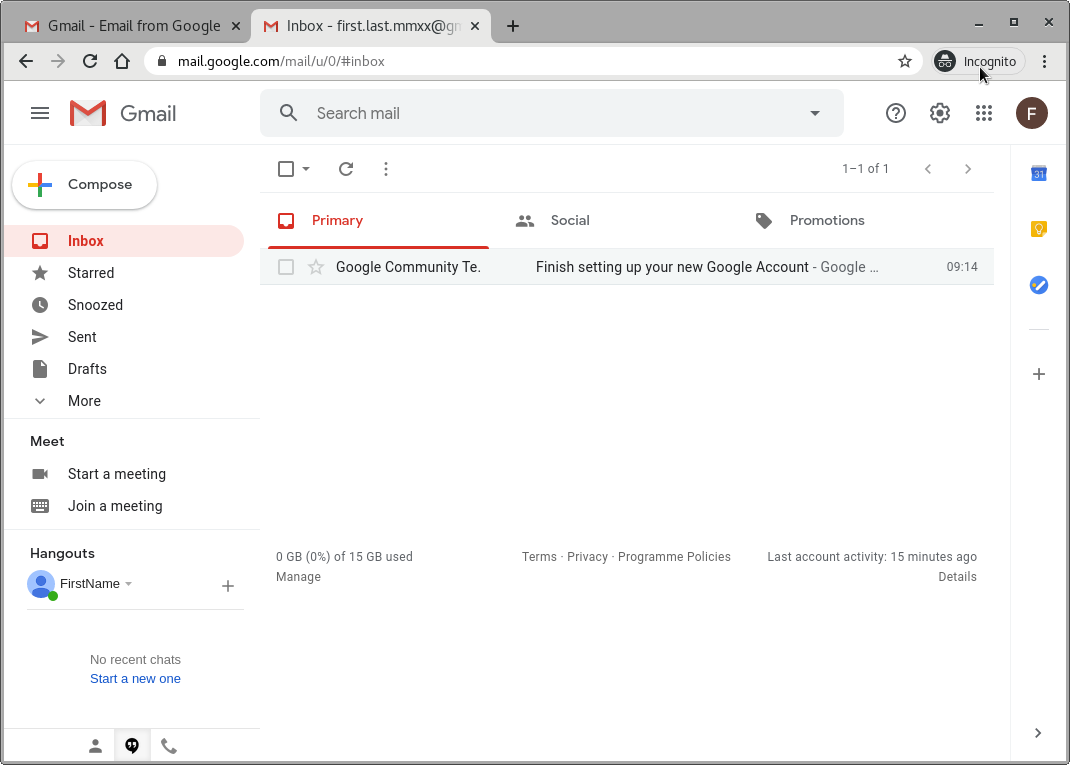
- Step: The first clear view of your inbox. It contains a single message sent to you by the Google system.
- Step: The content of this first message from Google walks you through several topics.
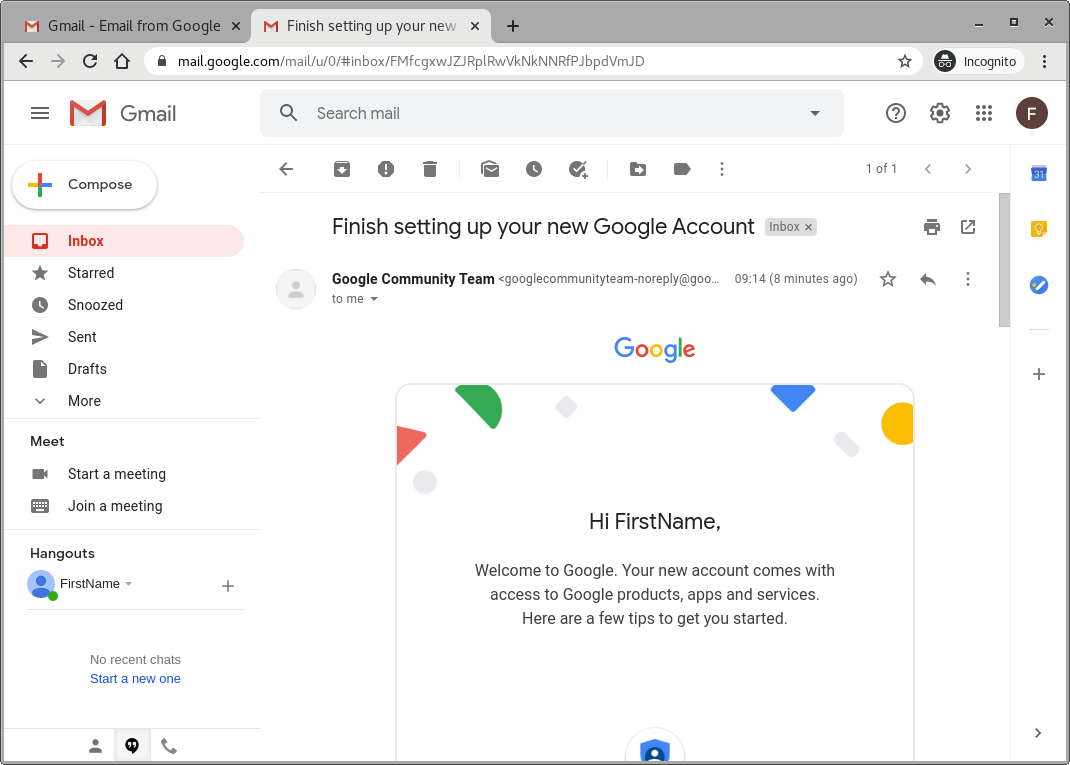
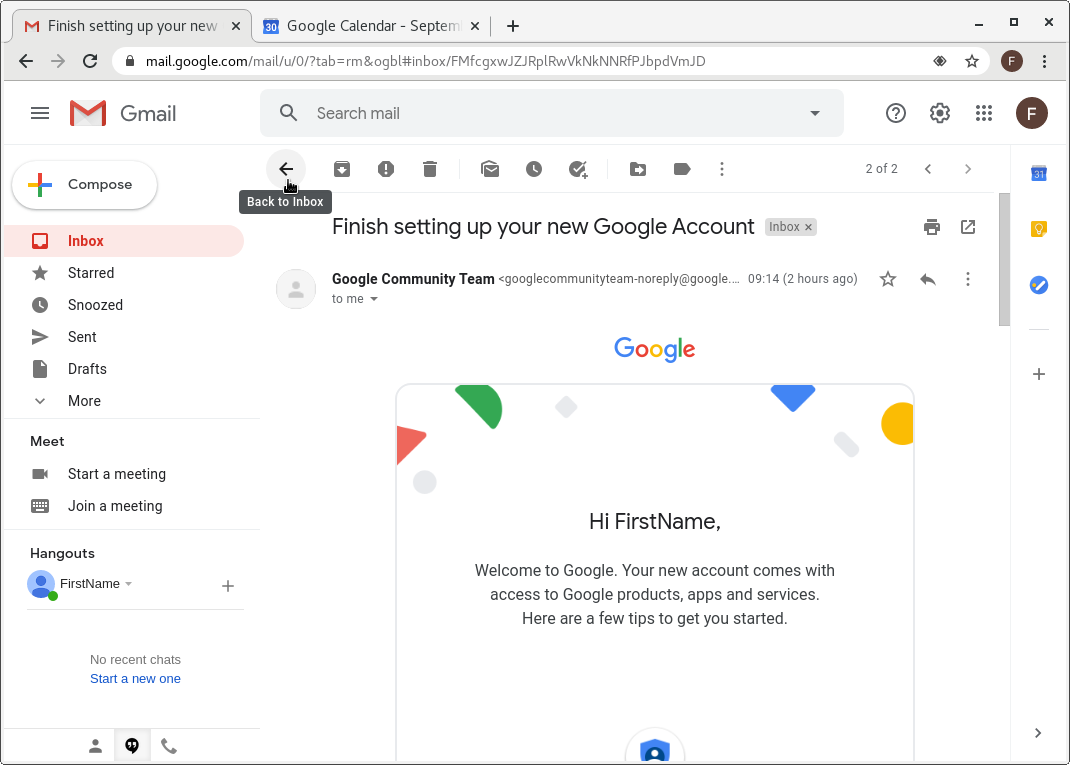
- Step: To go back to your inbox you can either use the back arrow of the Gmail user interface (not that of the browser itself) or …
- Step: … just click directly on the “Inbox” menu item on the left.

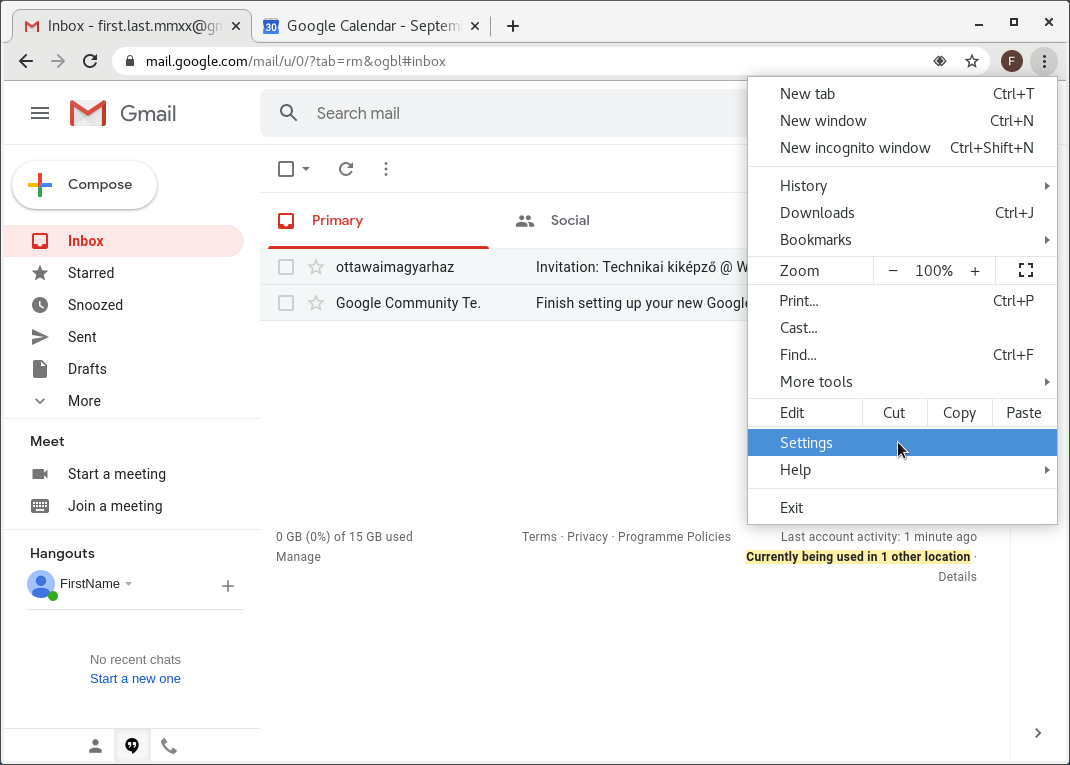
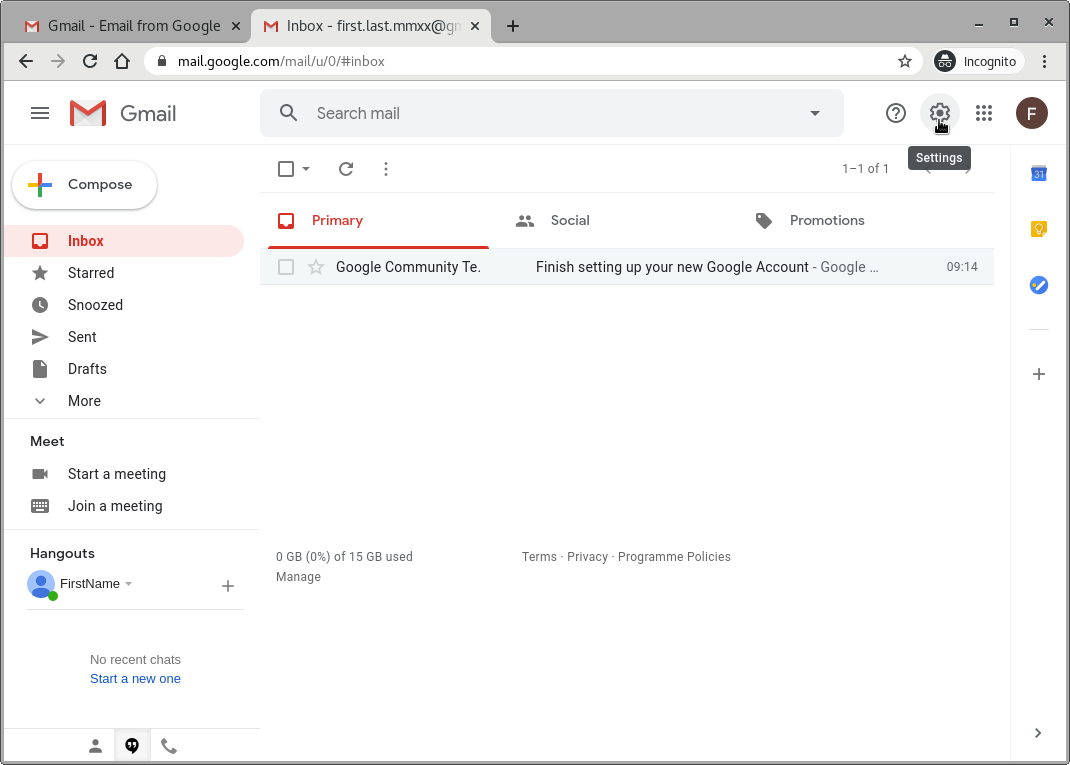
- Step: Since you have read your first mail, its line changes from bold to regular font face. To make sure that two more settings are correct, click on the gear icon close to the upper right corner of your browser window.
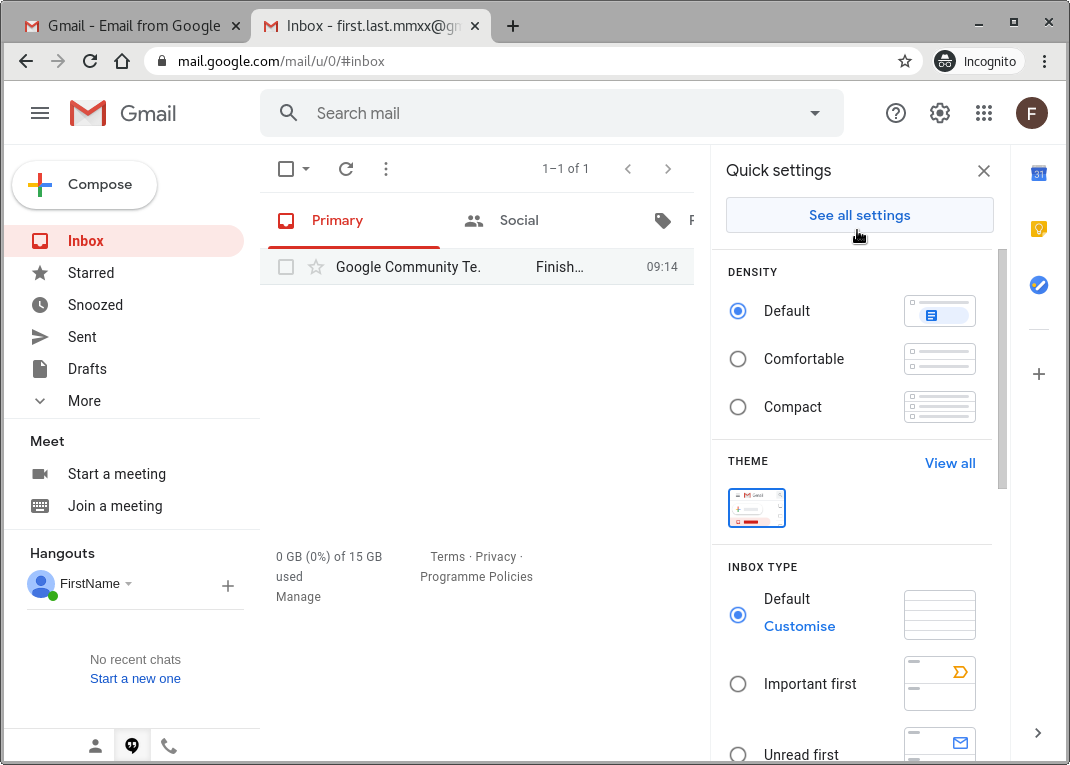
- Step: This screen is already familiar to you. Continue by clicking the “See all settings” button.
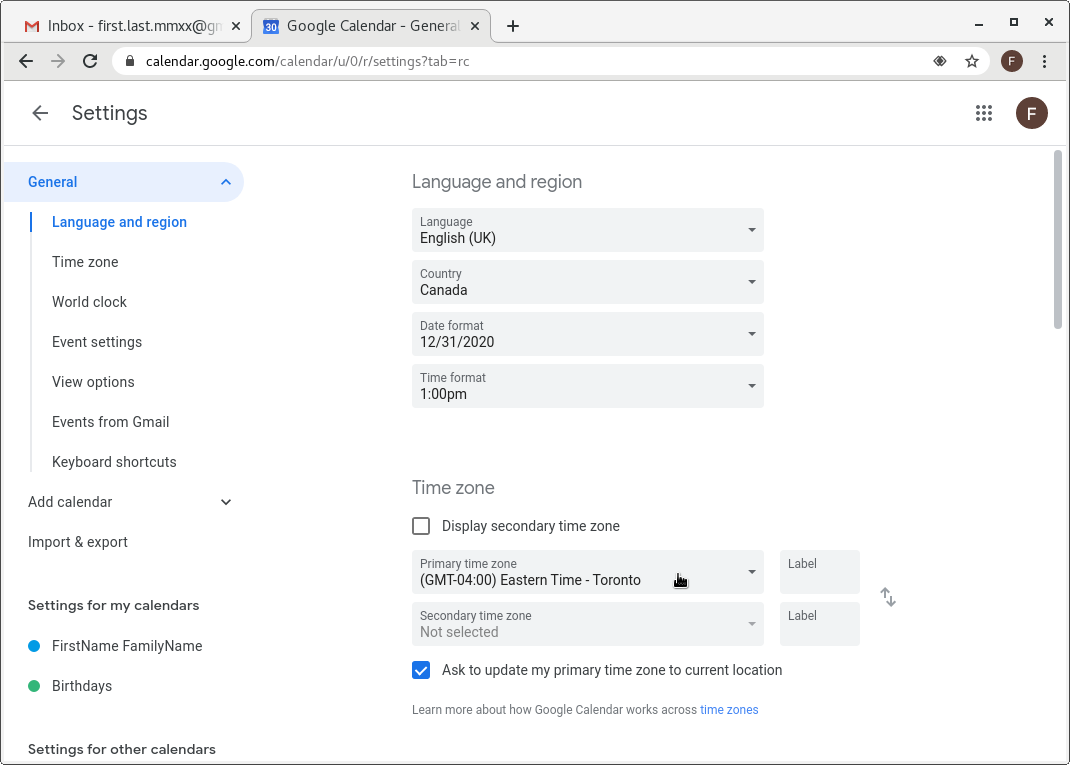
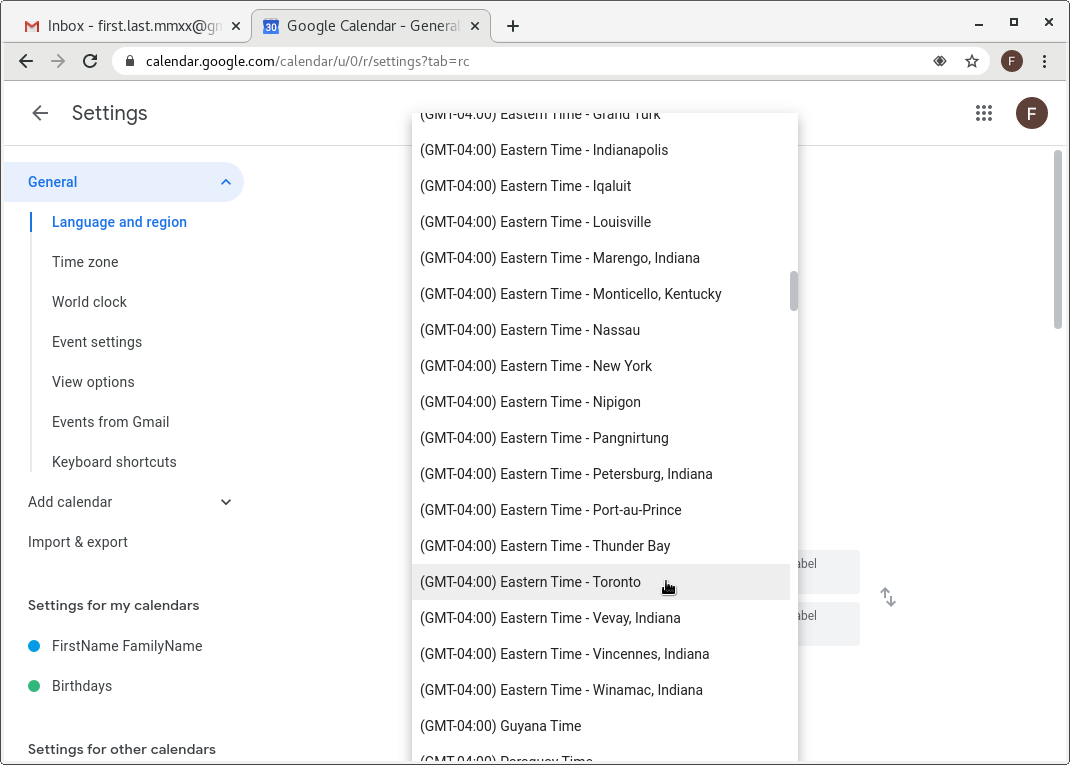
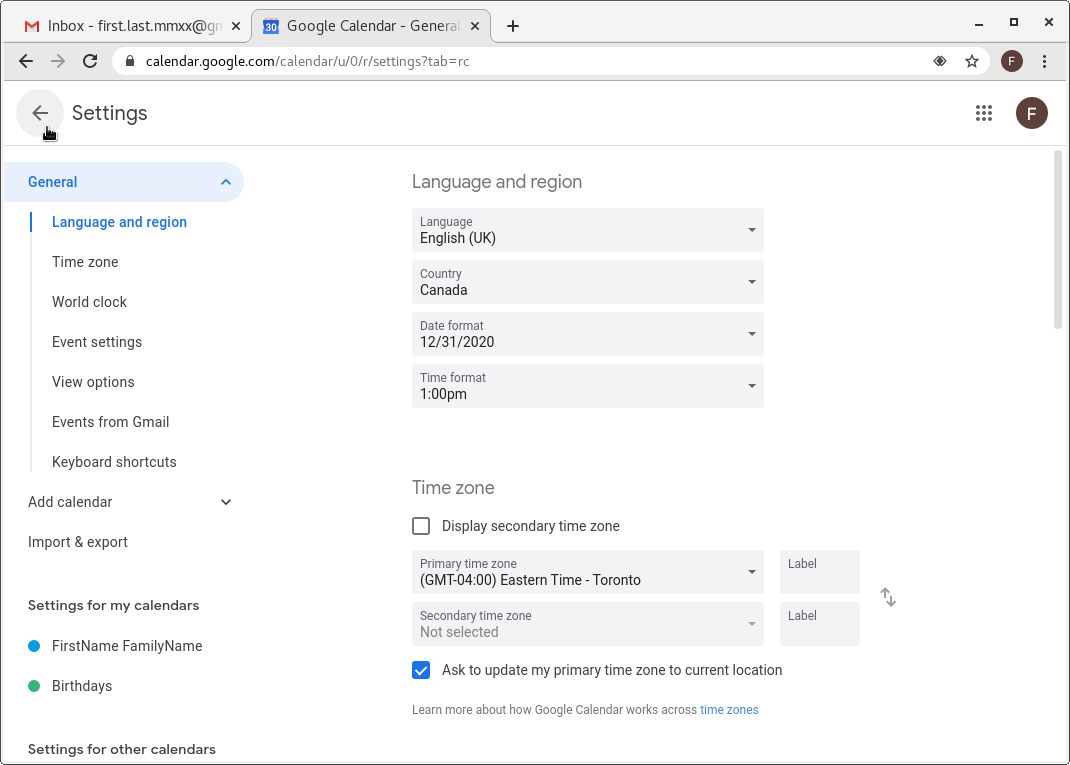
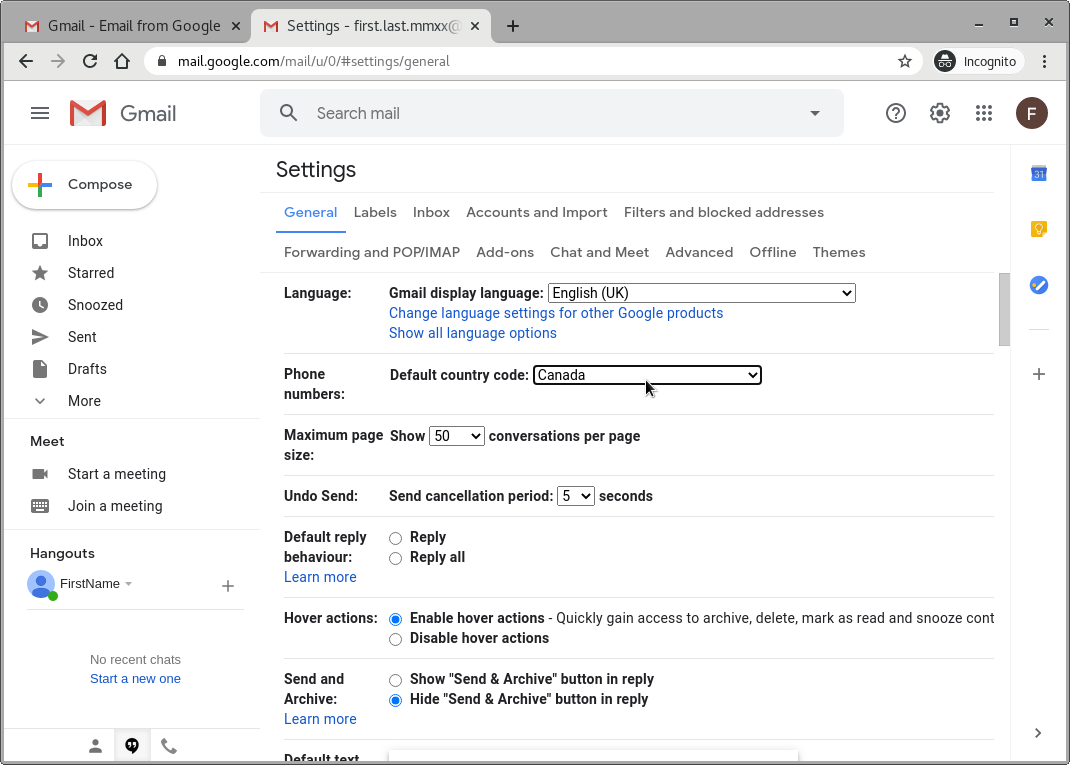
- Step: We will verify the language and …
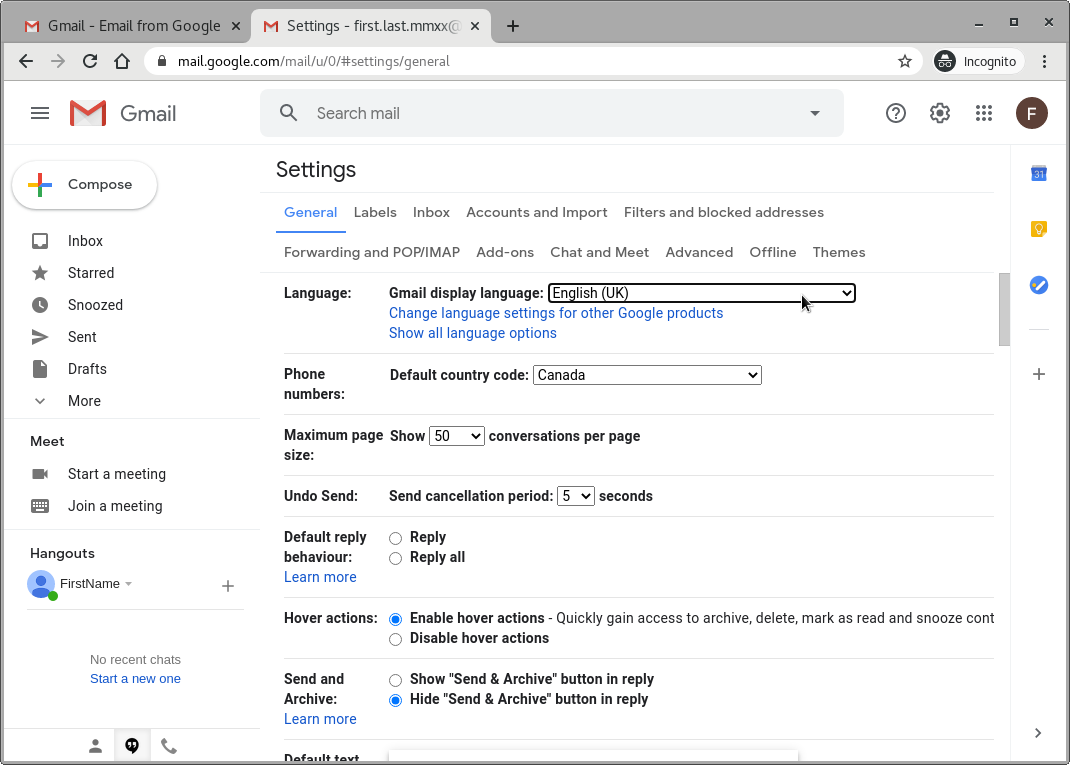
- Step: …the country code settings. There are a plethora of choices of other parameters that we will not discuss this time. Exit by single left-clicking on “Inbox” on the left.
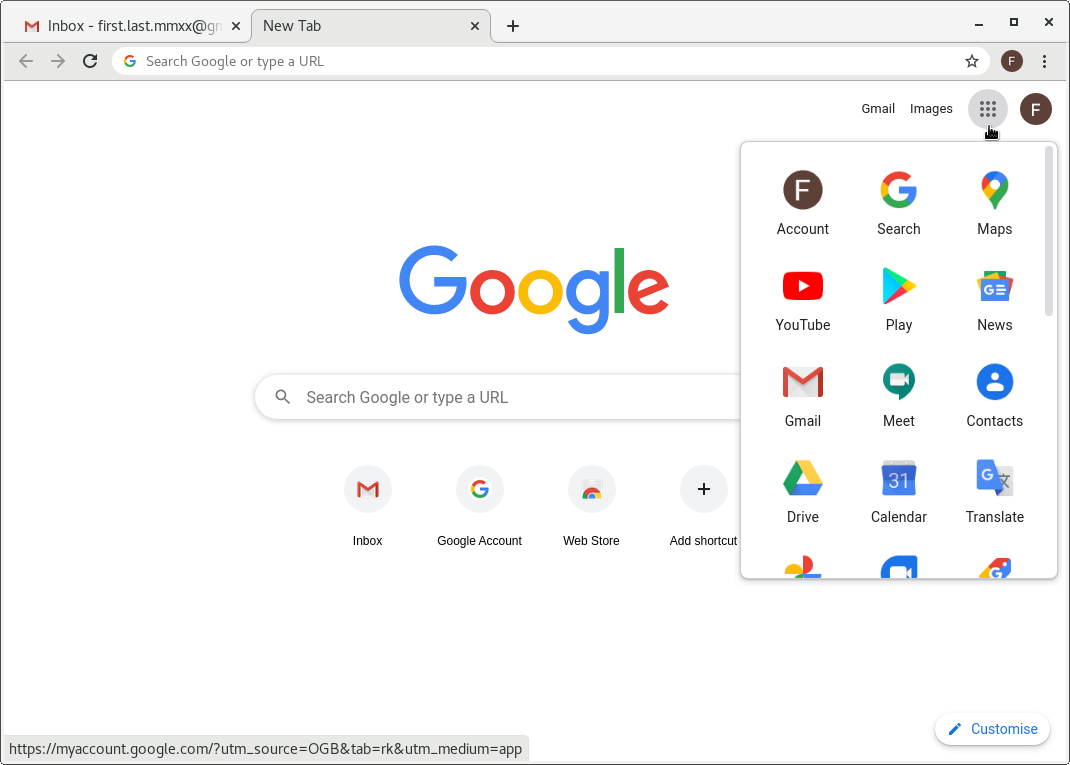
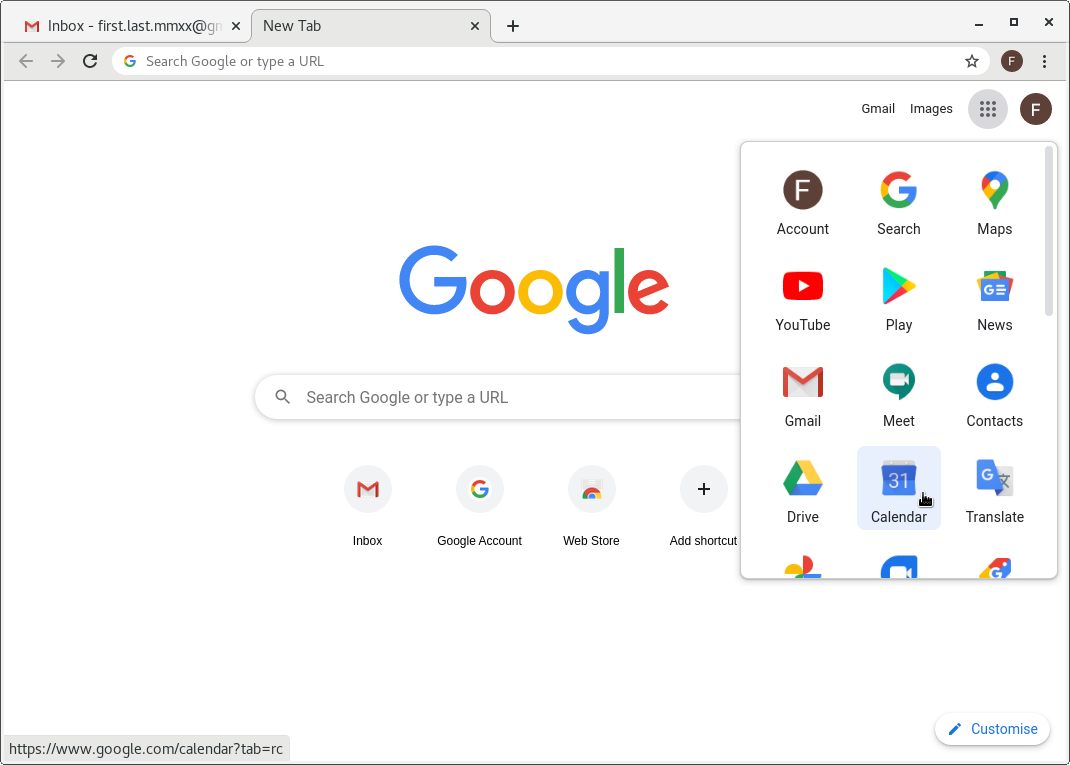
- Step: One way of accessing the very useful Google applications is through the three-by-three icon in the upper-left corner. The “Calendar” will be a very important one.
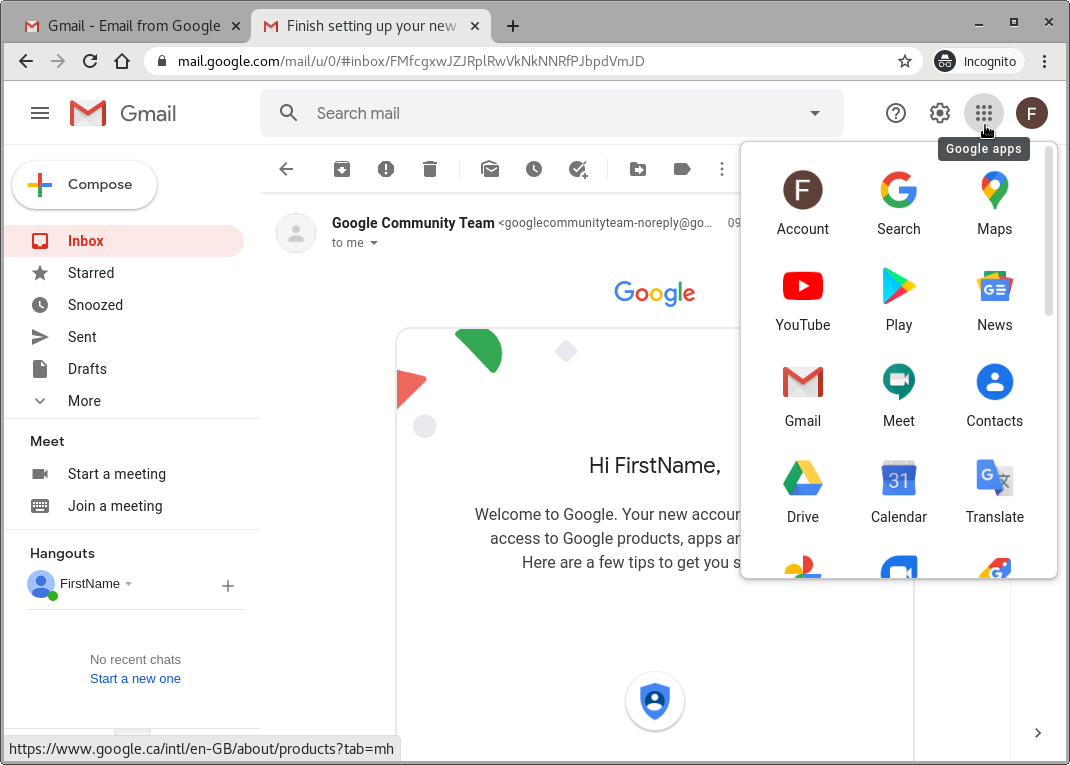
- Step: There is a quick access button for the “Calendar” right in the upper-right corner of the Gmail front end (user panel).
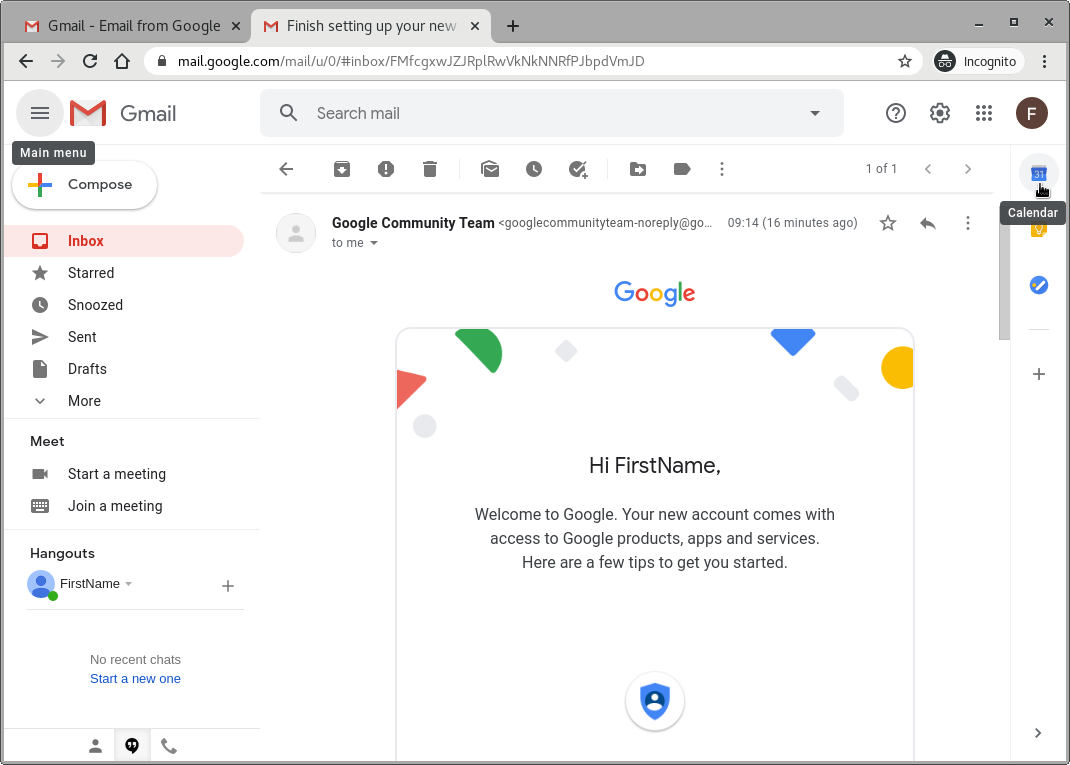
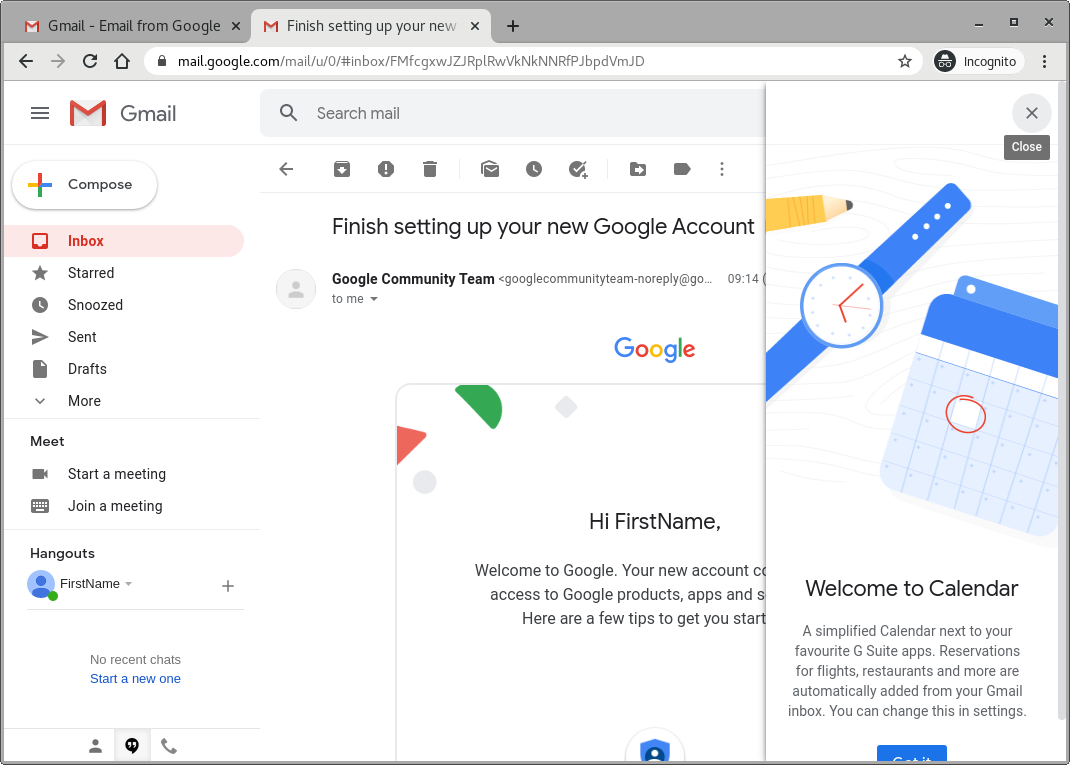
- Step: Clicking on the “Calendar” button for the first time makes a notification window pop up. Click on the “Got it” button in the lower-right corner,
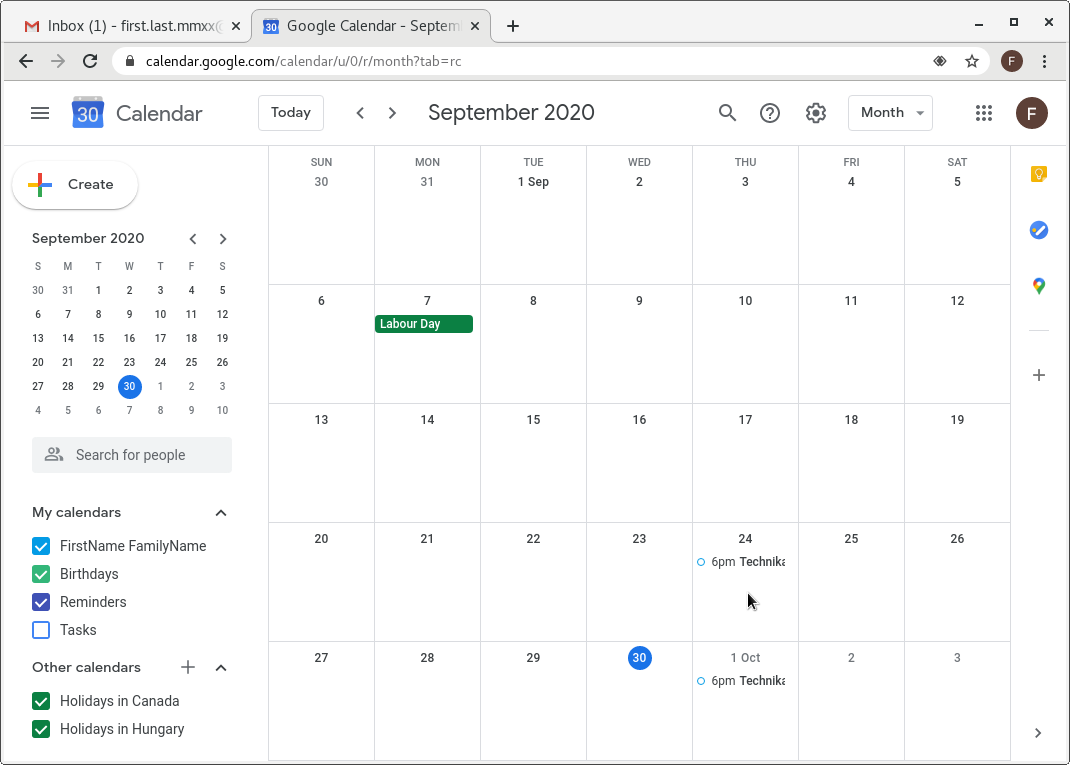
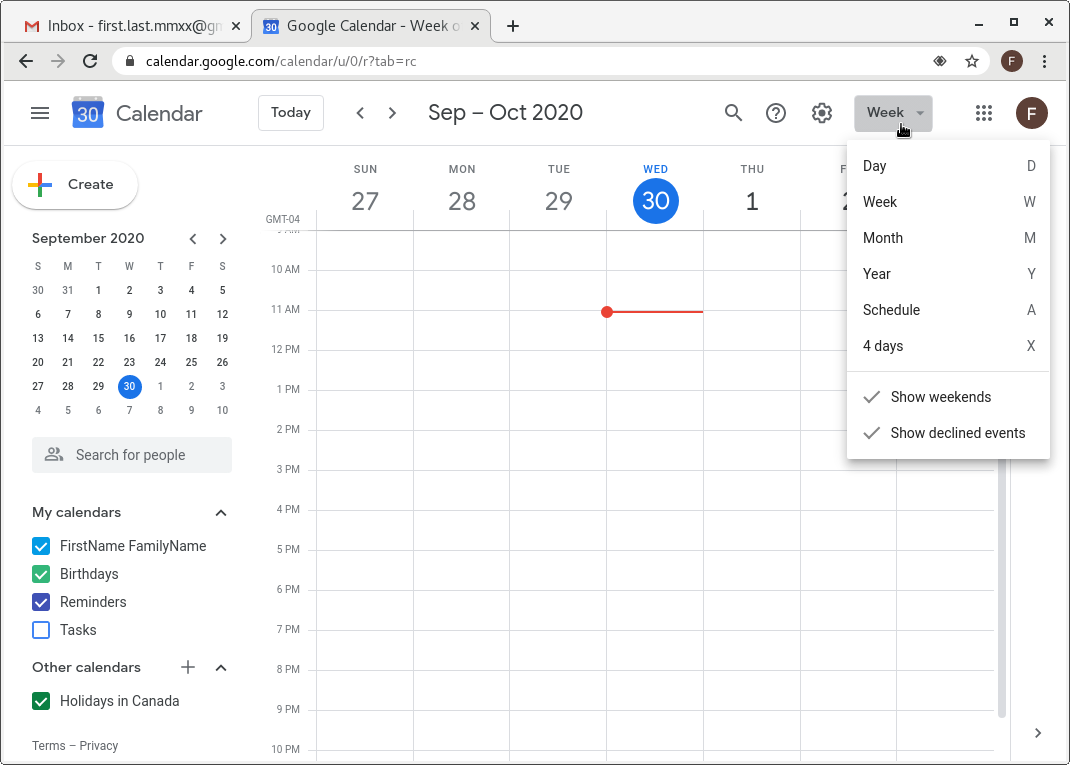
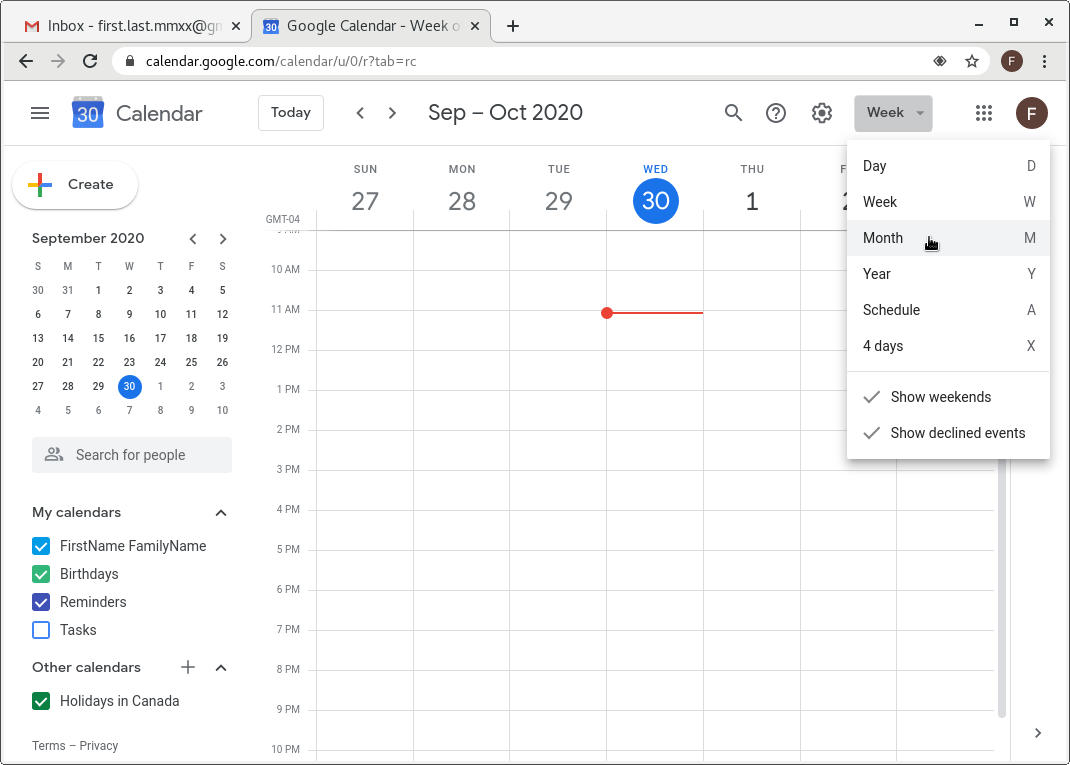
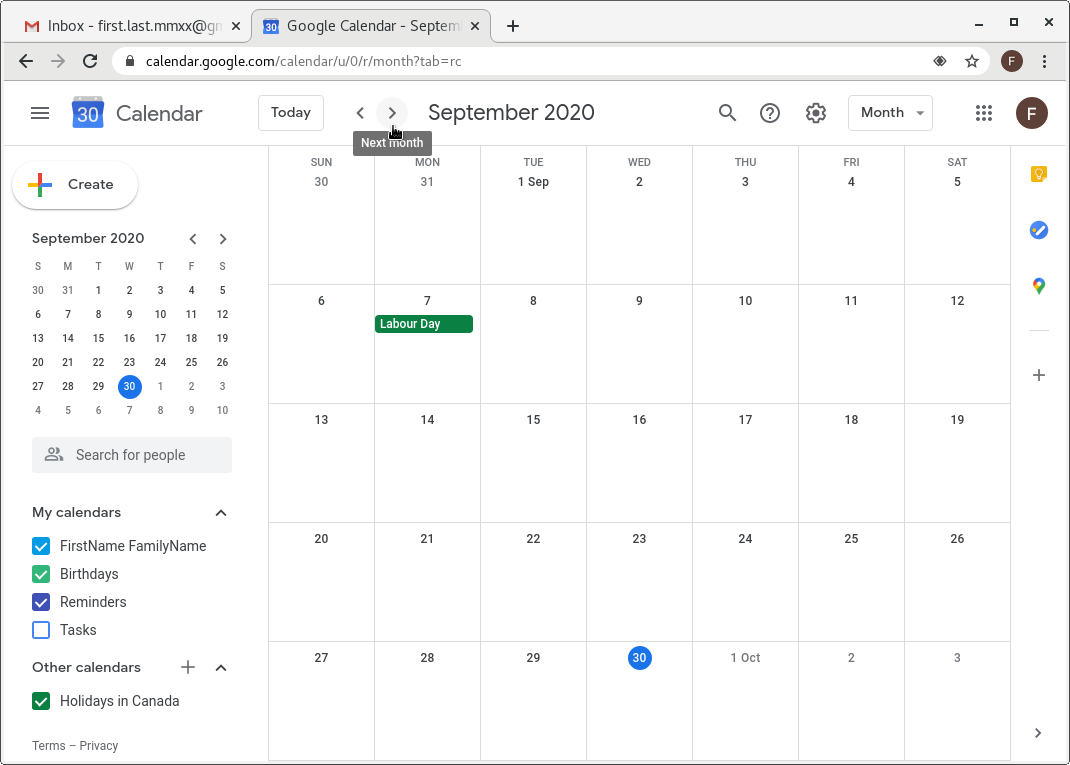
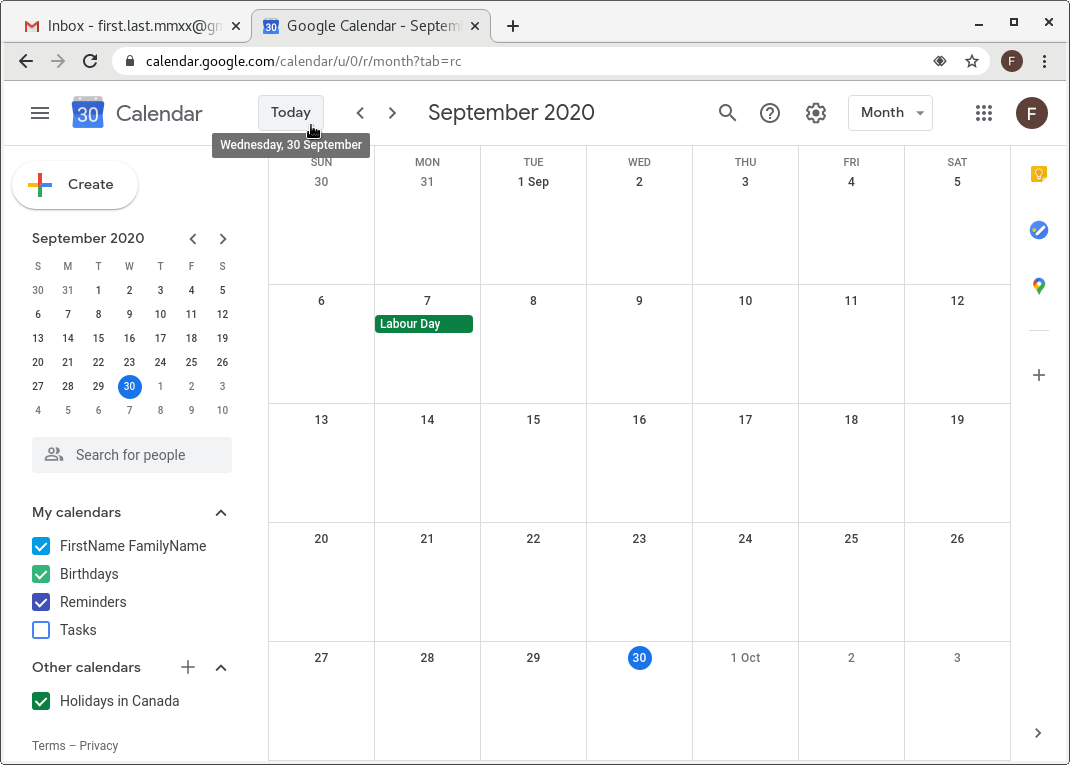
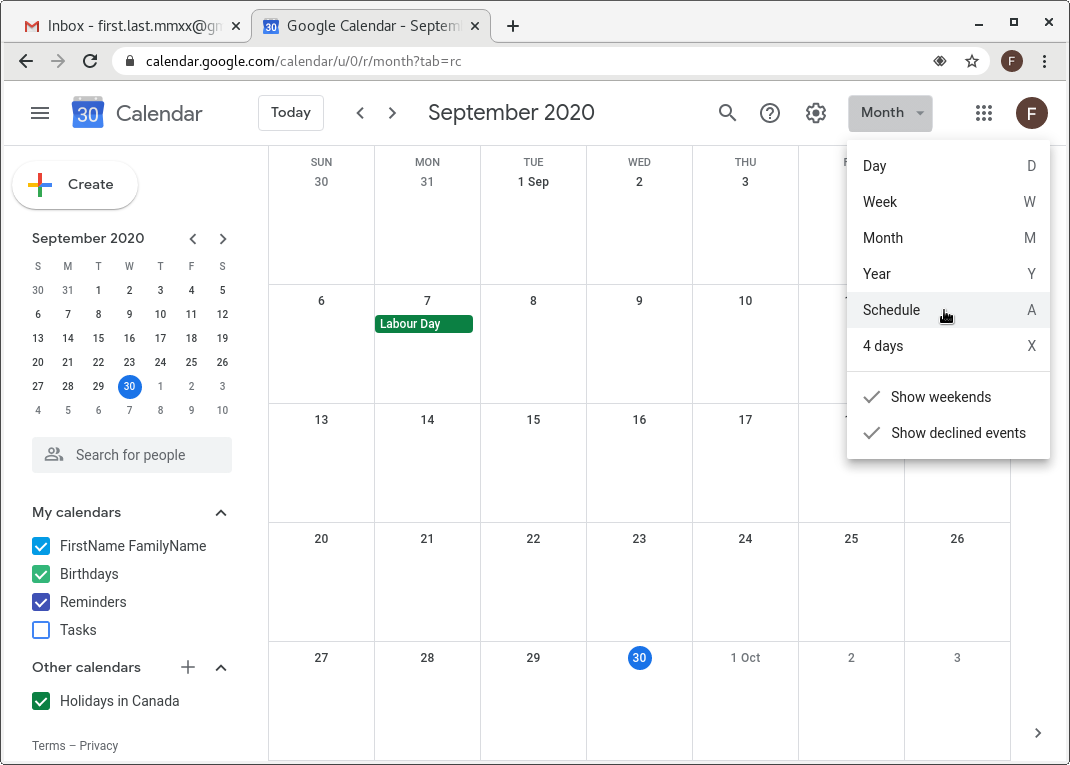
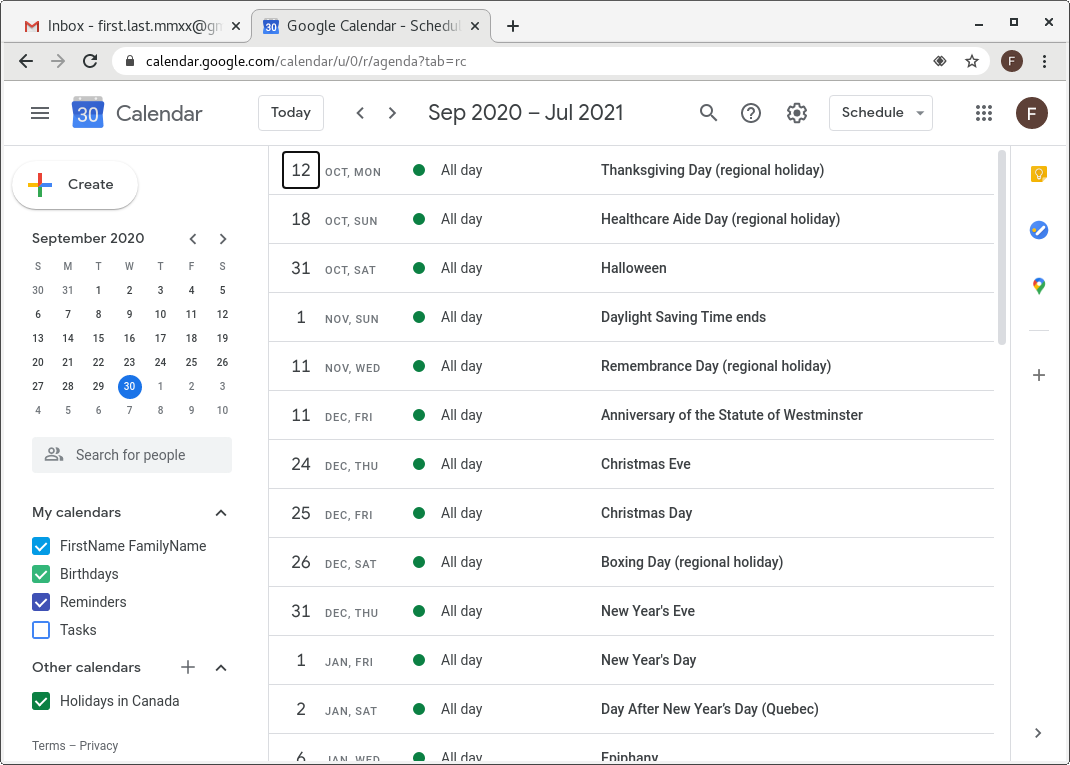
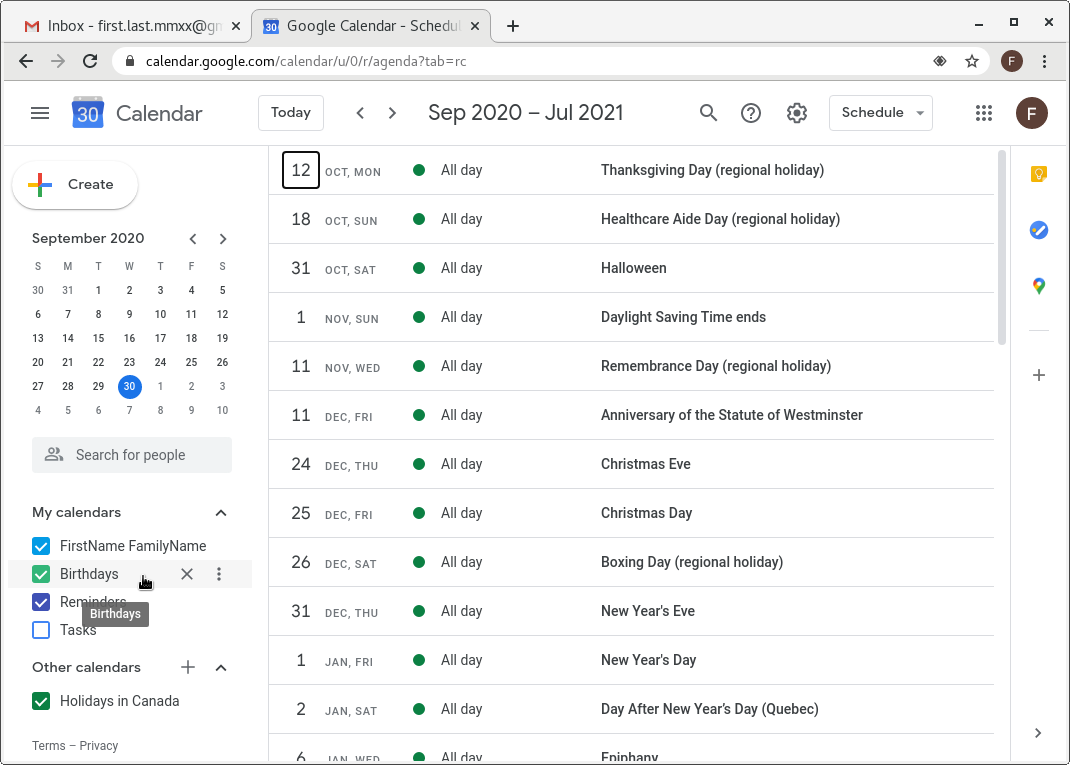
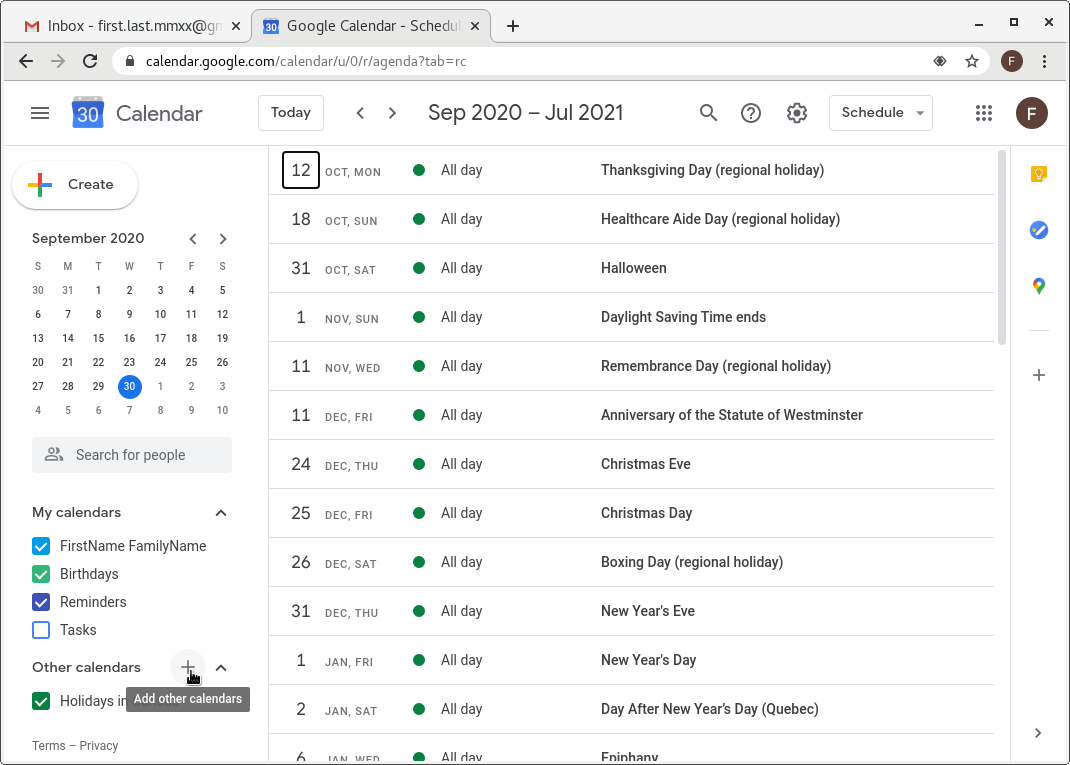
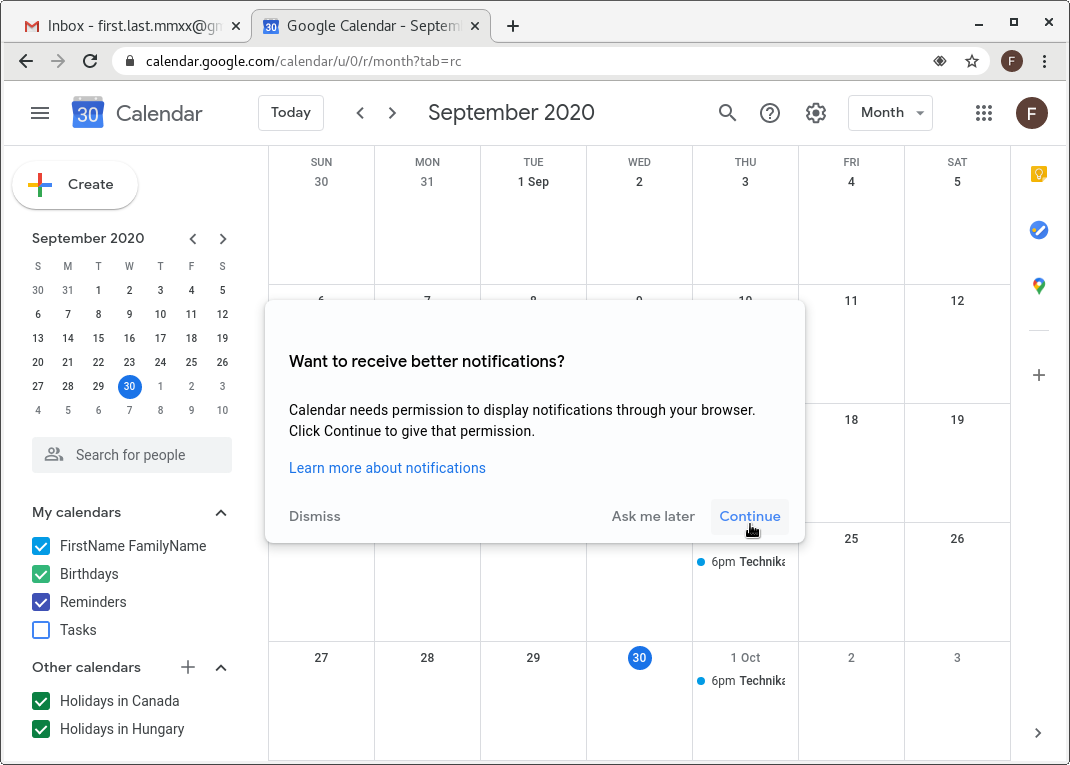
- Step: Now a condensed version of your own (empty) calendar is displayed, along with upcoming Canadian holidays. To see the entire calendar in a separate tab, single left-click on the square-arrow button next left to the “×” closing button in the upper right corner on the calendar side-panel.
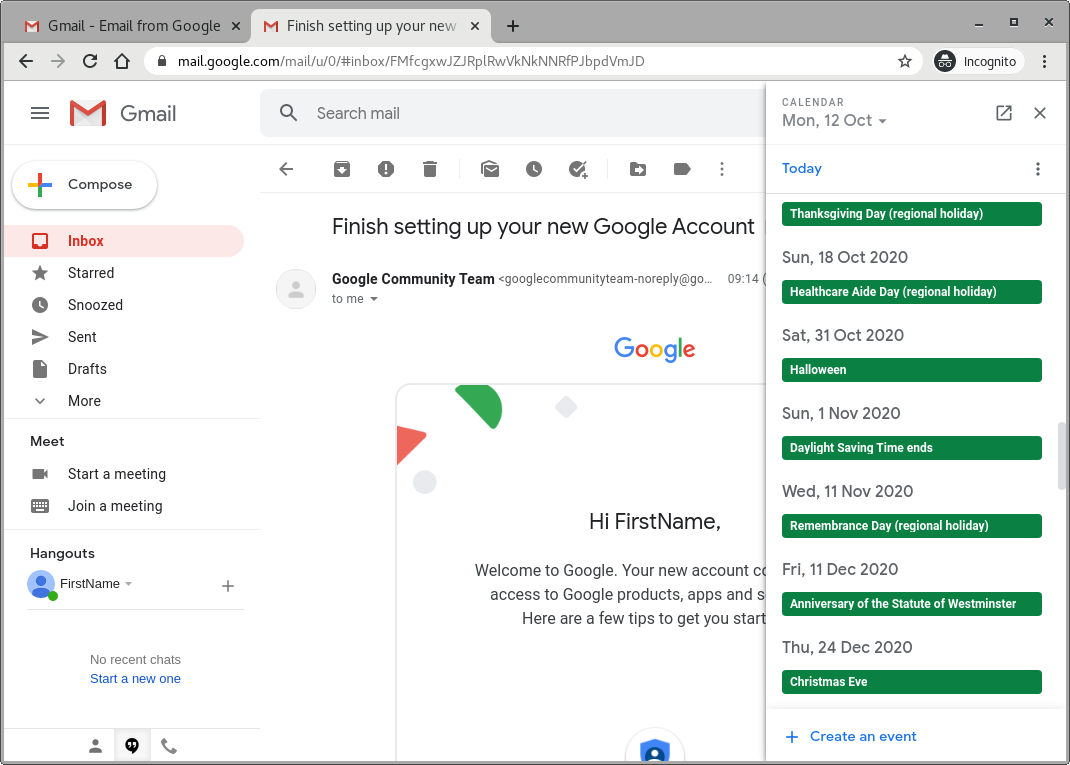
- Step: We will discuss the usage of the calendar in more detail in another session. Right now, you can close the calendar tab by clicking its “×” button to the right of its title.

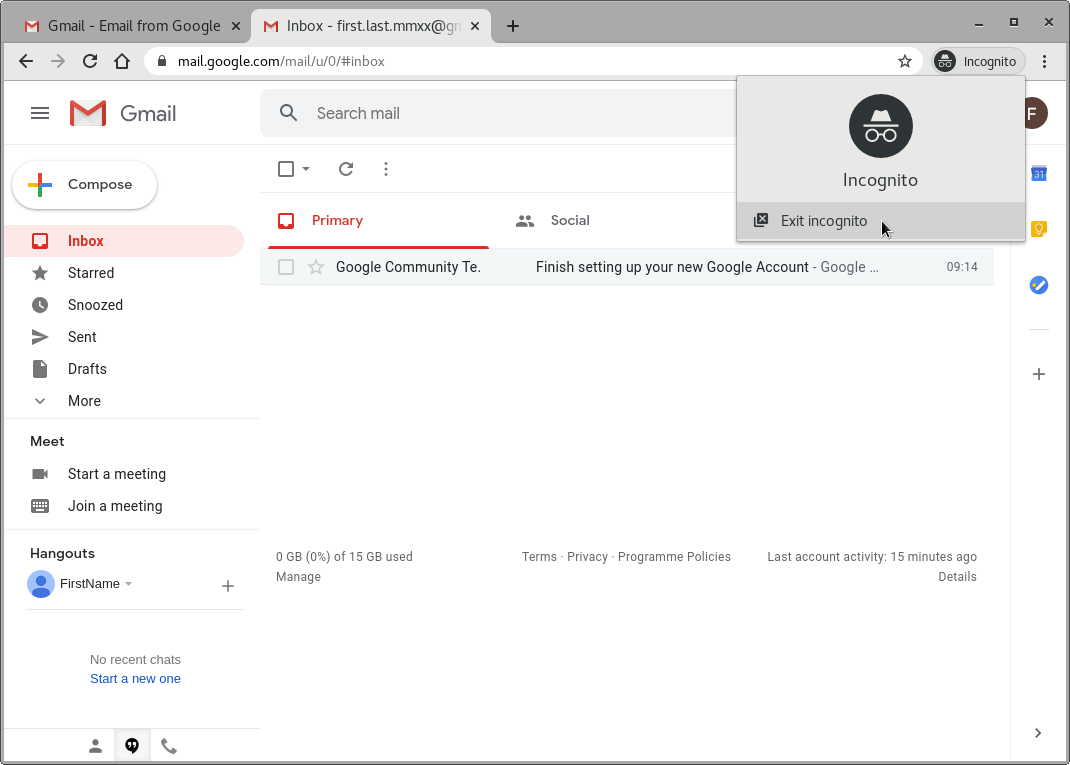
- Step: We shall exit the incognito mode so that we can make more settings and use the Gmail and Calendar tool personalized.
- Step: Confirm exiting the incognito mode. The browser window will shut down.